

Last week, I found an awesome finish on the PB website as an inspiration for a narrow end table I built for my family room. When I started building a second end table for the family room, I decided to do a table similar to the one I saw.
Here is the inspiration piece (unfortunately, the yellow color wouldn't work for my color scheme):

This weekend I built the larger table (mine is a bit wider than the inspiration piece due to what I needed for my space). Due to an unplanned thumb vs power tool injury, the small table will have to wait until next weekend. I wanted the larger table to be a standard end table size of roughly 24x24x24. Anything smaller would end up making the little table useless for anything besides nesting in the larger table.
Cut List:
4 - 23 1/4" 2"x2" (legs)
2 - 18 1/2" 2"x2" (side top cross support)
2 - 18 1/2" 1"x2" (side bottom cross support)
1 - 17 1/2" 2"x2" (back top cross support)
1 - 17 1/2" 1"x2" (back bottom cross support)
2 - 11 1/4"x23 1/2" 1"x12" (table top)
4 - 7" side detail angled pieces at top, cut on 45 degree angles
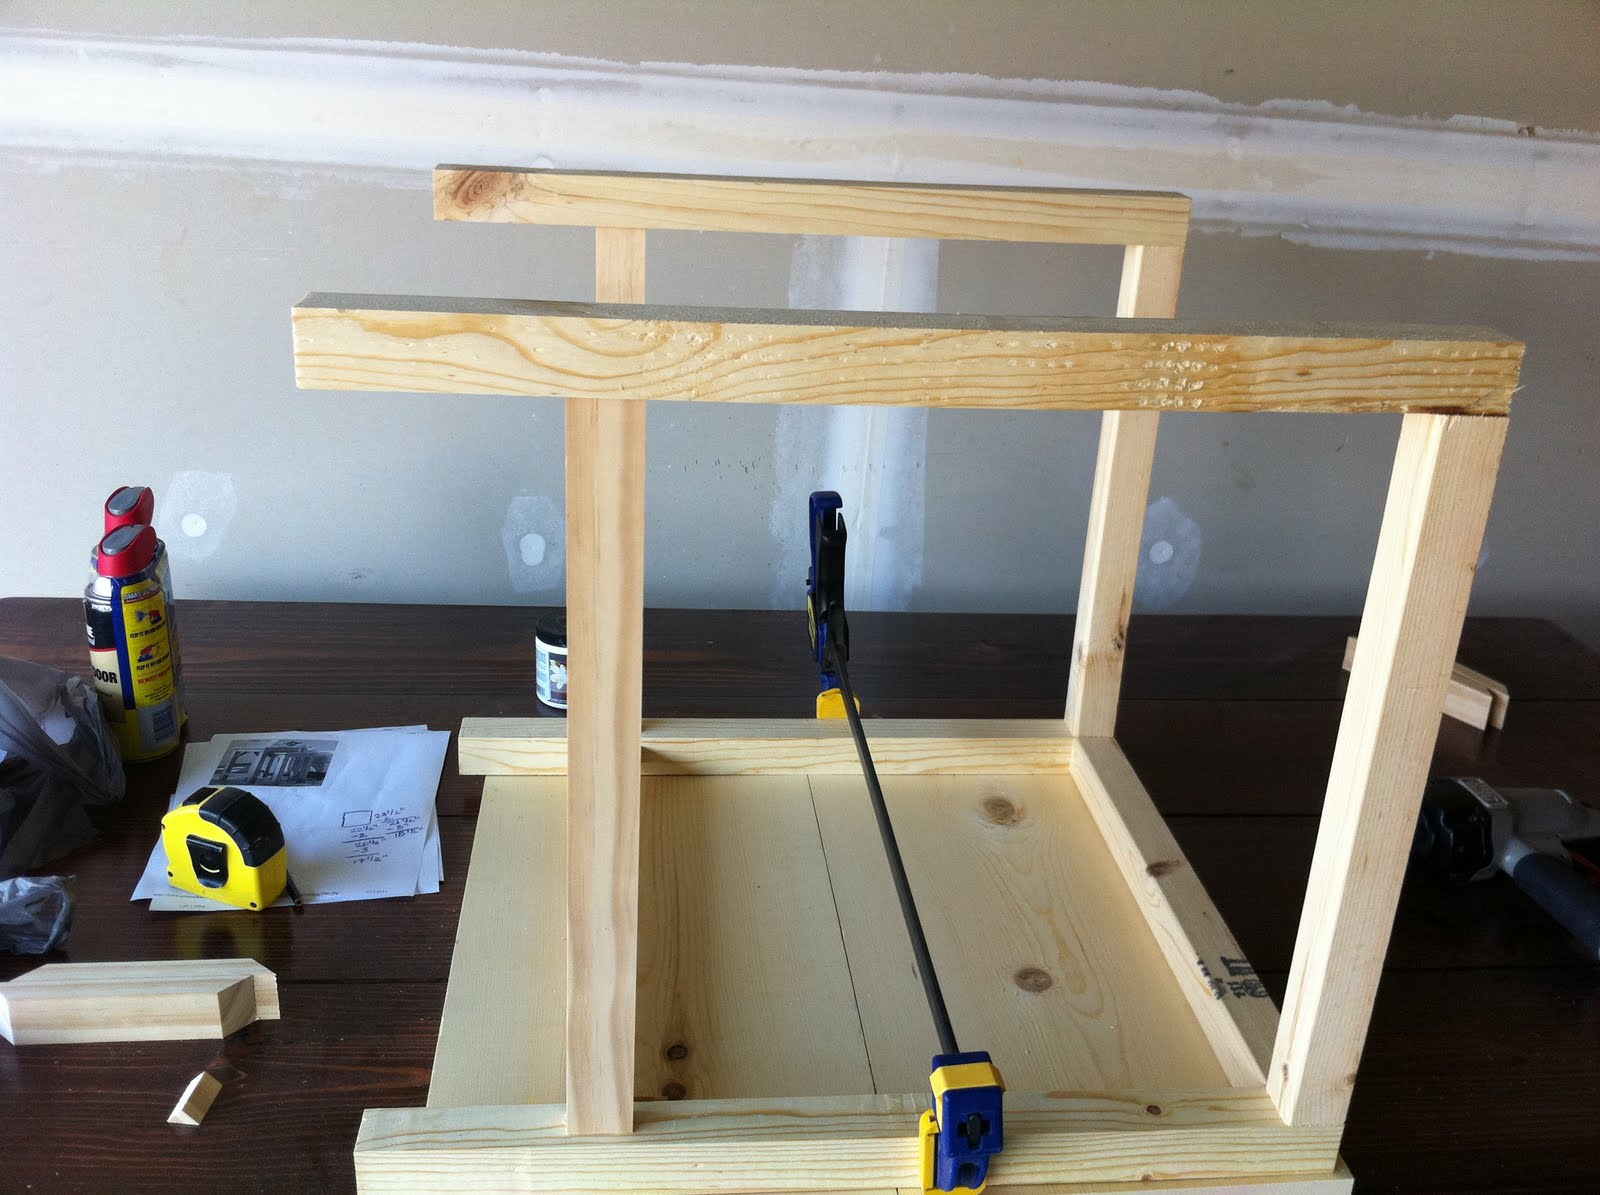
Lay out the pieces for the sides (18 1/2"), set aside the smaller back pieces so you don't get them confused.


Clamp the boards together and nail them in place.

I spaced the bottom rail about 4 3/4" inches from the bottom of the leg to the top of the rail.

After you have the two sides together, clamp the 17 1/2" boards in between and nail with 2" nails.
Space the bottom rails in the middle of the 2" x 2" legs. I used a scrape wedge piece I cut off the angled 7" pieces. It worked perfectly. See it on the bottom left of the photo sitting on the table?

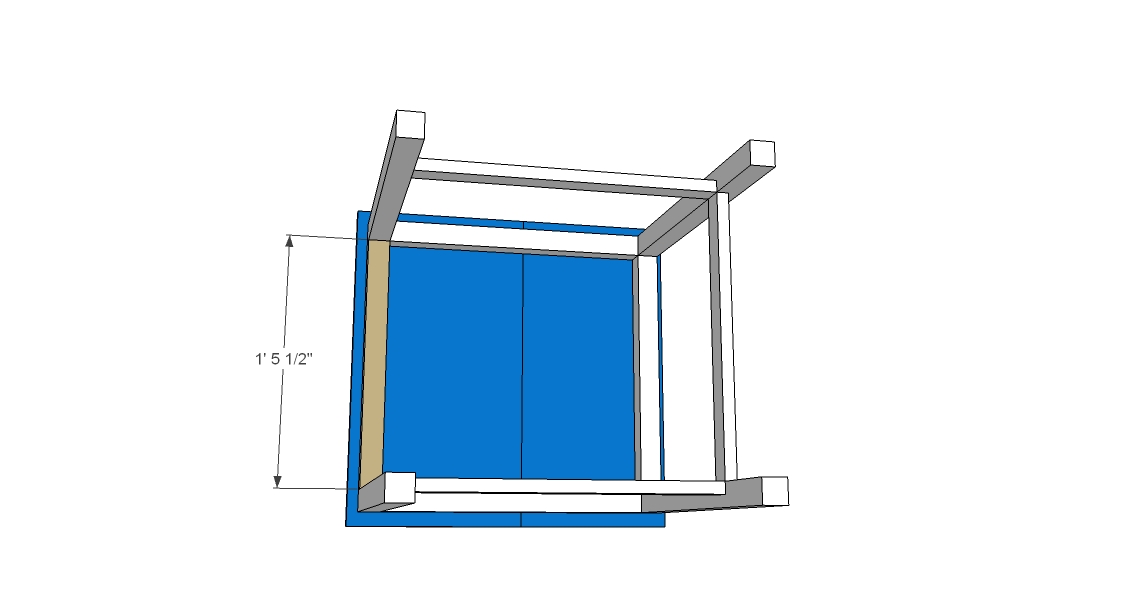
Here is the frame put together (before the angled pieces):
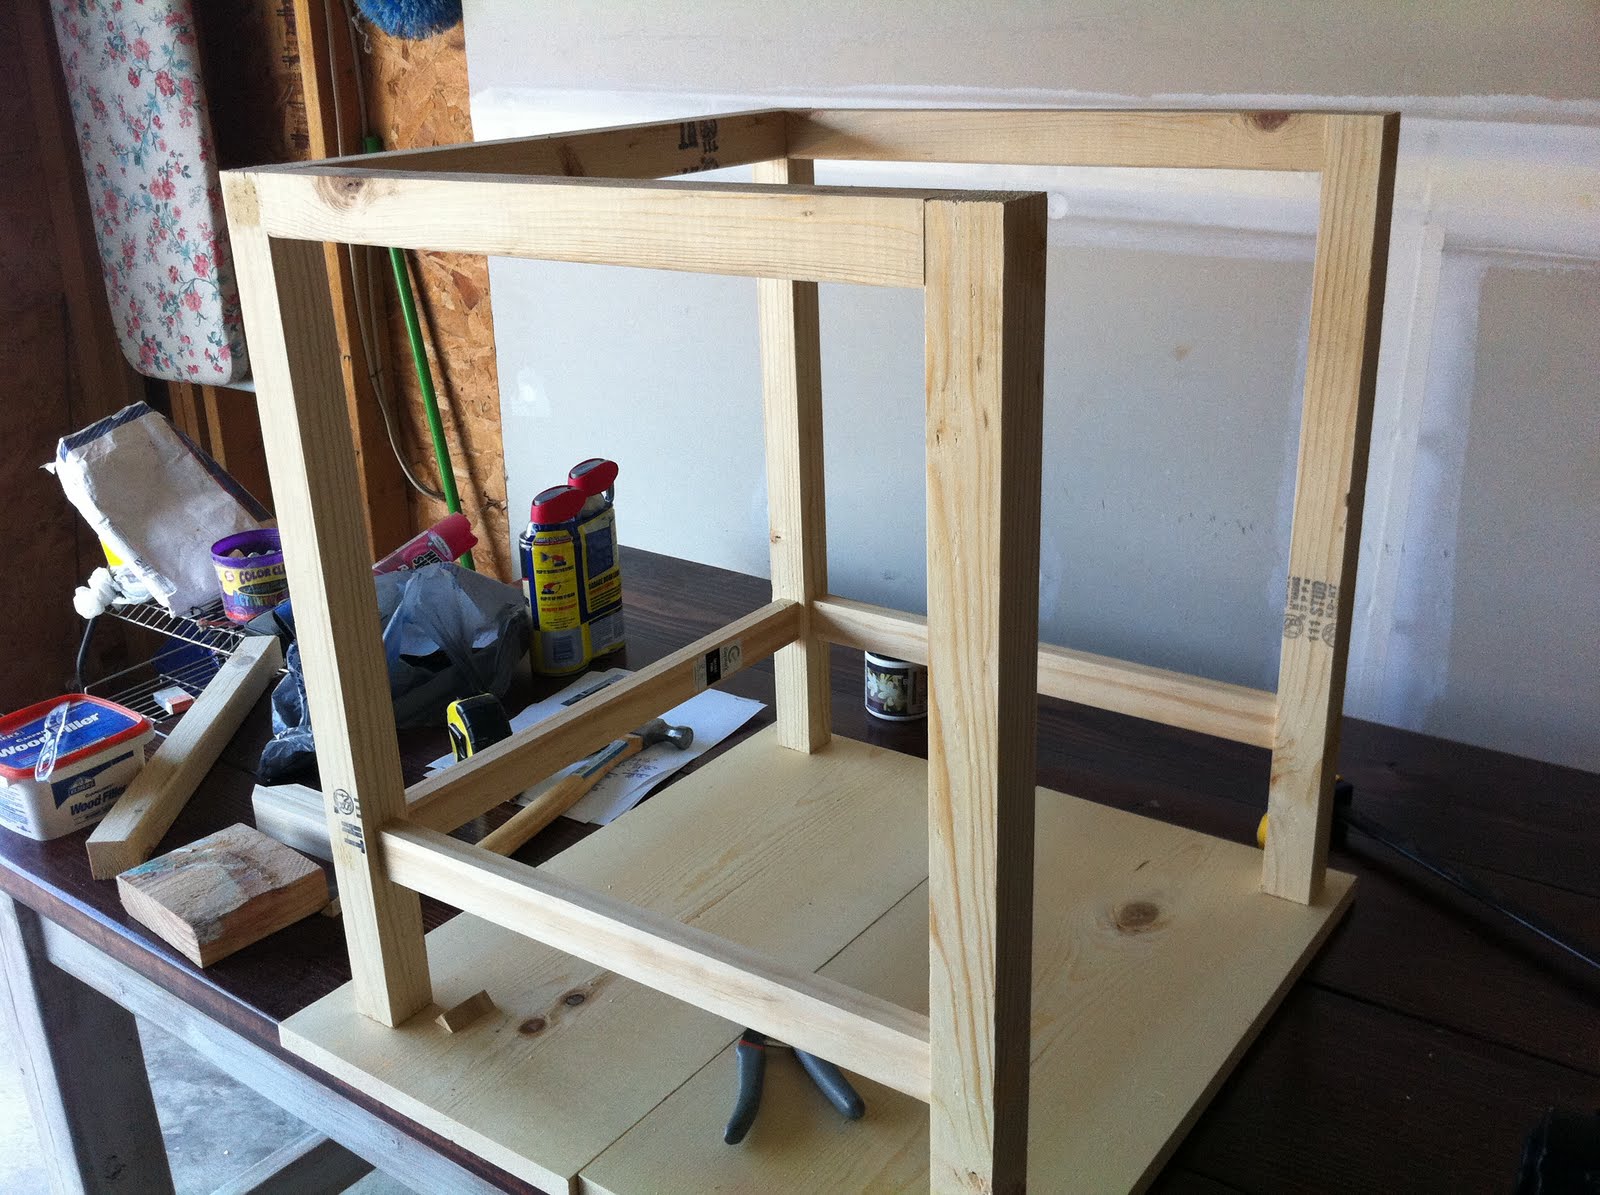
Another side:


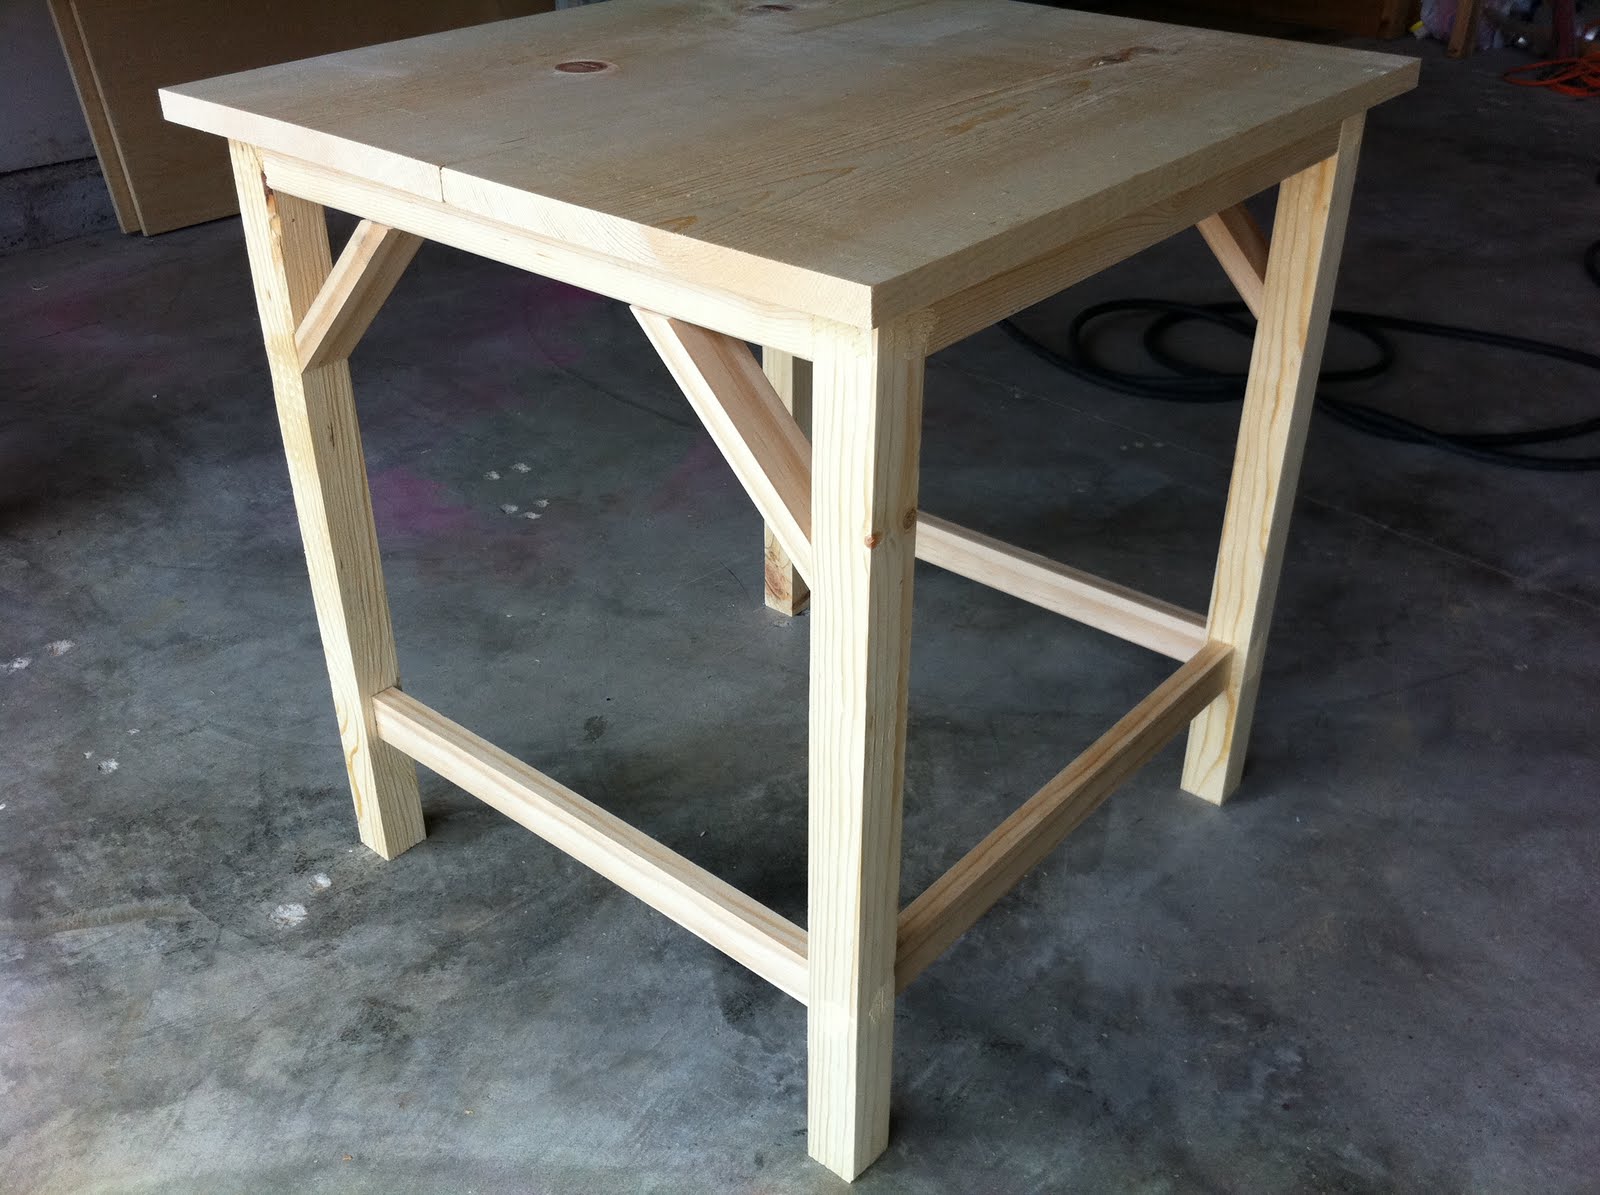
Press the angled piece flush against the top 2"x2" and the leg 2"x2". I used 1 1/4" nails for these.

I nailed the top from the top since I planned on painting. After the nail holes are filled and sanded you can't tell, plus it adds a bit of strength to the piece to have it nailed all the way around.

Then I took out my dad's router. I was intimidated by using it, since I had never done it before. After I tested it on a scrape piece, I realized it was much easier than I expected.

I routered all four edges of the top.

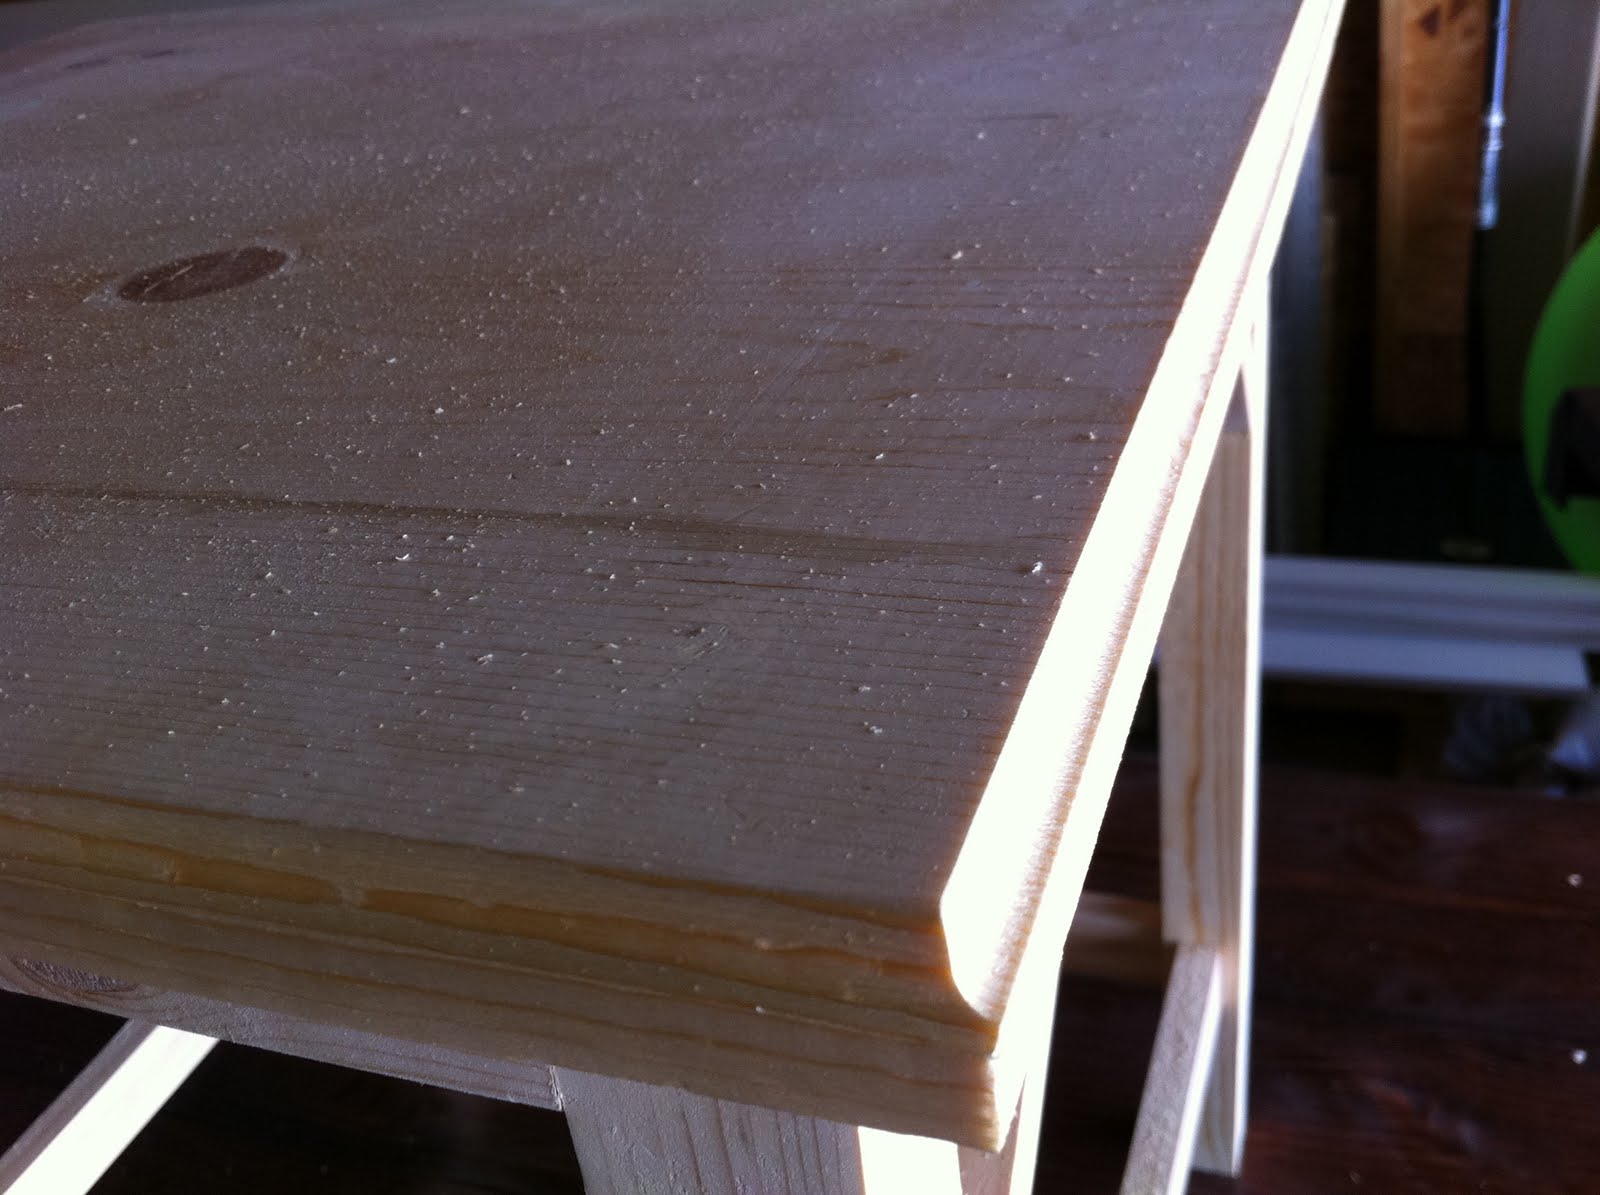
Then I sanded with 60 grit, then 220. And now I'm working on the paint. Here is the first coat of turquoise paint before any distressing or glazing. Ignore the fact that I'm painting it on my counter top. It was 100 degree this weekend and I didn't know how the paint would handle the heat - not that I was too whimpy to be in the hot garage ;) Hahaha

And on a side note, wear your proper saftey gear and pay attention when you use any power tools so you don't end up with a battered thumb. I decided not to share the pictures of the damage, but trust me when I say it isn't pretty.
Thanks for hanging out - Karen
These are the first plans I drew on sketch up. Please overlook the fact they are very basic :)
Plans:


Karen,
ReplyDeleteI think all your projects are just amazing. I am trying to start with my own projects and yours look fun. I will just have to keep reading...
@Sara Maeng I hope you find some inspiration for your projects. Thank you for your kind comment. :)
ReplyDelete