
Here is a picture of what the finished crown molding looks like:

As you see, the stacked crown molding has much more of an impact on the ceiling over the single piece of crown molding.
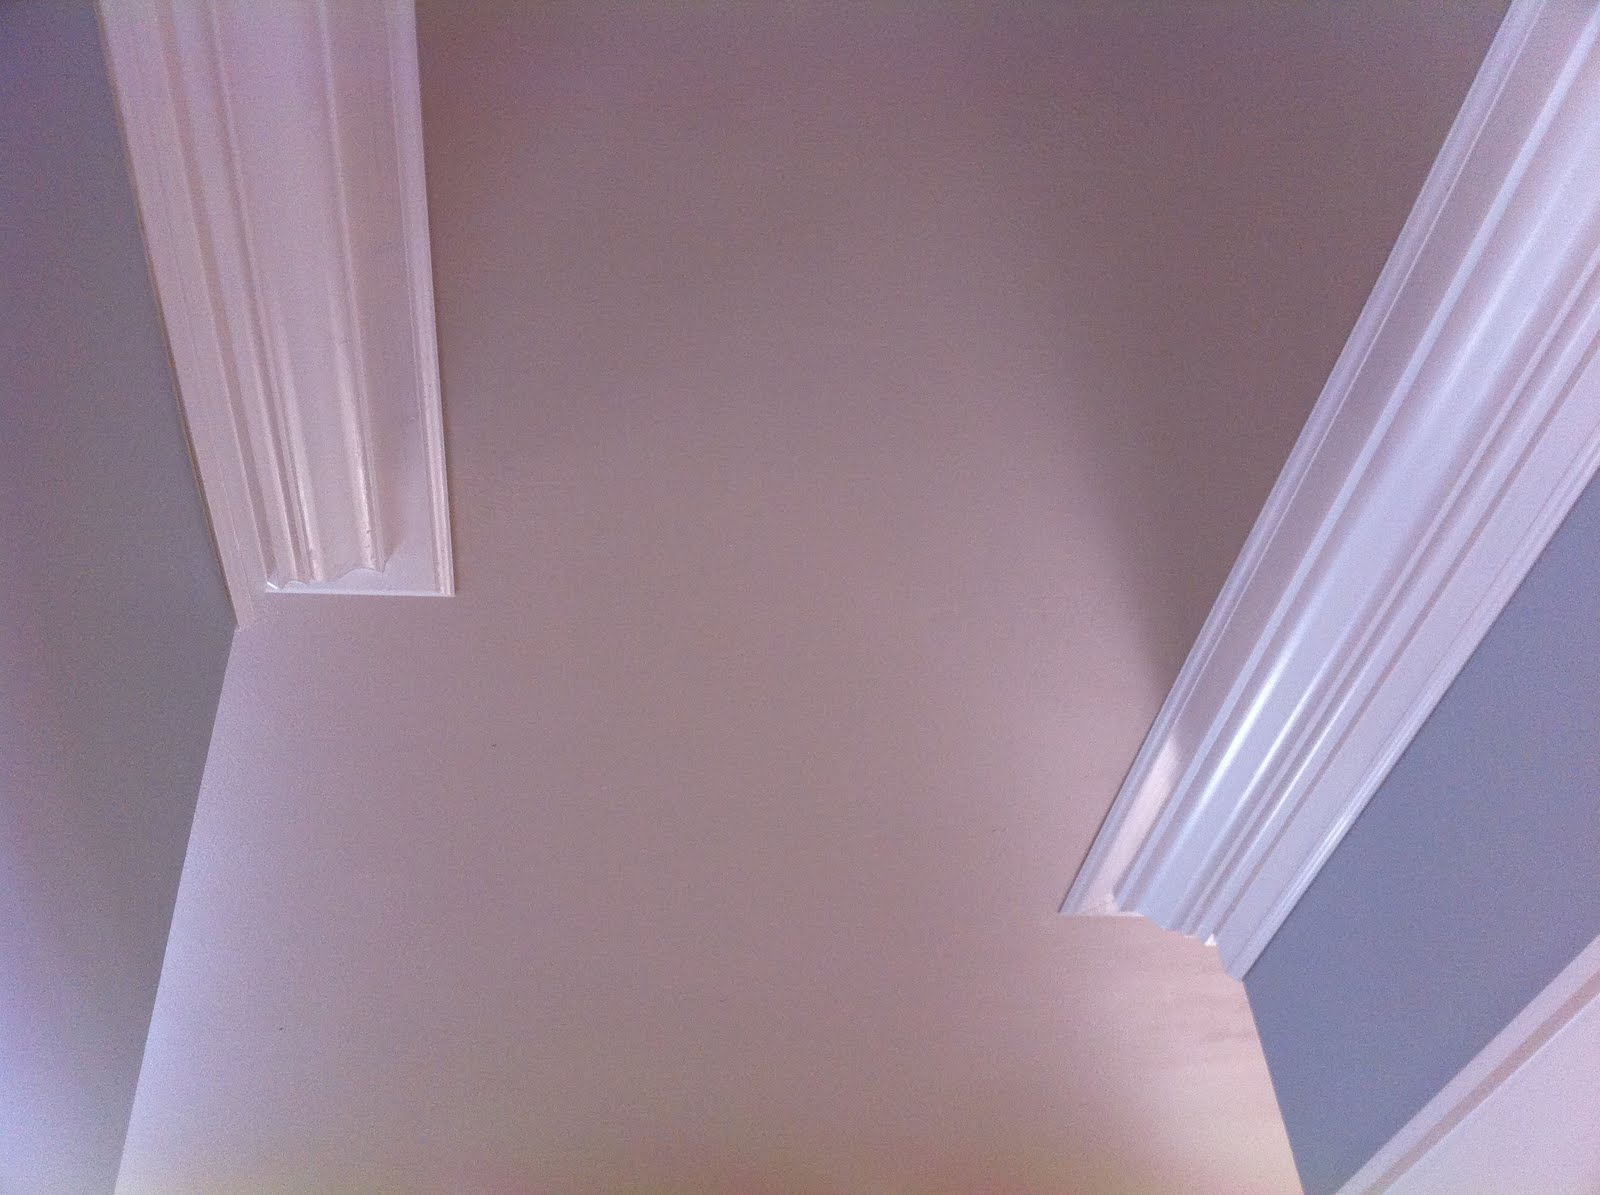
Here is a picture of the teeny tiny hallway outside the half bath (this little hallway separates the kitchen from the dining room) progress:
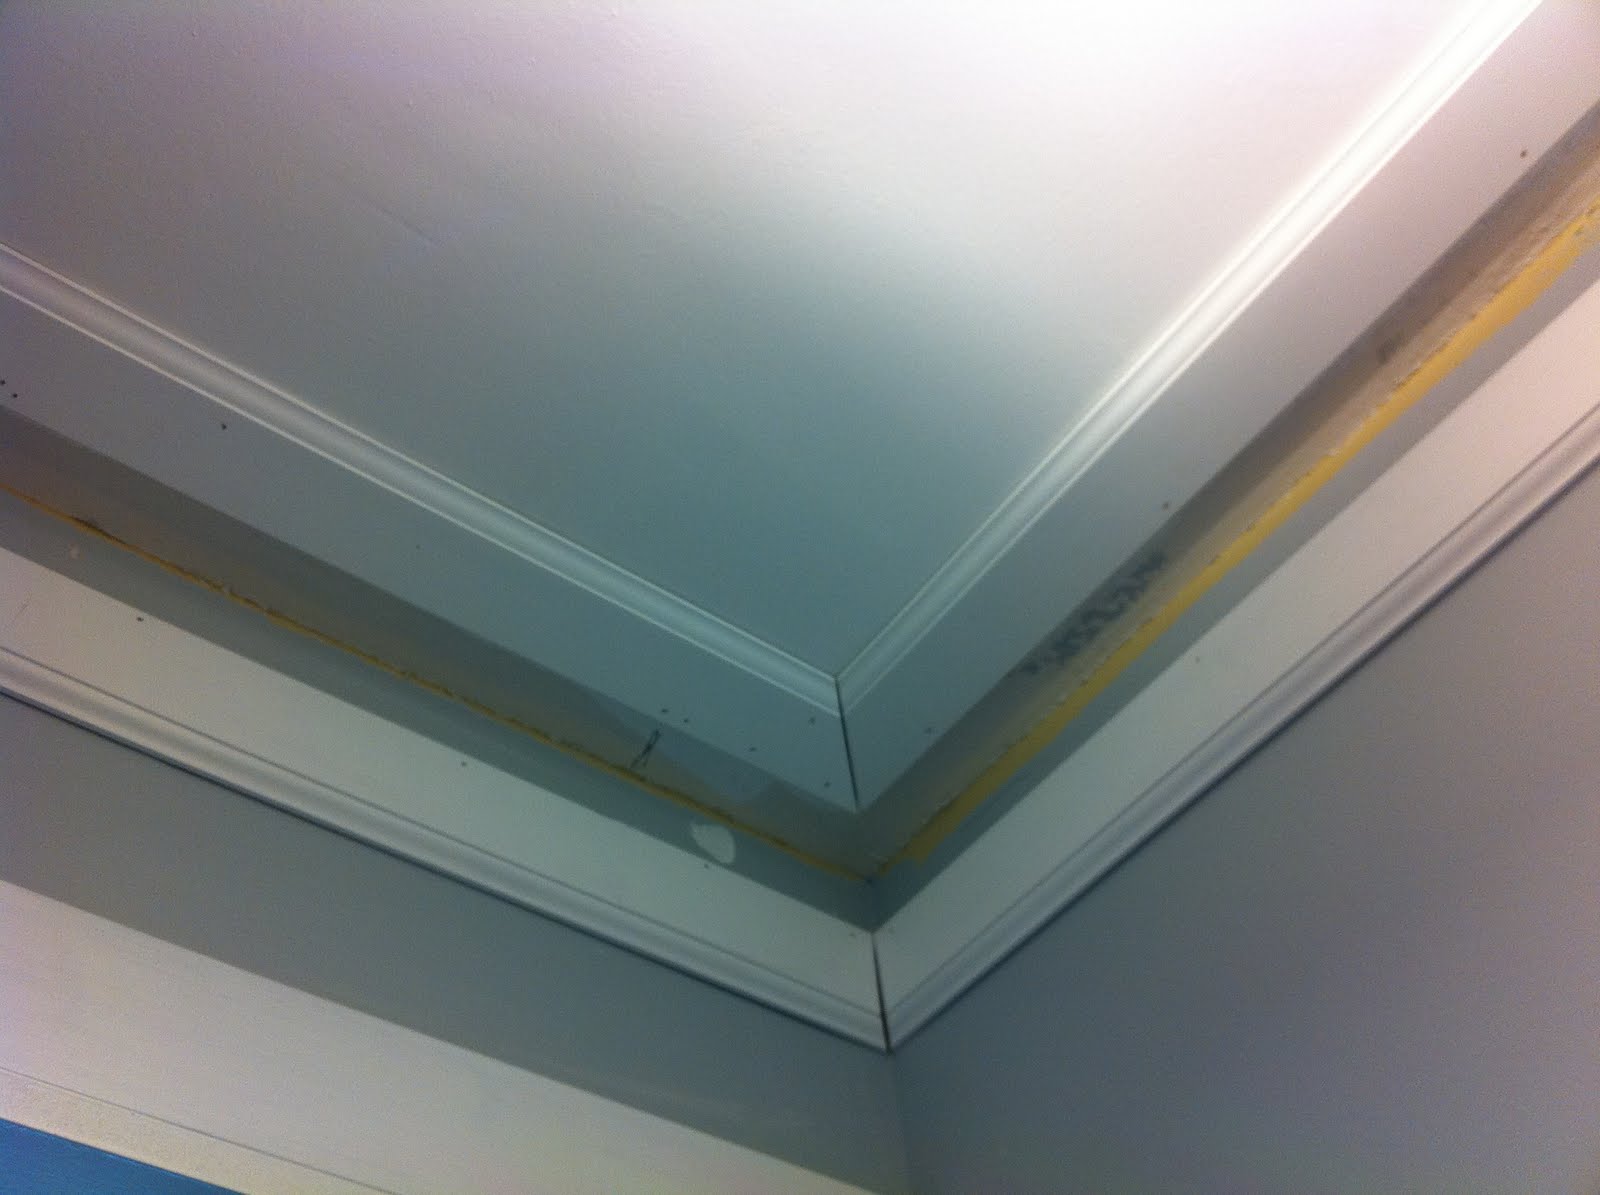
How I did the stacked crown molding. See in the picture how I put the baseboard on the wall upside down? I used my four foot level which just happens to be two inches wide and the perfect distance to space the baseboad from the ceiling. Then, I repeated the same space on the ceiling with the level and drew a pencil line. On the ceiling, the baseboard is set up with the top toward the middle of the room.
Here is the dining room progress. I still need to install the actual crown molding strip, fill the holes, caulk the seams and paint...but once it is finished, it will look just as great as the kitchen. It is so much work, but so worth it in the end.

Here is where the dining room started (for this redesign...you can see the Ryegrass wall color wasn't the first color). See the small crown molding?:

Thanks for visiting. Check back later this week to see the new breakfast room table.
nice..
ReplyDelete