

My room needs a large piece of artwork to hang over my bed. It has to add a huge visual element to the wall without the major dollar signs that tend to go along with art. After seaching for that perfect piece or pieces (without much success - even simple large frames or large mirrors seem to be quite expensive), I was playing with wood shims in my shop one day and a thought came to me.
I set out and searched the internet to see if a similar wood shim art piece had already been done...it has! I didn't know if I should feel bummed that I wasn't as creative as I had thought or if I should revel in the fact that there are others out there with great ideas and who aren't afraid to share them with the world.
Kudos to a terrific art piece by Stephanie at Under The Table and Dreaming in creating this piece:


Then I found this picture on Ready Made and WOW!!!! What an impact.

I had been thinking about using old wooden pallet boards to create a wall like this, but the shims are so fun.
Anyway, I have my shims laid out and ready to attach to the board (like the first piece of art above). I'm going to assemble it tonight and let you know how it turns out. I hope it is as easy as her tutorial makes it look. Wish me luck. :) Top photo is of the stained Shim Art after I finished putting it together and staining it.
Here are the photos of the layout (finished tonight):
I started with a 1/4 inch 24" x 24" of precut plywood from Home Depot and laid out about five packs of shims. I used some scrap 1/4 strips for the border.
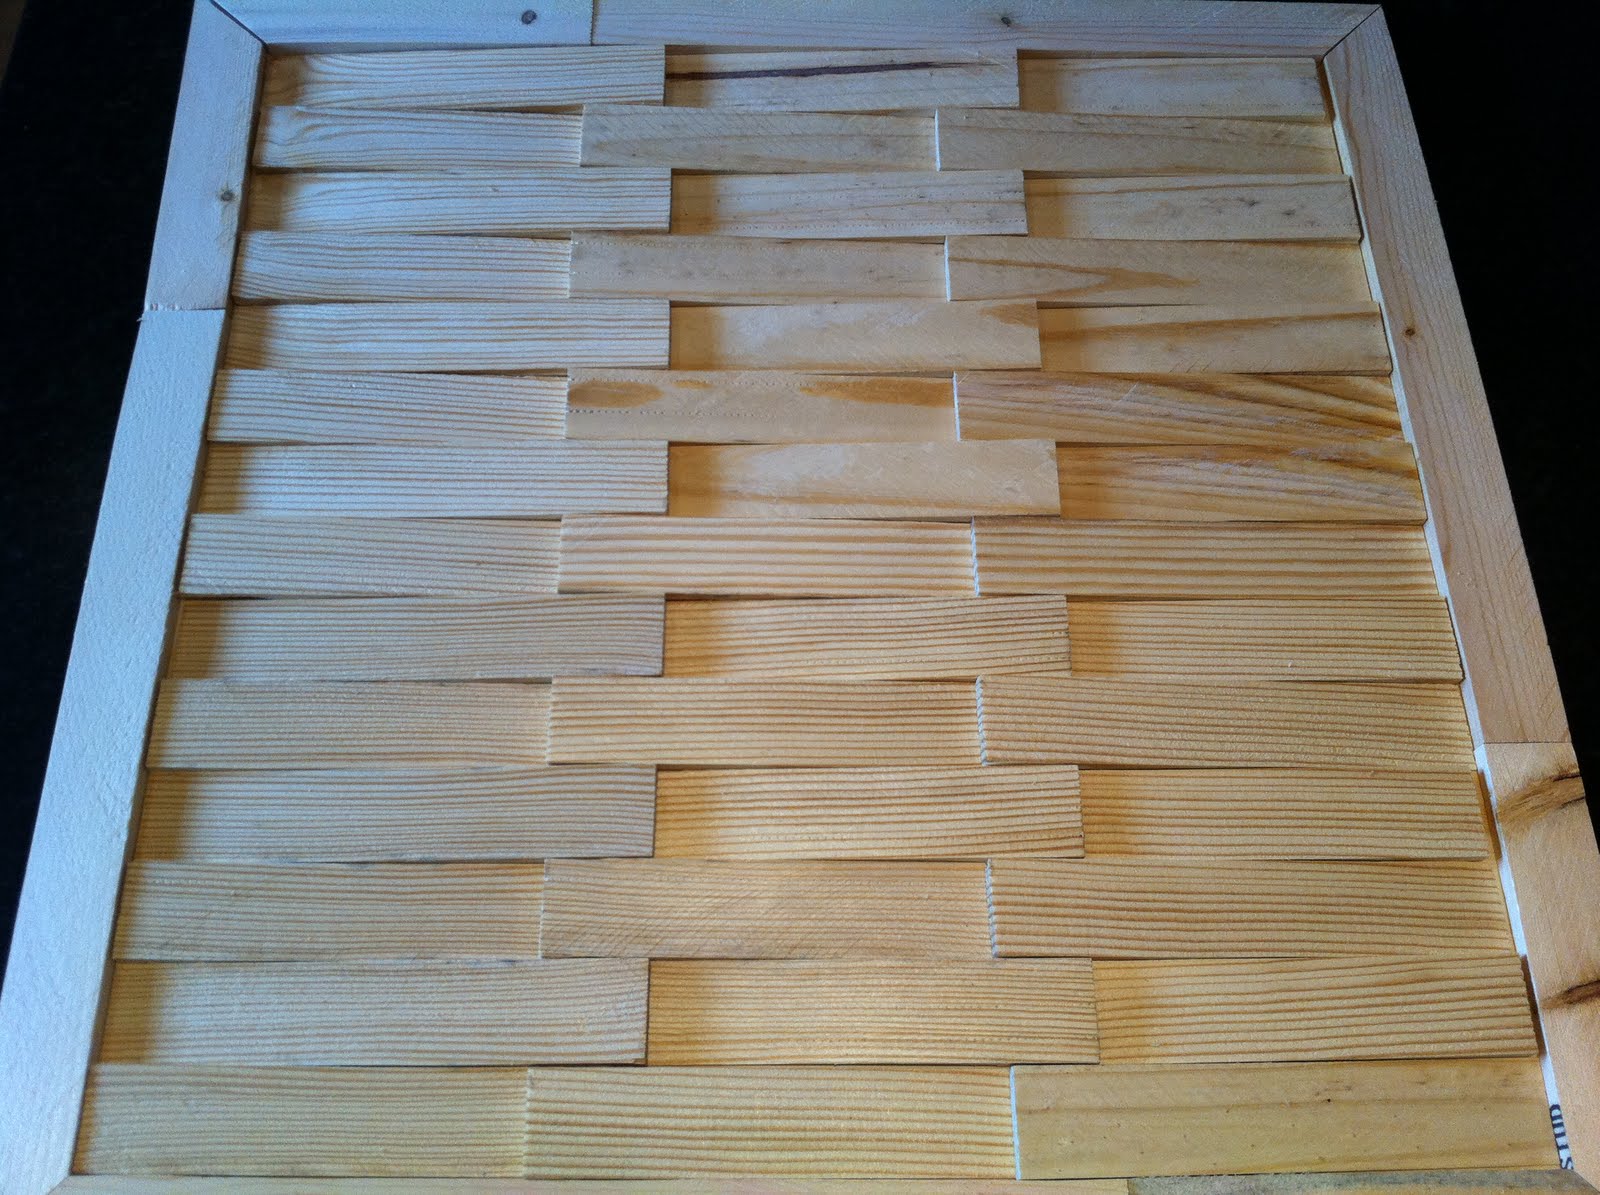
Made sure I liked the staggered joints and had one row stacked in one direction and the next row in the opposite direction. The shims are just stacked right on top of each other and spaced out uniformly in a pattern. Then, I glued them to the plywood with wood glue-a lot of wood glue to make sure they would stay.

I'm really loving the layout and the pattern.

I used Early American stain color. Here it is after one coat.

Ohh-I have a large blank wall going up my front stairs--something like this would be gorgeous there.
ReplyDeleteThe great part about making something like this (besides the small price) is that you can make it to fit the size and shape you need. I'd love to see what you make.
ReplyDeleteThis is very cool! You are so talented! I will definitely add this to my list of things to try.
ReplyDeleteThank you Julia. :)
ReplyDeleteGreat piece.
ReplyDeleteI'm glad you shared your piece.
Thank you June. It is fun finding new uses for things.
ReplyDeleteI love how this looks, and if I can pull it together, I'll paint it white to contrast against the wall color in my bedroom. This could work above our King bed, too!
ReplyDelete@Gina @ MoneywiseMoms Thanks so much.
ReplyDelete