Showing posts with label Popcorn Ceiling. Show all posts

Swiss Cheese Anyone?

Pin It
This is a tale of my short trip into madness. 

If you have ever tried to run electrical lines in the ceiling of the first story of a two story house, you will feel my pain. 

When I ran them in my kitchen a couple of years ago, I don't think it was this challenging.  Maybe it is like childbirth, you forget the pain when you see the finished result?

I set out with the goal of adding a bit of light to this small, one light fixture/no window 6'x6' half bath.  (If you remember, the idea was just to freshen up the paint in this room, but I'm so past just a coat of paint now.) 

This is the ceiling.  Isn't that some pretty popcorn on the ceiling? 

I know.  Don't worry. 

This is the second to last ceiling on the main level with popcorn I need to tackle - aka I will soon stop talking about it all the time and move on to another pet peeve.


Here is step one of the madness - make a few holes to run a line from the light fixture.

Easier said than done on this ceiling. 

Double header, joist an inch inside from the header (fail on first ceiling hole)...ugh.  I sent my co-worker a text asking if she had any ceiling art work I could add to just scrap the project.


No turning back now. 

Next step - I press on to get access to the wall so I can drill through the header.
Note - I don't have fancy drill bits that all the cool electricians own.  They probably have lasers and magic too, so I am a bit jealous of them.


Take a step back and figure out a game plan...What?  Do you plan BEFORE you knock holes into walls.  Geez, that sounds boring.

Game plan (with cool coach diagram):

Wire needs to go from point "A" to point "B", through two joists and then weave around a rogue air vent added by the builder ten years ago for the exact purpose of messing with me today.  Those prankster HVAC guys.  Haha!
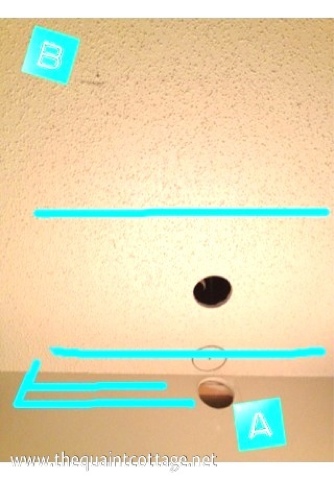

So, instead of running to the hardware store to get the drill bits I need and spend $$$, I remembered I planned on adding paneling to the ceiling AND the back wall behind the toilet and sink....maybe I did plan it after all.

In honor of the Marvel comic books, I went Hulk on the drywall...

Well, if Hulk used a keyhole saw?

Then the final step of the day, thread the new electrical line.  The fishing line (not the fancy name electrician's use) where you tape the line to the metal wire and fish it thru the holes didn't want to work either.


I am waiting until Saturday when I can devote the whole day to installing the paneling on the ceiling and the wall before I install the lights.  I mean, that would just be silly if I didn't wait.  Right?

You are welcome to set down your soda now and burst out laughing at my drywall.  I did.

See you on Saturday.

Karen

Disclaimer - this is a blog of my projects, not an instructional how-to blog.  Please use it for your entertainment and do not attempt to make this mess in your own home.

Popcorn Ceilings are My Enemy

Pin It Today I spent four hours scraping popcorn from a small 10'x10' room. If you have done this before you know it is very time consuming and messy work. However, this ceiling had a multi layer paint amour trying to conceal it which hindered the water penetrating the layer of popcorn.  Normally, it would only take about two hours to scrape this size room. 

How do my arms feel after scraping for four hours? Like jello. But, now I'm resting up for an entire day of installing hardwood floors because these arms are going to be screaming using the heavy hammer to nail them down. But trust me, I'm not complaining. The finished product is always worth the work.

If you have never scraped popcorn and are thinking about it you need to understand two important things. 1) It is VERY messy and 2) I'm a bit crazy when it comes to these things. What may not be a big deal to me may not work for you.  I'll let the pictures help you decide.  Neat freak folks may want to brace yourself.
Finished Ceiling   (I'll prime it in the AM before I start the floors)
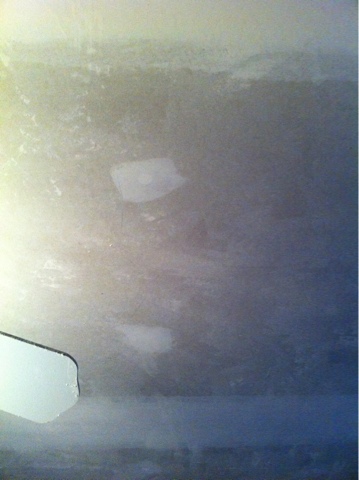
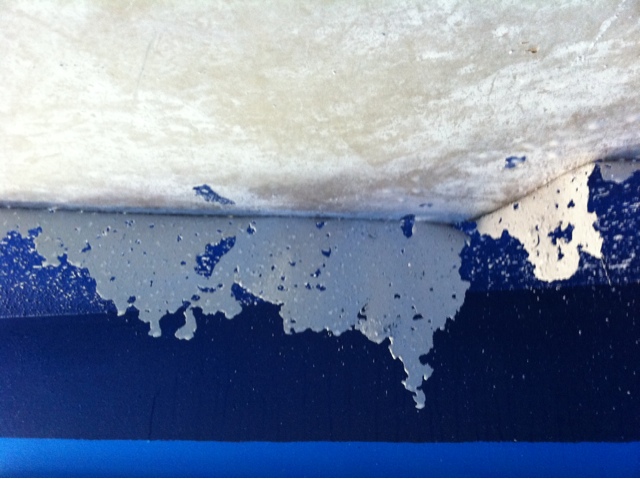
Here is the ceiling after I started to scrape without water.  If you try to add water to a painted ceiling like this before adding the holes (where the popcorn was knocked off) you will be wasting time and water.
It took me a half an hour to just get an opening started (spraying water and scraping)
It is starting to come along, but very slowly
Sometimes the angels are singing and you can get a piece going (adding water at the edge on the ceiling)

 
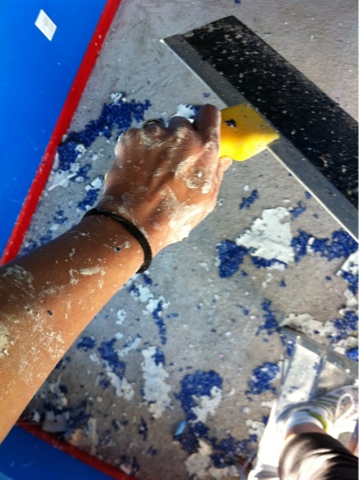
Use the drywall trowel at a 45 degree angle pushing away from you on the ceiling, kind of like scraping ice from your windshield but over your head (sorry warm climate people for not understanding this reference).  Be sure to keep it flat.  If you use too much pressure on an edge or if you aren't at the correct angle, you will rip the drywall paper or create a hole.  You can always go back and patch, but you want to avoid it to save your time.  Start slowly until you get the hang of it.
By the way, this was my less used arm after only about 12 square feet.  I couldn't even touch my phone to take a picture after that.
Be prepared for a horrible mess.  If you aren't planning on ripping out carpet, you will need a tarp or plastic and a drop cloth over it.  Leave a towel on your ladder to wipe down the excess water that will run down the walls.  Also leave a towel at the doorway where you can kick off your shoes.


I think of it as an awesome arm workout...for four long hours.

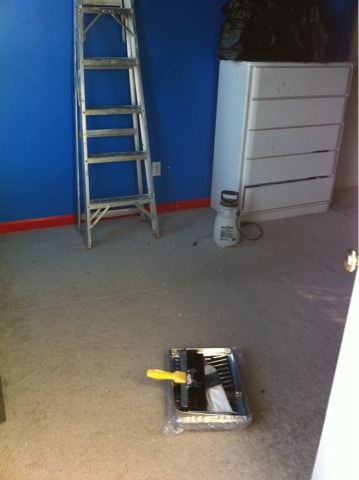
These are the tools you will need - drywall mud trowel, ladder and water sprayer (it is over by the dresser, I think they can be found in the lawn and garden or bug spray area of the hardward store)  If you try to use an ordinary water bottle, it will take you a long time.
Ready for the leg workout tomorrow.
Sweet dreams :)

Special Note:  If your house was built before 1978, please have a test done on the material before you remove or disturb.  Lead paint and asbestos could be used in the ceiling materials and/or paint of houses built before the law changed.  My house was built after that and all of my previous houses (built before 1978) didn't have popcorn ceilings.  I think it was more popular in the 80's and 90's for this texture.  Better to be safe, so if you are uncertain, contact a professional. 

Slow Progress with the Dining Room

Pin It

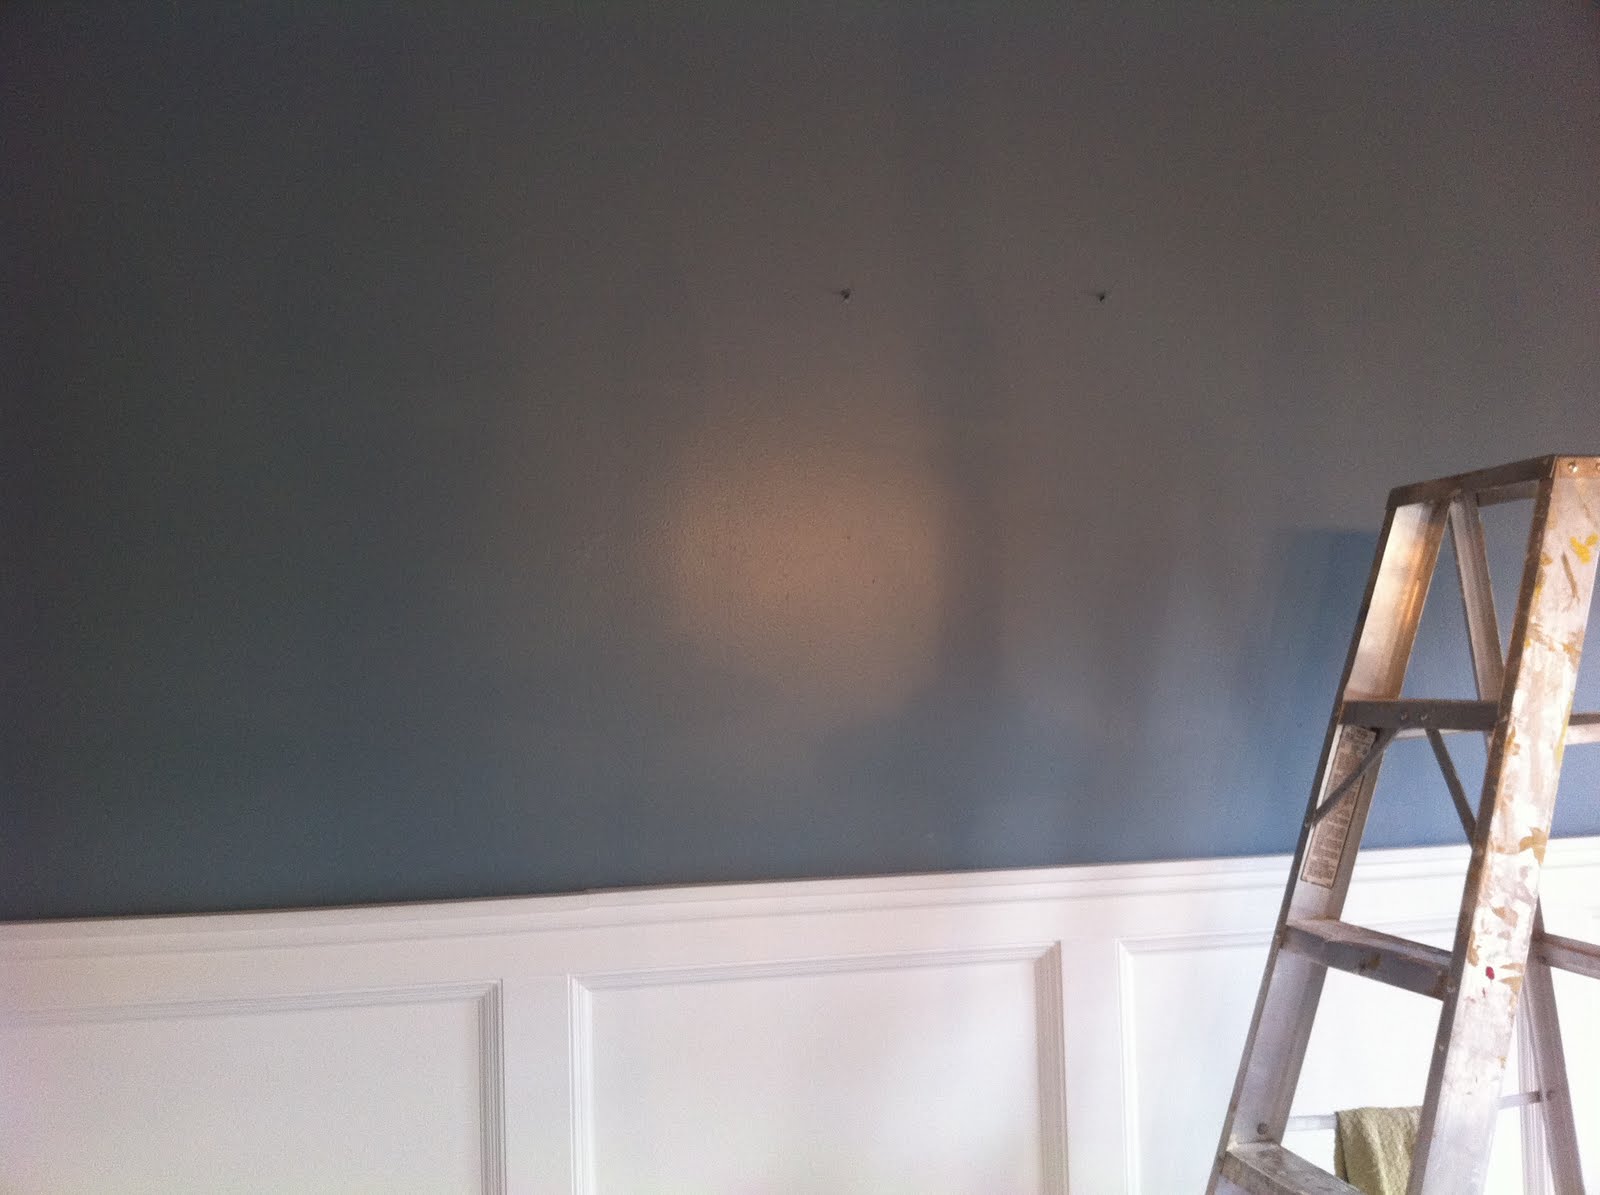
The color change was supposed to be more gray than it turned out.  Even the color said it was Shale "Gray".  However, once I painted the walls, it looked more blue than gray.

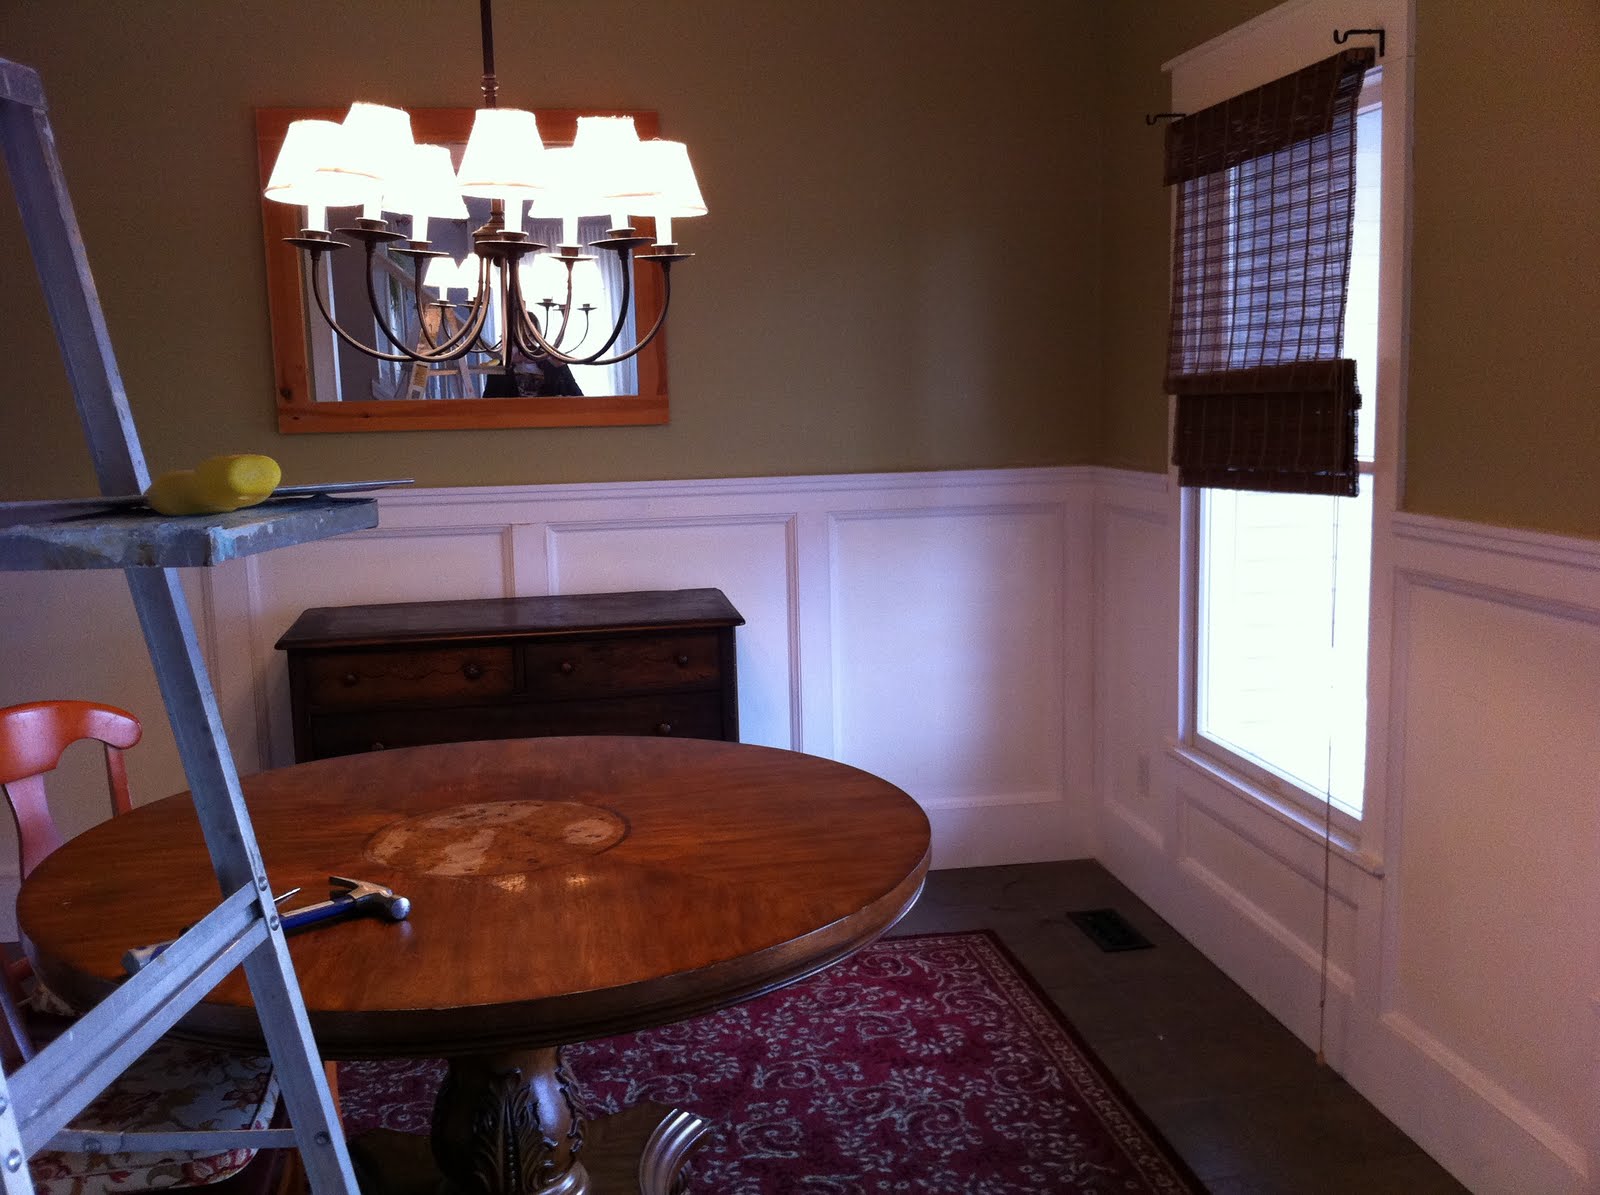
Starting point of the dining room.  I had installed a more layered looking crown molding in the kitchen, so I ripped out the crown molding to redo the look. 


Soaked the popcorn ceilings with water and scraped and scraped and inhaled ceiling debris as I removed it.  Such a messy and gross process, but I found after the hard work and a gallon of primer and eggshell paint on the ceiling it looked amazing.  The nine foot ceilings truly looked taller.  The popcorn ceilings and flat paint really lower the height of the room.

Did I mention it was a messy job?

But, after a couple of hours (and a nice arm workout - bonus!)...  Popcorn be gone!!!


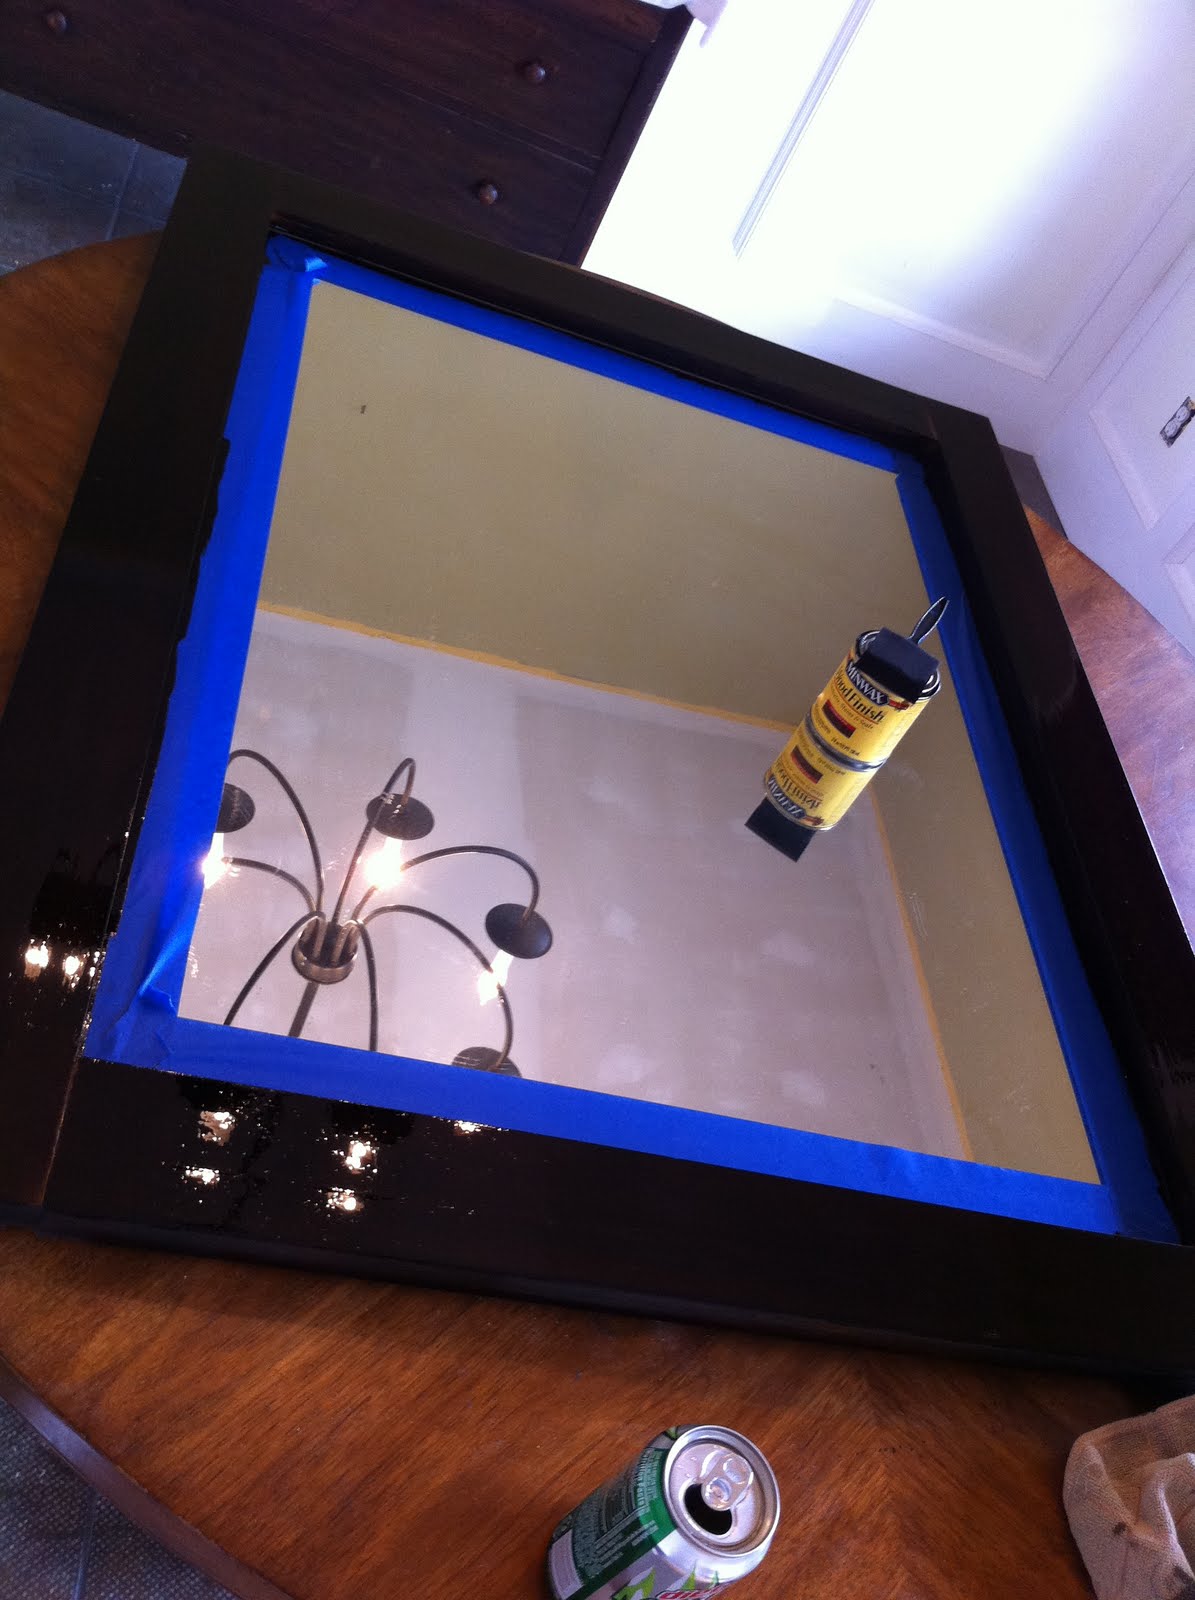
I get distracted so easily.  I took a break before priming the ceiling to stain the old wall mirror.

 Here is the painted wall.

Freshened up the white with Behr's Ultra White.

I'll finish the crown molding and add photos of the "finished" room.  But, really?  Is a room ever FINISHED?  Not in my house.

New light fixture I found on Amazon.com:

New chairs from Target (and my daughter's messy art project)


Thanks for stopping by and checking out this post.

Karen