
Anyway, I needed to build them to replace the ones that were falling apart that I had already removed. The ones I replaced were great...at first. Like with most reasonably priced (my budget) furniture - it never lasts long. However, I found the furniture items I had built in the past were very sturdy and could stand up to my children...BONUS! I decided to build my own bar stools.
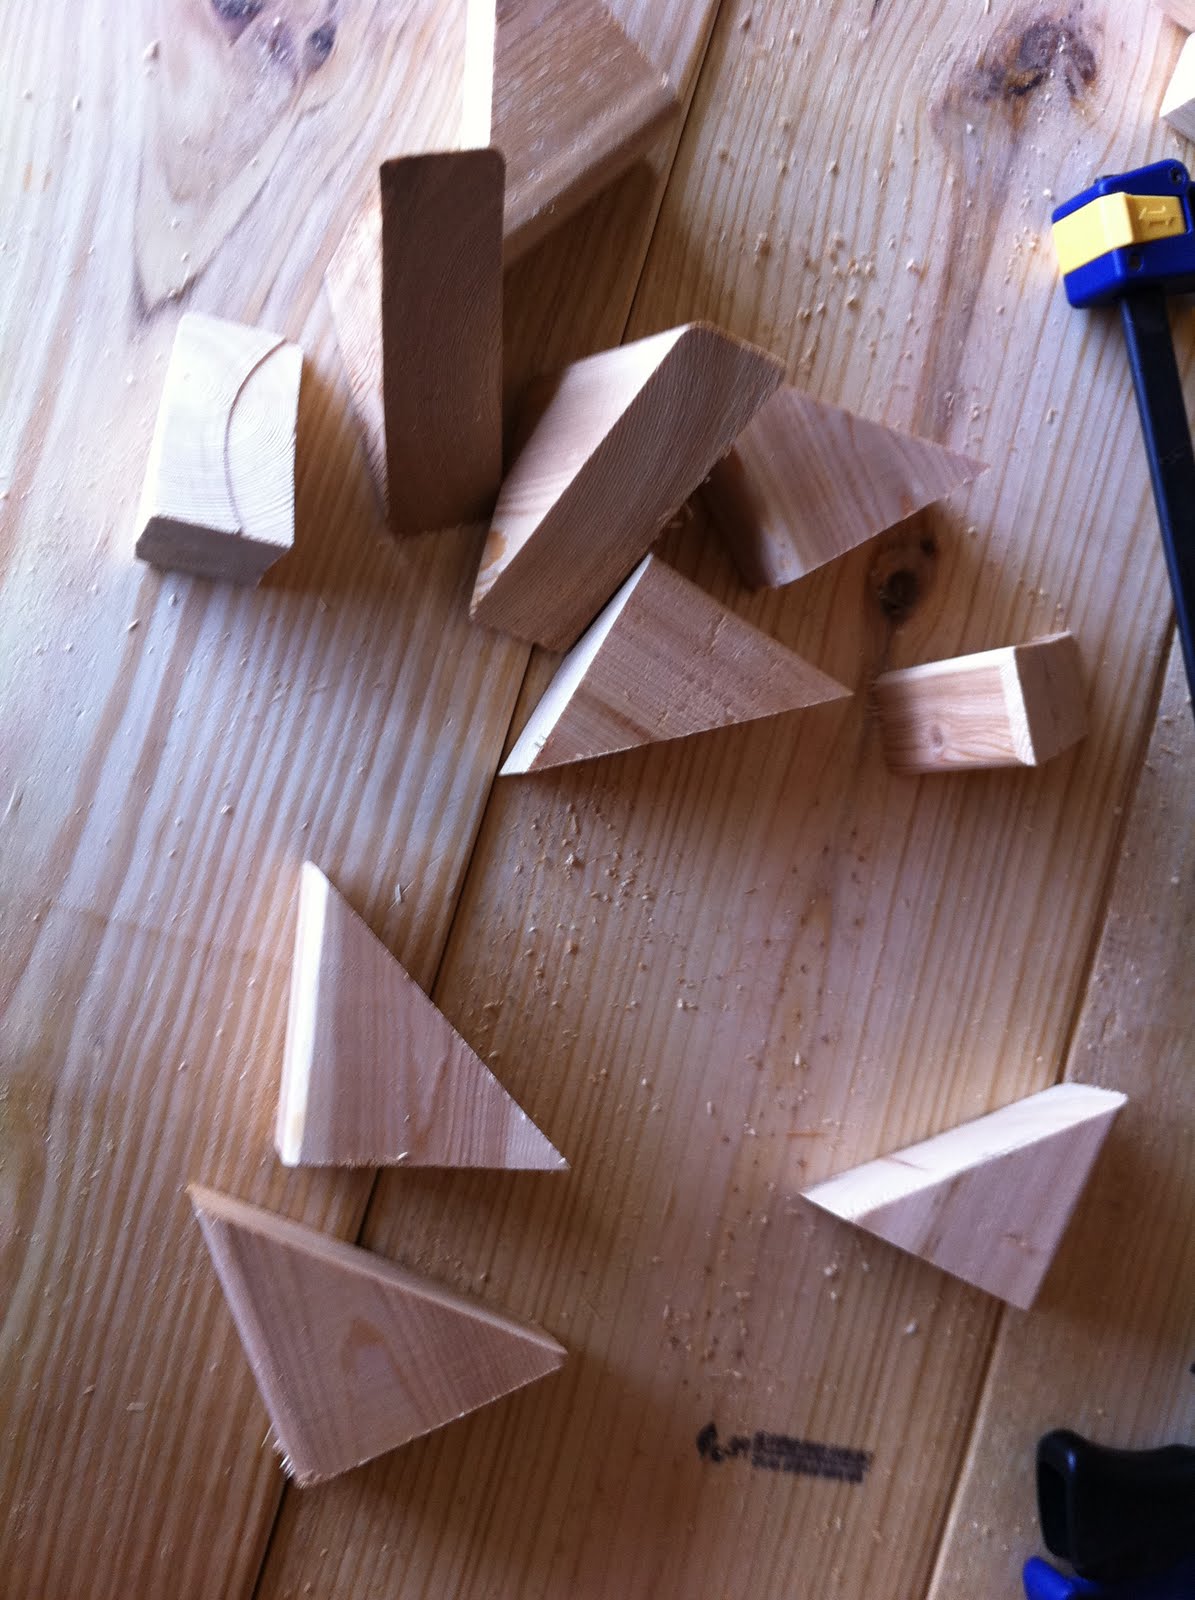
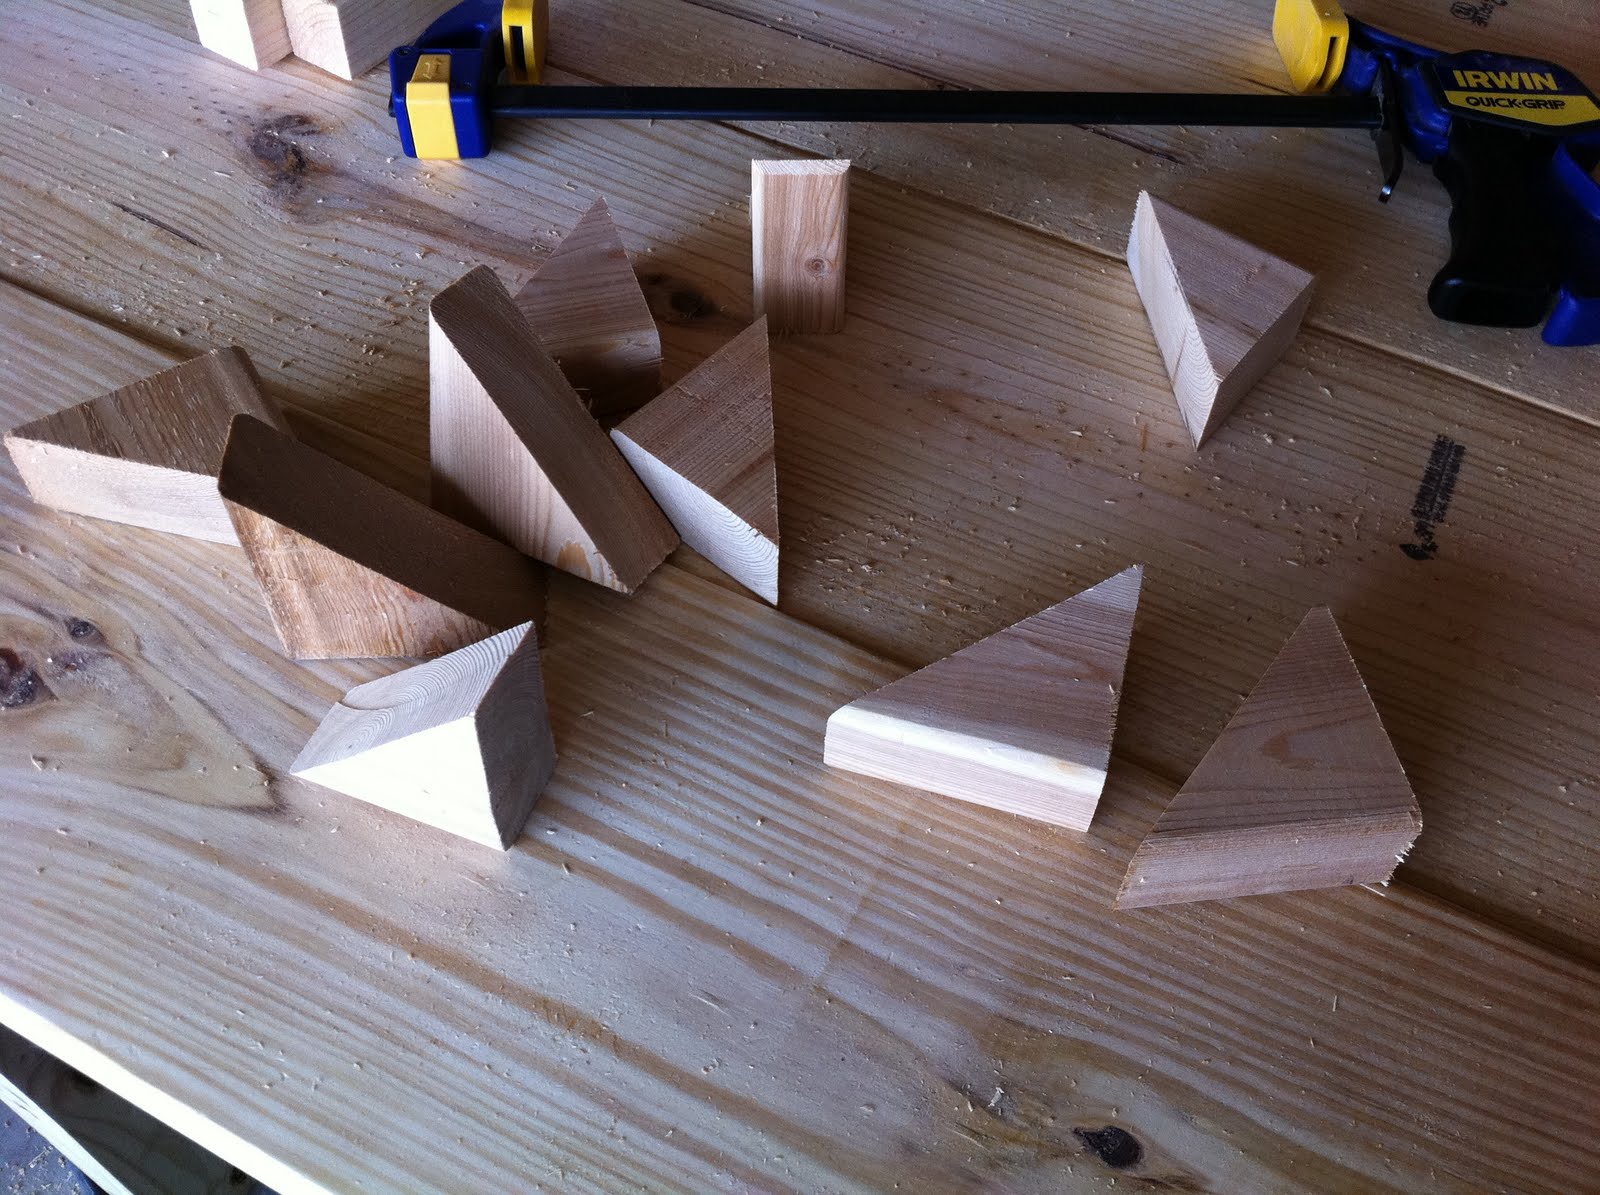
Here is the picture of all the cut pieces:

Cut List (per chair):
6 - 11" 2"x2" (cross braces for legs)
4 - 22 1/2" 2"x2" (legs)
4 - 11" 2"x4" (upper cross braces for legs, under seat)
3 - 16" 2"x6" (seat - screwed together with Kreg)

You can take this time to fill those Kreg holes on the interior of the stool. Since I was staining and didn't think anyone would look inside the stool, I didn't bother. However, down the road I may add a paint technique on the legs to make it look old and rustic, so I might add wood filler down the road if I change it.

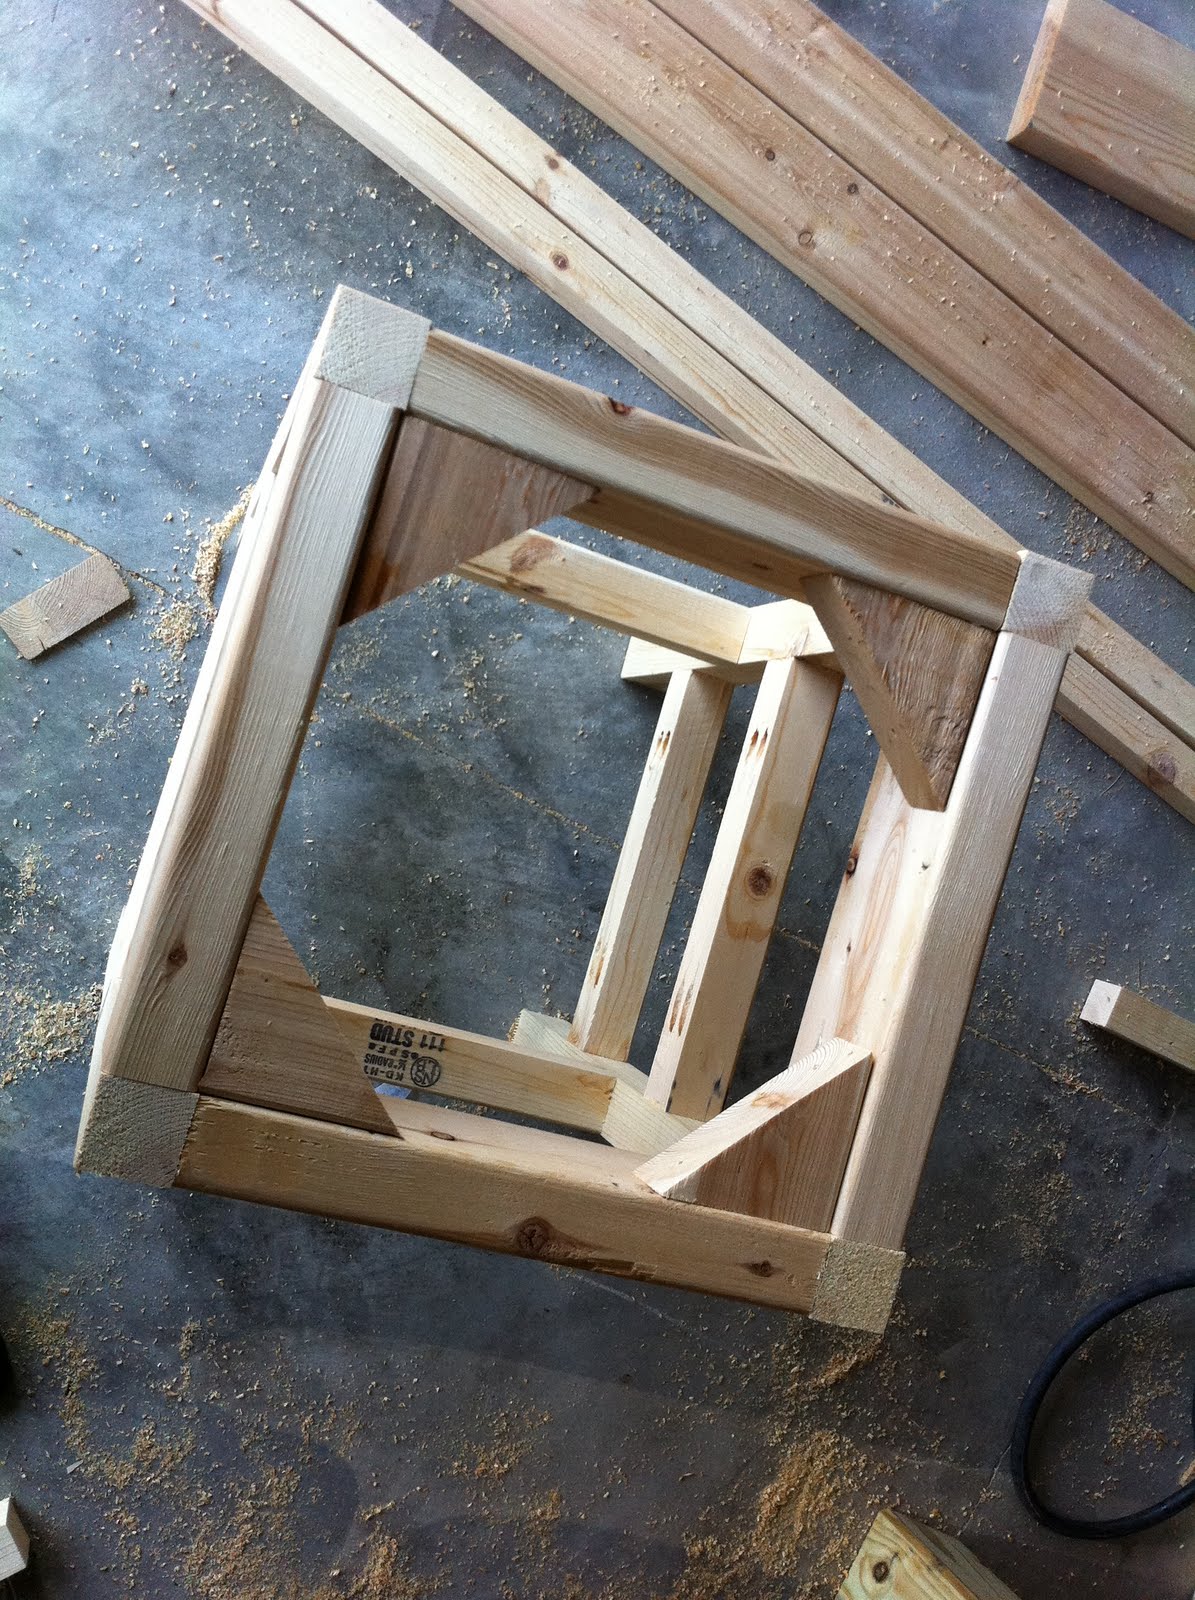
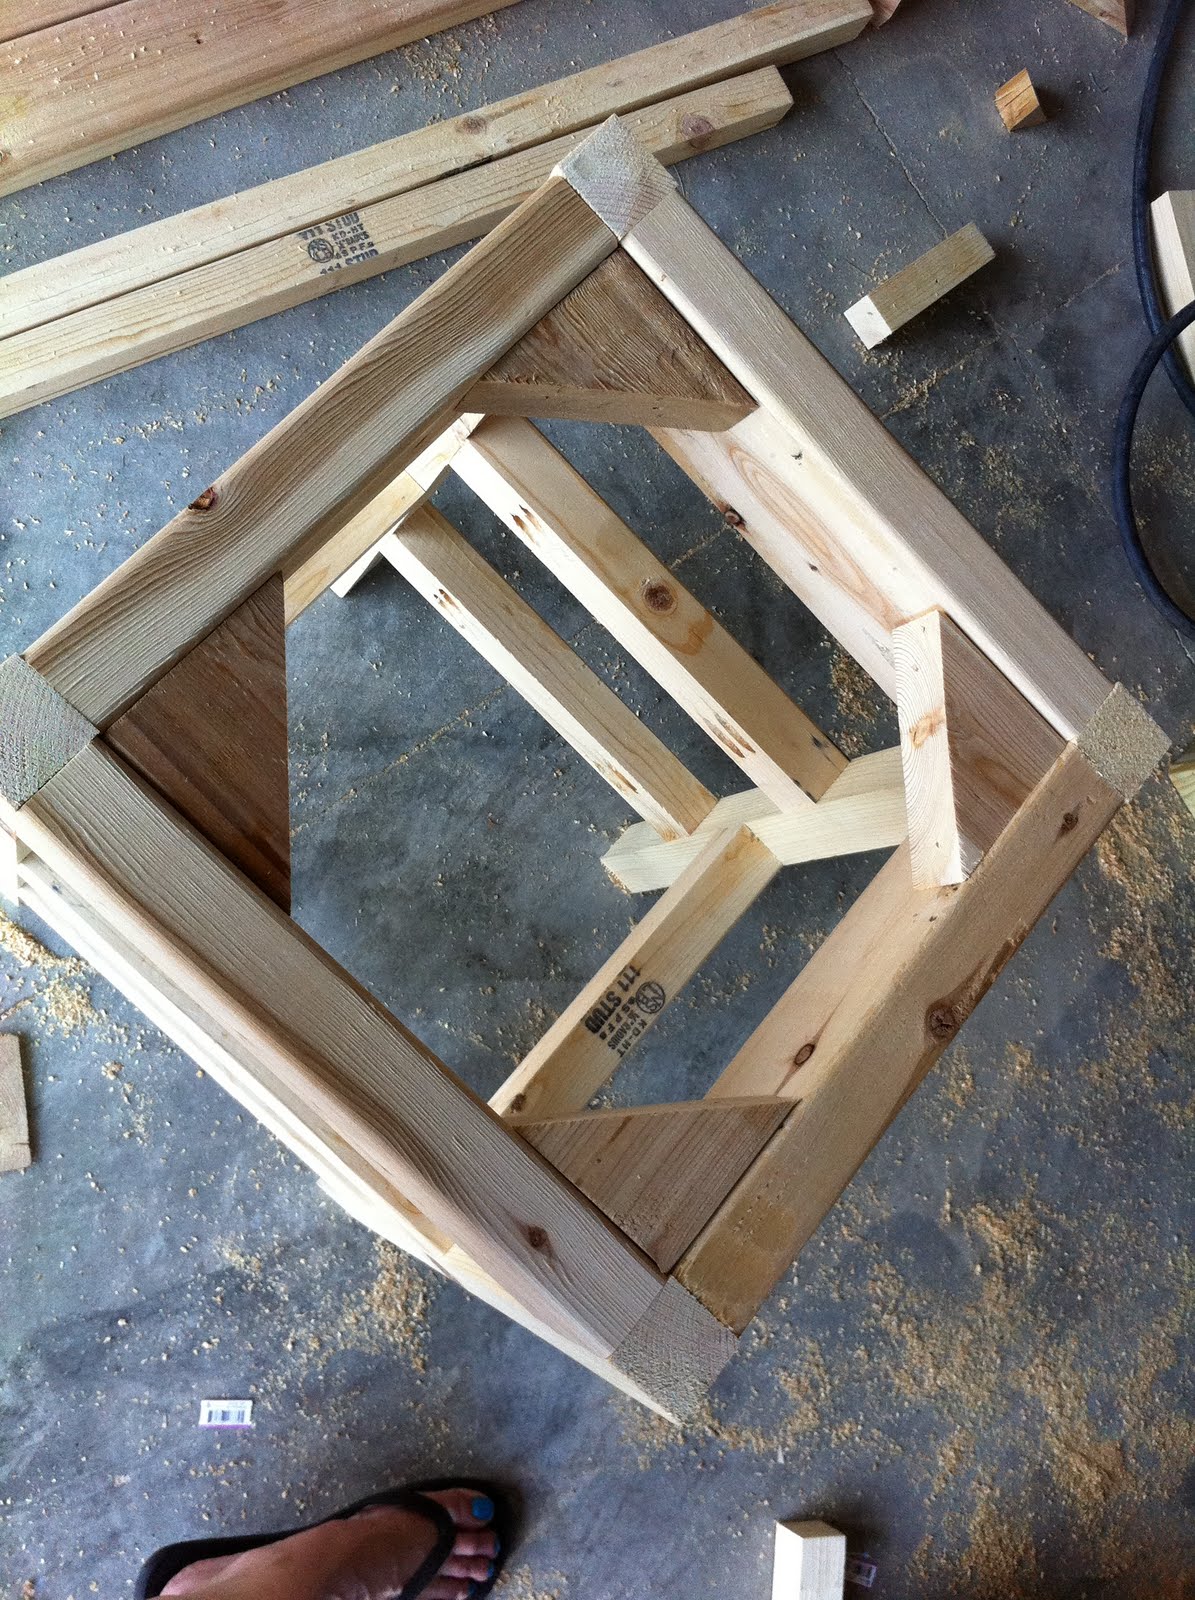
If you don't use two screws on the little slats, they will move when people put their feet on them. I used the clamp to hold them in place while I screwed everything together so it was where it needed to be.


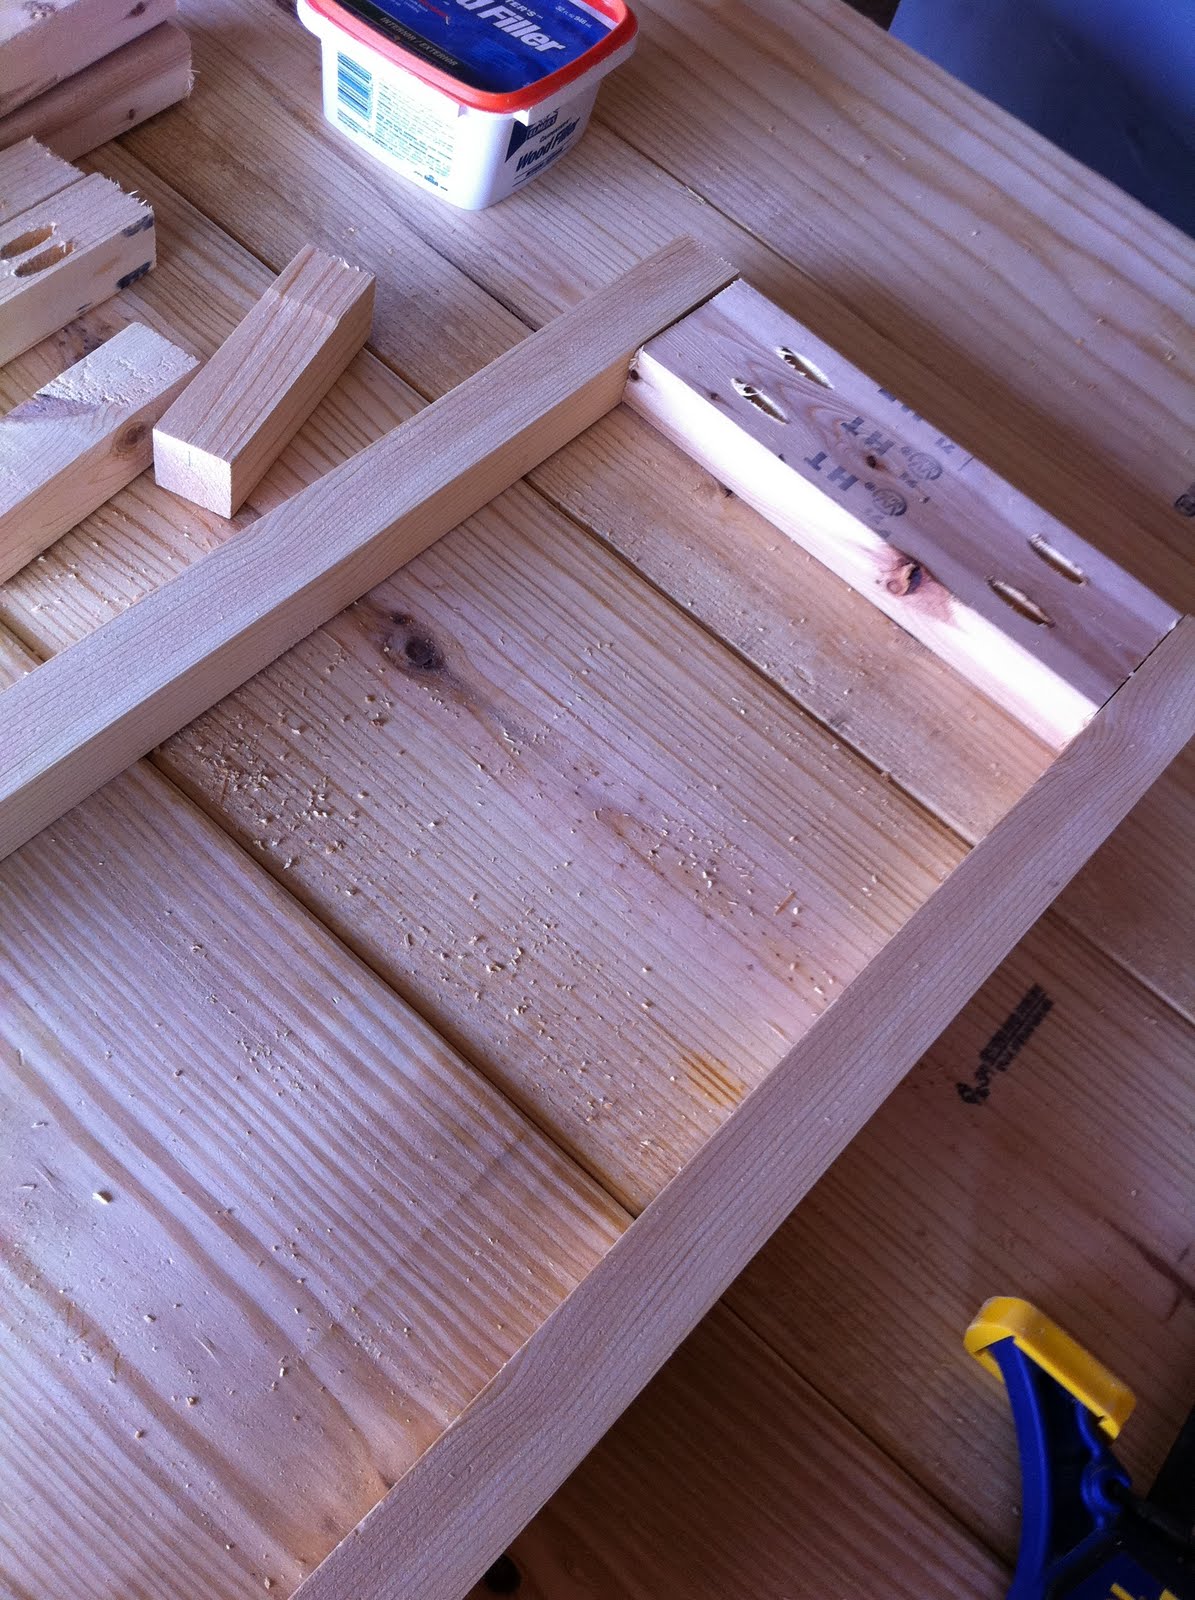

When you complete the two sides with the three slats, you will hold those up (opposite from each other). You will need to make your plan for this part based on if you are using nails or Kreg for these two slat piece sides.
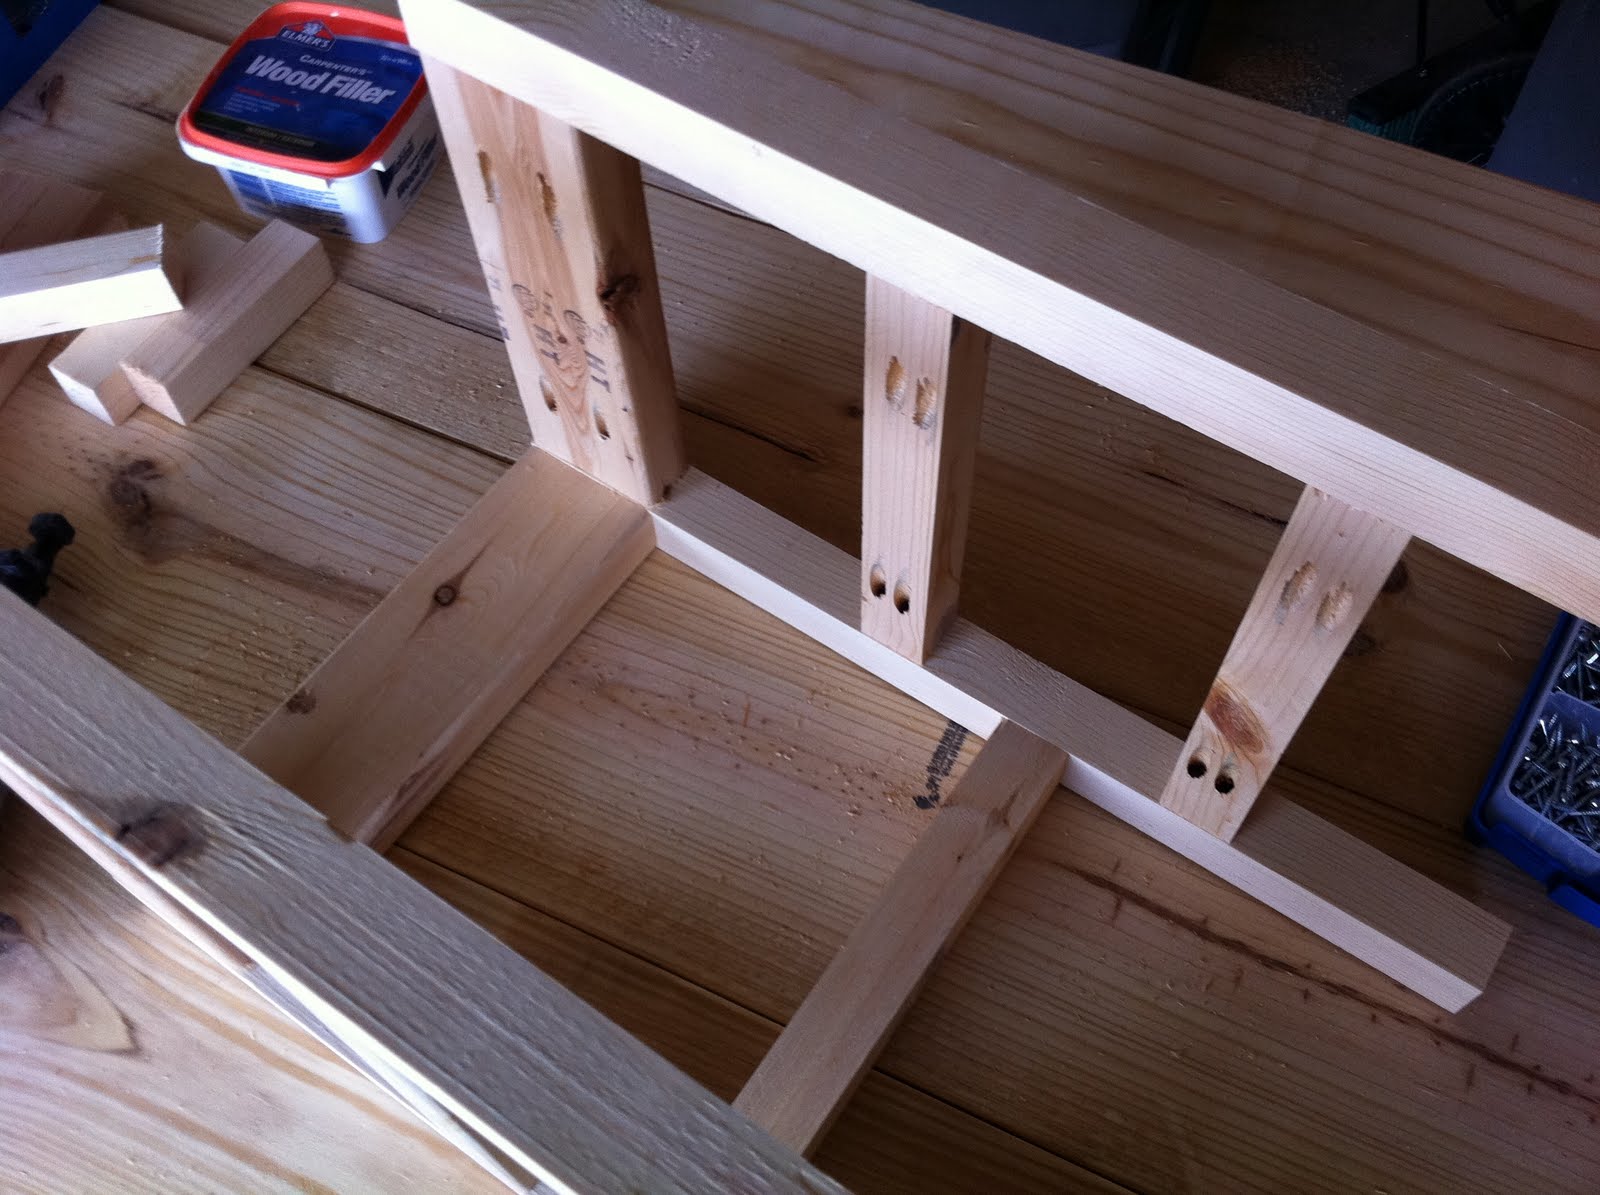


Extra structure and a place to drill in the seat. I used left over pieces of 2"x4" on 45 degree cuts.
Added a countersunk hole for the screw.

Seat of three 2"x6" were joined together with the Kreg screws.

I secured the seat to the stool with 2 1/2" screws.

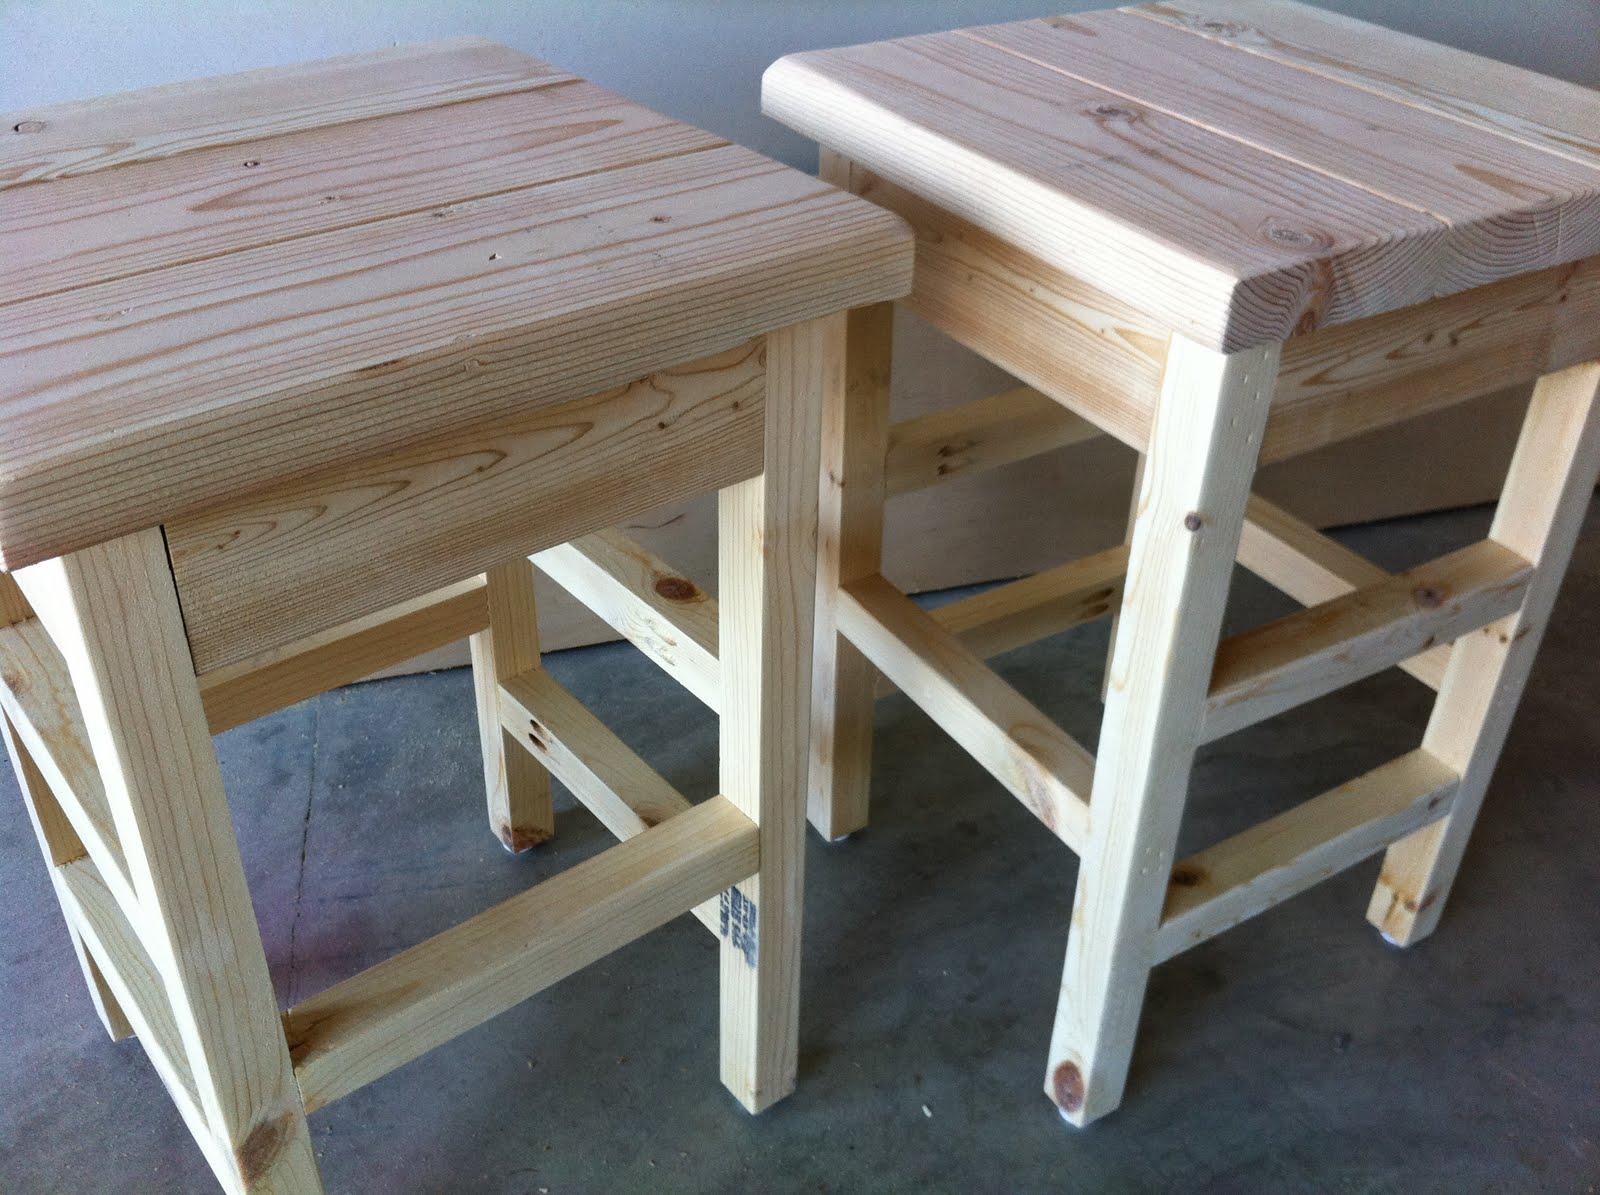


Here is finally the pics of the poly on the stools:


Thank you so much for checking out my new blog and my latest project. If you have questions or suggestions, please comment or send a message. I would love to hear from you.
Karen
More to come! Next weeks post will be the new breakfast room table. I'm also thinking of building window seats, but I am trying to determine the layout first.
Fab job! I wish I had a carpenter laying around somehwhere. Come and share this with WorkShop Wednesday. It would be a nice addition to the party!
ReplyDeleteThanks for letting me know. I posted a link. I'm new to the DIY blog world and look forward to meeting my fellow DIYers. ;)
ReplyDeleteWow, great job. I would love to learn to use a saw, and know how to cut angles and all of that stuff you have to know to build something.
ReplyDeleteGreat stools, I will have to add this to my ever growing list. I am also new to the blog world and a newbi on power tools.
ReplyDeleteVery good! Over from Shabby Chic. Thanks for sharing!
ReplyDeleteThanks for your kind words!
ReplyDeleteThanks for posting to WorkShop Wednesday!
ReplyDeleteawesome..glad I found this blog
ReplyDeleteThanks! I'm going to be adding step by step drawings to the blog this week for all the furniture pieces. It should make the photo step by steps easier to follow.
ReplyDeleteWOW! You did an AMAZING job! They are seriously beautiful! Hi! I am your newest follower. I would love it if you would check out my blog and become my newest follower! Oh, I also have a giveaway going on now too!
ReplyDeleteHave a great day!
Kirsten
Really awesome job friend.i am also looking to buy some bar stools for my new home.Thanks a lot for this.:)
ReplyDeleteThank you, thank you! :)
ReplyDeleteHi, simply great post.I really appreciate your blog. Great!!!!!!!!!!
ReplyDeletebar stools
I was wondering if you filled the holes from the kreg or left them open? I didn't notice them in the final photos
ReplyDelete@ae77 I left them open since they were inside and barely noticed. If you paint or use a lighter stain, you may need to fill.
ReplyDeleteThe blog was absolutely fantastic! Lots of great information and inspiration about wooden barstools, both of which we all need.
ReplyDeleteHi, I agree with you. Really this blog is very informative.
ReplyDeletebar chairs
Great stools, I will have to add this to my ever growing list!
ReplyDeleteSo excited to stumble across these. We are remodeling our kitchen right now and I can't find stools I like that are in my price range. These will be perfect for me to build. Thank you so much.
ReplyDeleteHi Karren, I just built 4 of these bar stools exactly as you have them! Great work in outlining the steps. I will send some photos after I'm done staining them. Thanks Buds
ReplyDeletethese stools are exactly what i need for my island. they are absolutely beautiful. thanks a mil for posting.
ReplyDeleteI surprised that such rough wood turned out so nice. It is a lot of wood for a simple stool. So about how much does the stool weigh?
ReplyDelete