

Last week, I ordered some of the all-the-rage Annie Sloan Chalk Paint to figure out what the fuss was. I mean, it took a ton of nerve on my part to spend that much money on a quart of paint, plus wax, plus shipping. However, after seeing pictures of finished pieces and reading all the rave reviews...I was very curious.
I ordered the Paris Grey and the clear wax from Cottage Attitudes (entire North American vendor list link).

I bought this old piece on ebay several years ago. For a long time, I loved the old look of it...but it needed an update. The finish they had on it was some kind of chunky crackle finish. And before you ask...yes, it was uber fun to sand.

And it had these ancient VERY LOUD squeeky wheels that sounded like an ear piercing EEEEEEE whenever I needed to move it.

And the wheel house was rusted and really in the leg good. I tried - only briefly - to remove them. I had images of the little old legs breaking off before I could actually remove these rusted things. So...

I bought new wheels from Lowe's ($2.97 for a pack of 2). They were a bit larger, but they didn't squeek. BONUS!!!

I removed the housing from the wheel so I could use the old rusted one that had at one point welded itself to the wood.


And then I tapped the new wheels into the legs. YAY!!! I did a happy dance in the garage. It fit perfectly!! Thank goodness they didn't radically change the size of these little guys over the past.

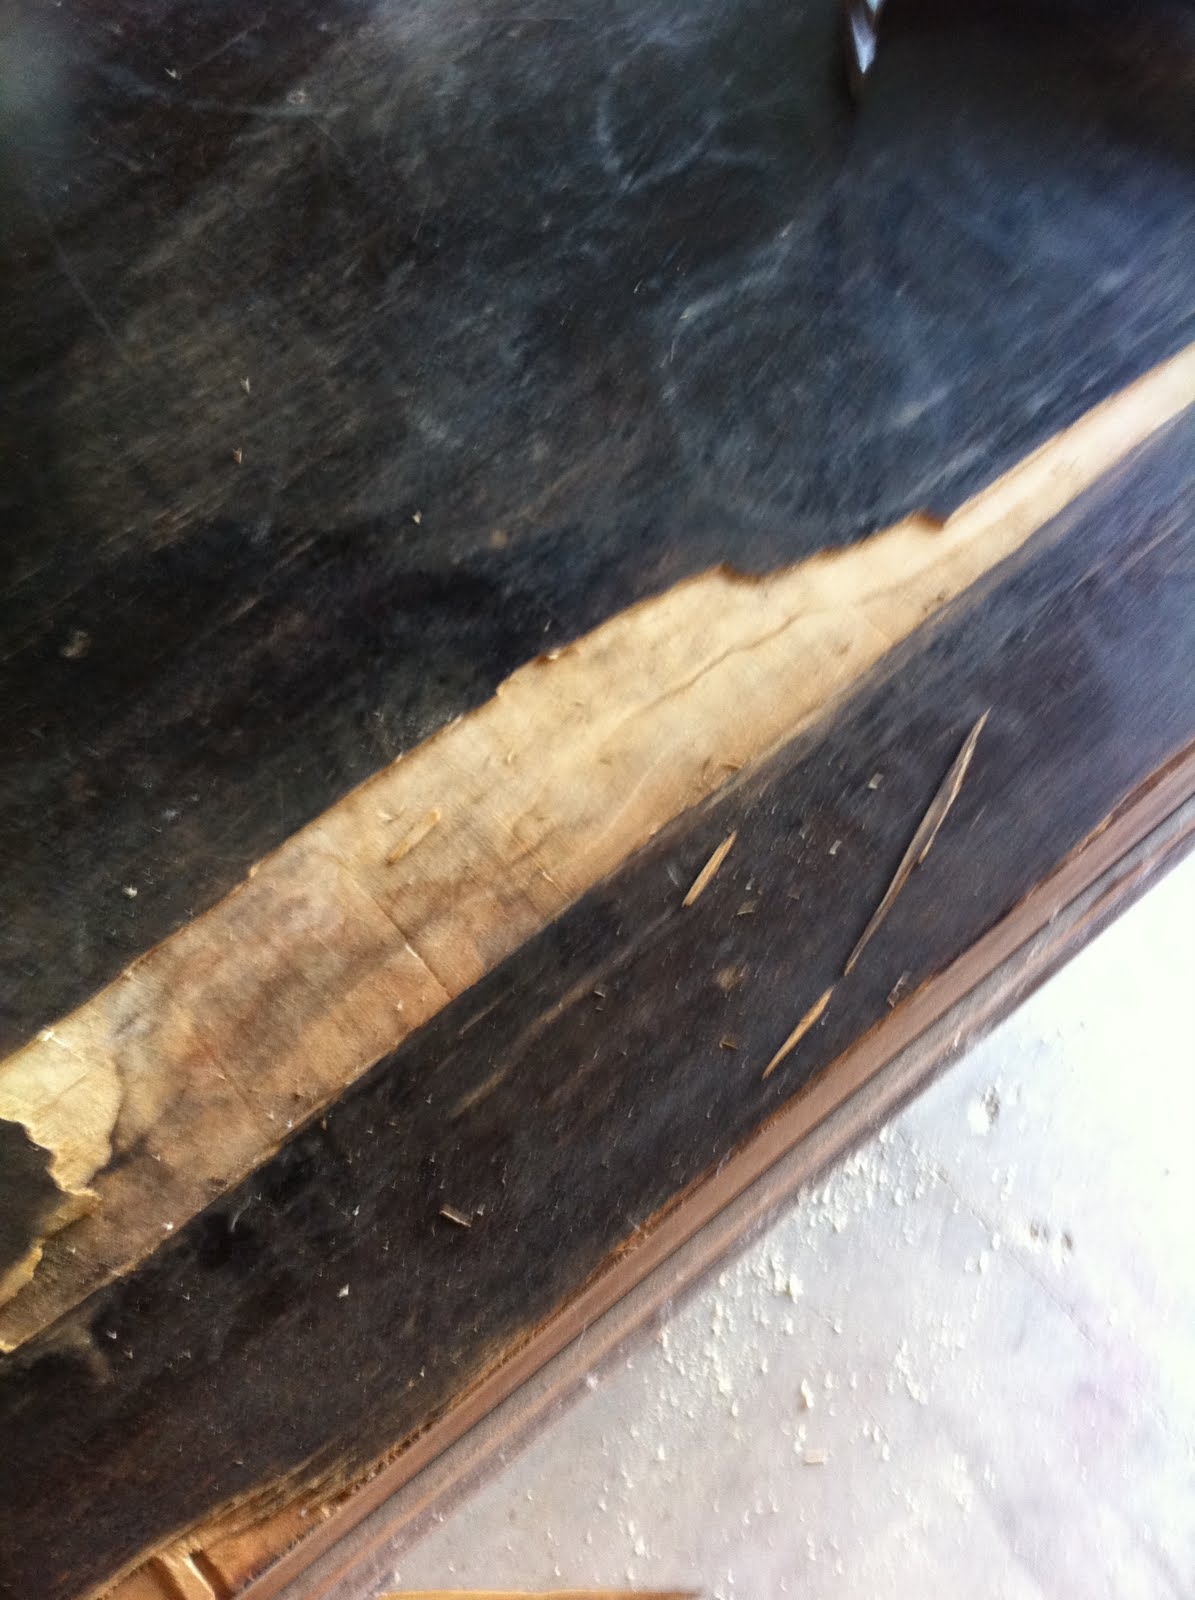
The top of the piece was water damaged and over the years I owned it, it just wouldn't stop flaking and peeling. I was going to replace the top, but once I had it off I changed my mind. I had the idea of flipping the wood and using the underneath. It was the same wood finish, just not stained or sealed. So what the top will have holes from where it was secured...I say it added character. :)
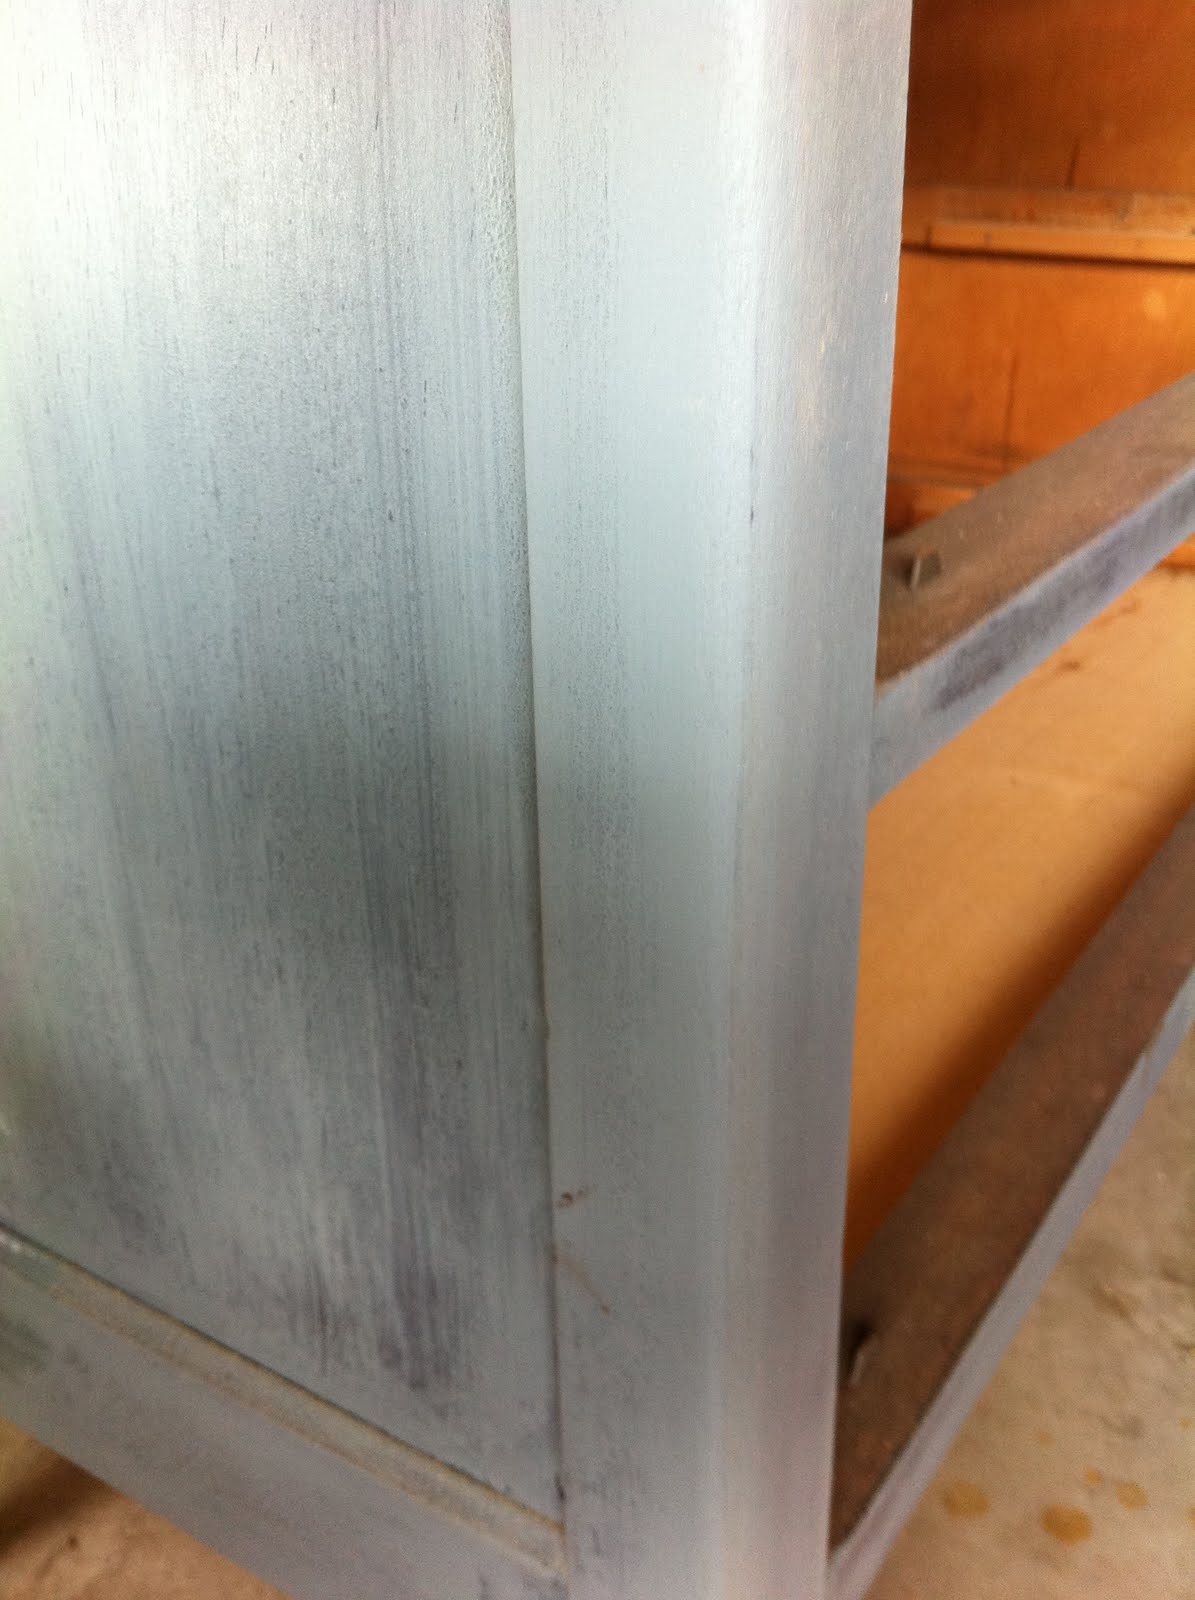
Here is a photo of the side (where they hadn't gone crazy with the crackle). This wood was pretty. My husband was quite mad I choose to paint instead of refinish. I say the wood is still under there and the paint can always be sanded if we ever want to change it back. Right?

And so it began. I have to admit, when I first started brushing on the paint...I didn't see what the fuss was about for the expense. It didn't brush on any easier than regular paint and in my opinion it may have only covered a bit better than the regular $10 a quart paint.

Here is a very of the side with one coat. I did two coats.
I bought this little finishing sander for a smmooooth finish.

And these $4 knobs (x8)

Here is the underside of the top with stain.
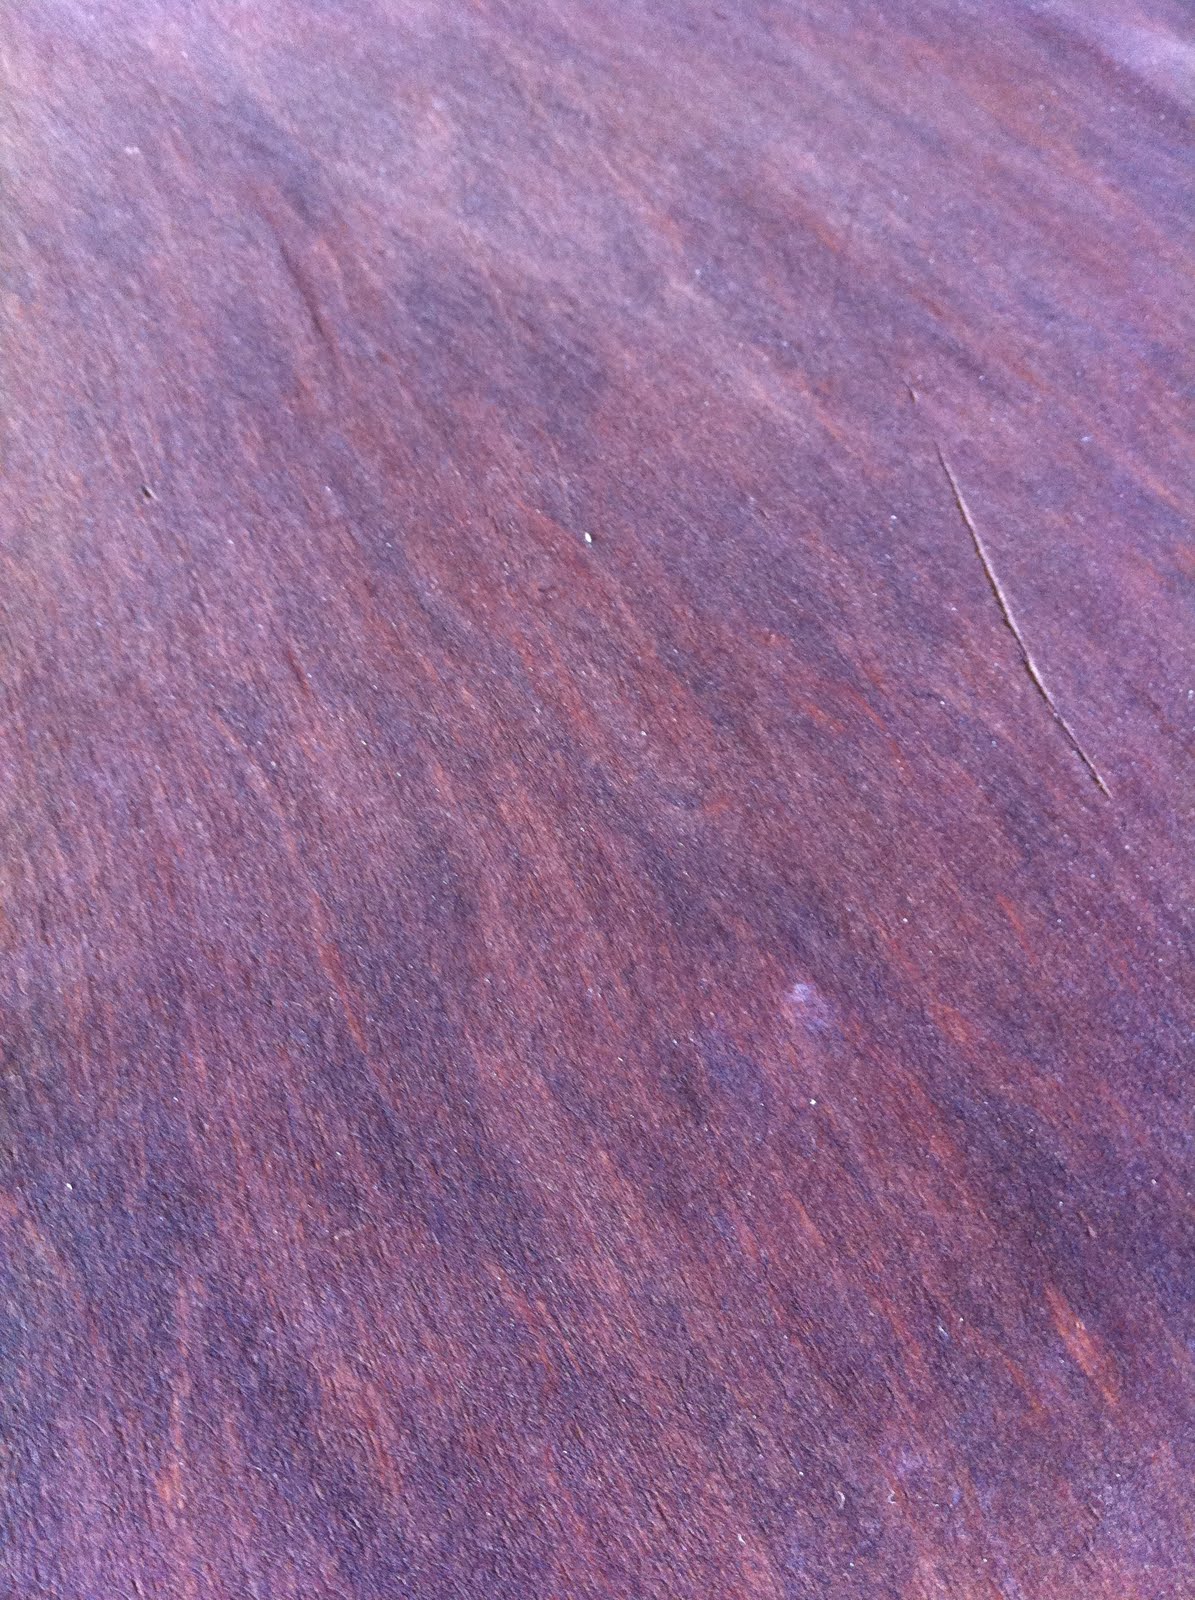
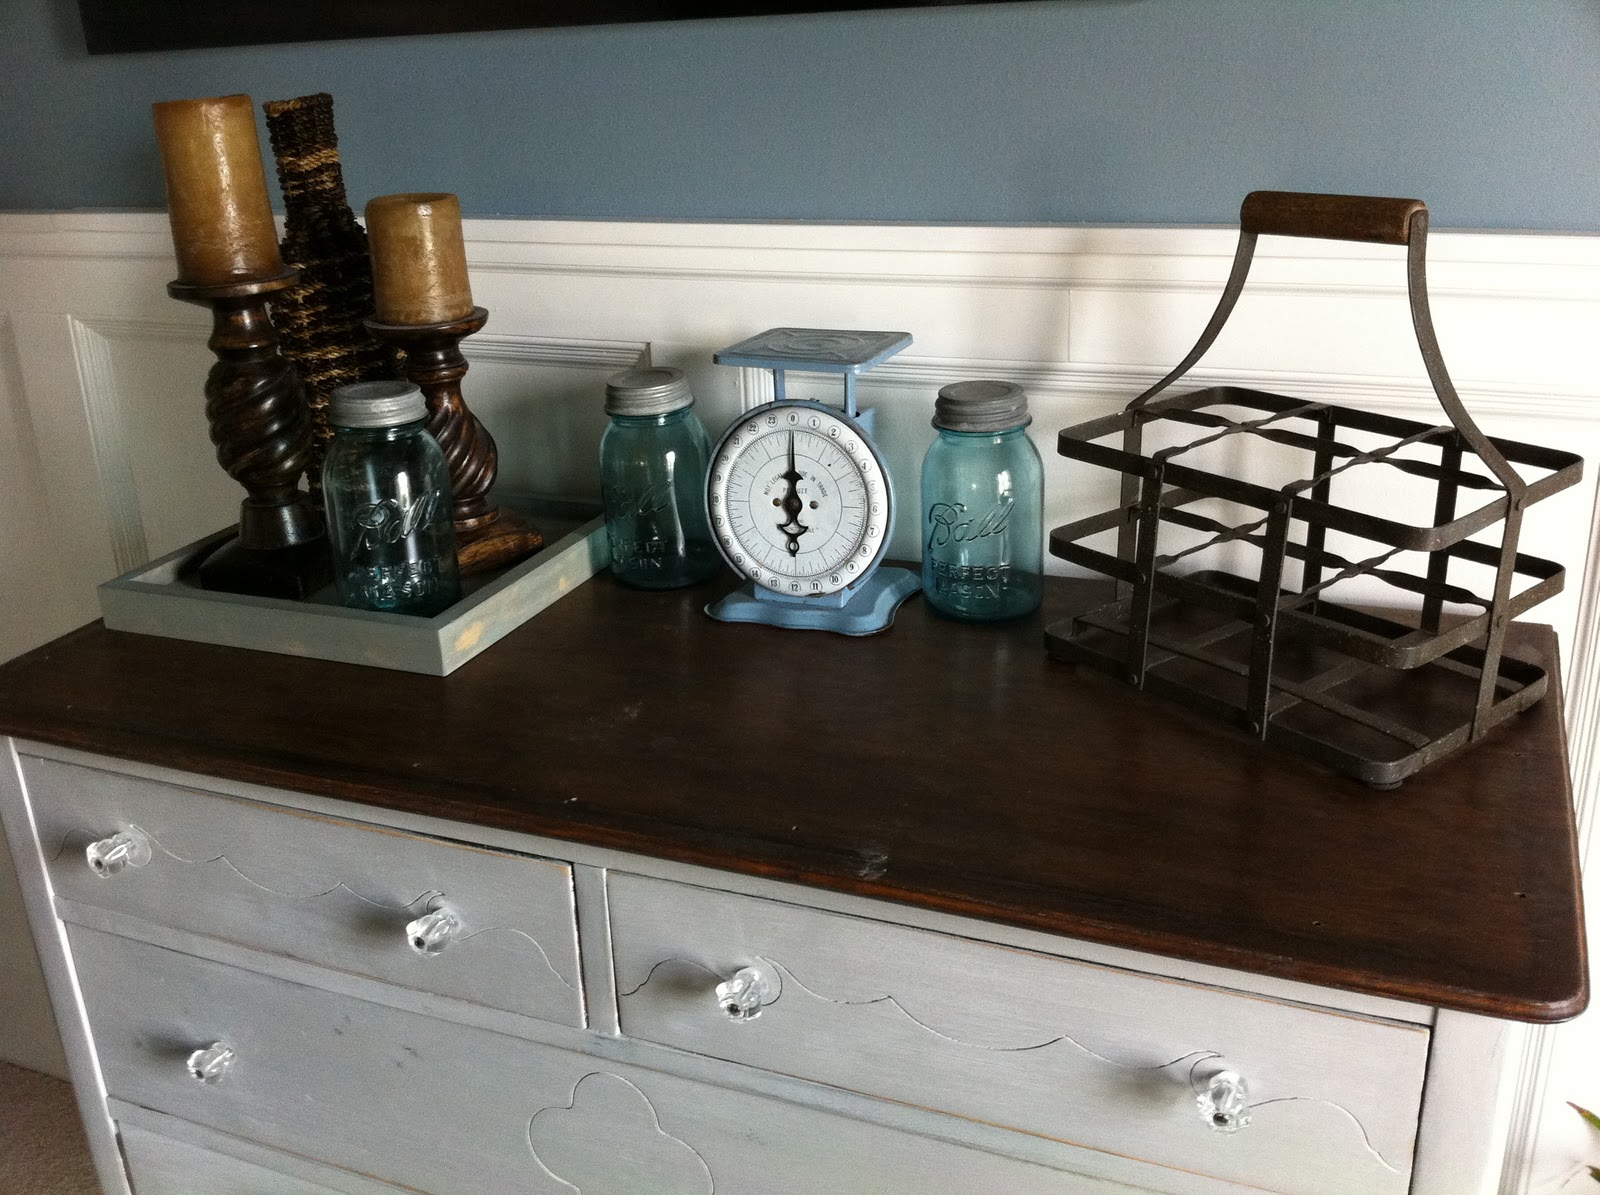
Instead of using poly on the top, I used the wax. You can tell what a difference one coat of wax on the right does to the old wood.

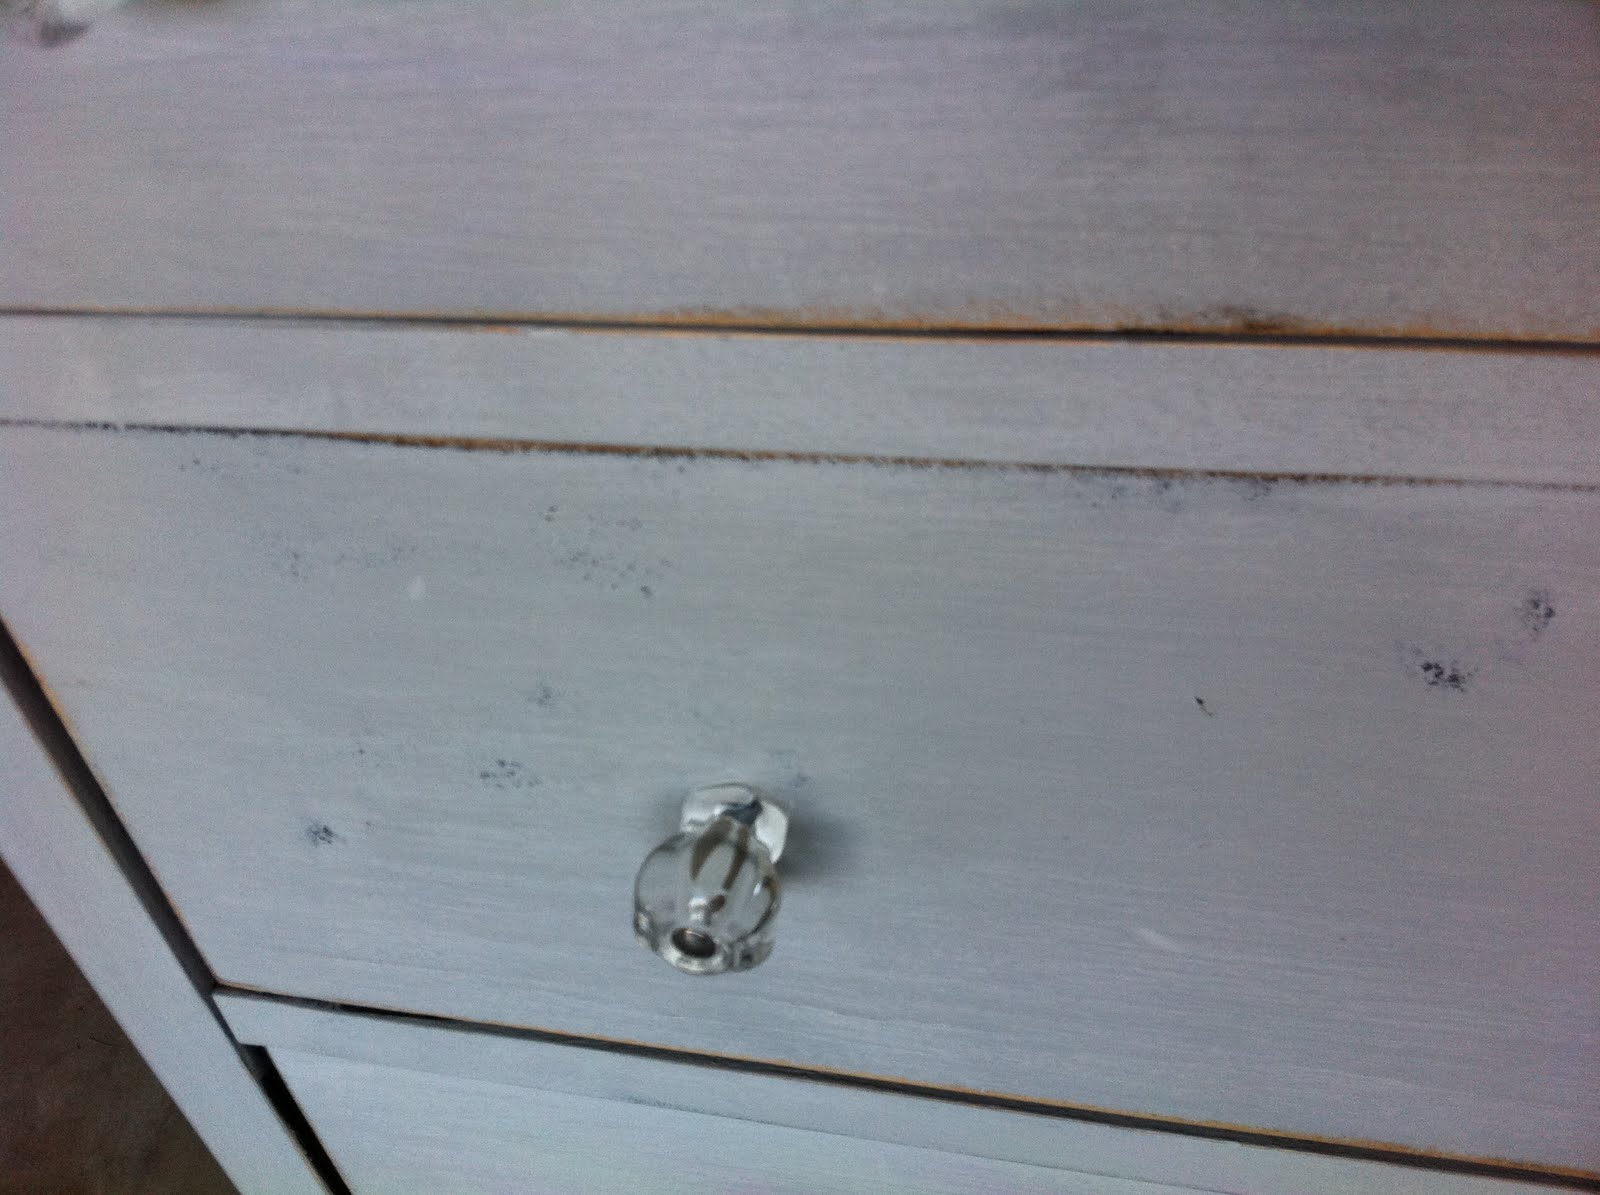
I don't know how well you can see the picture below, but the right side has wax. Without the wax, the Paris Grey almost looks white. When you apply the wax, the magic happens. The wax makes the whole reason for spending the money on the paint. I had what they refer to as the AH HA moment.

Here is the waxed and hand buffed piece. If you don't buy the wax, you just won't understand the hype over this product. And yes, I will be trying the wax with regular paint to see if I can get a similar finish.

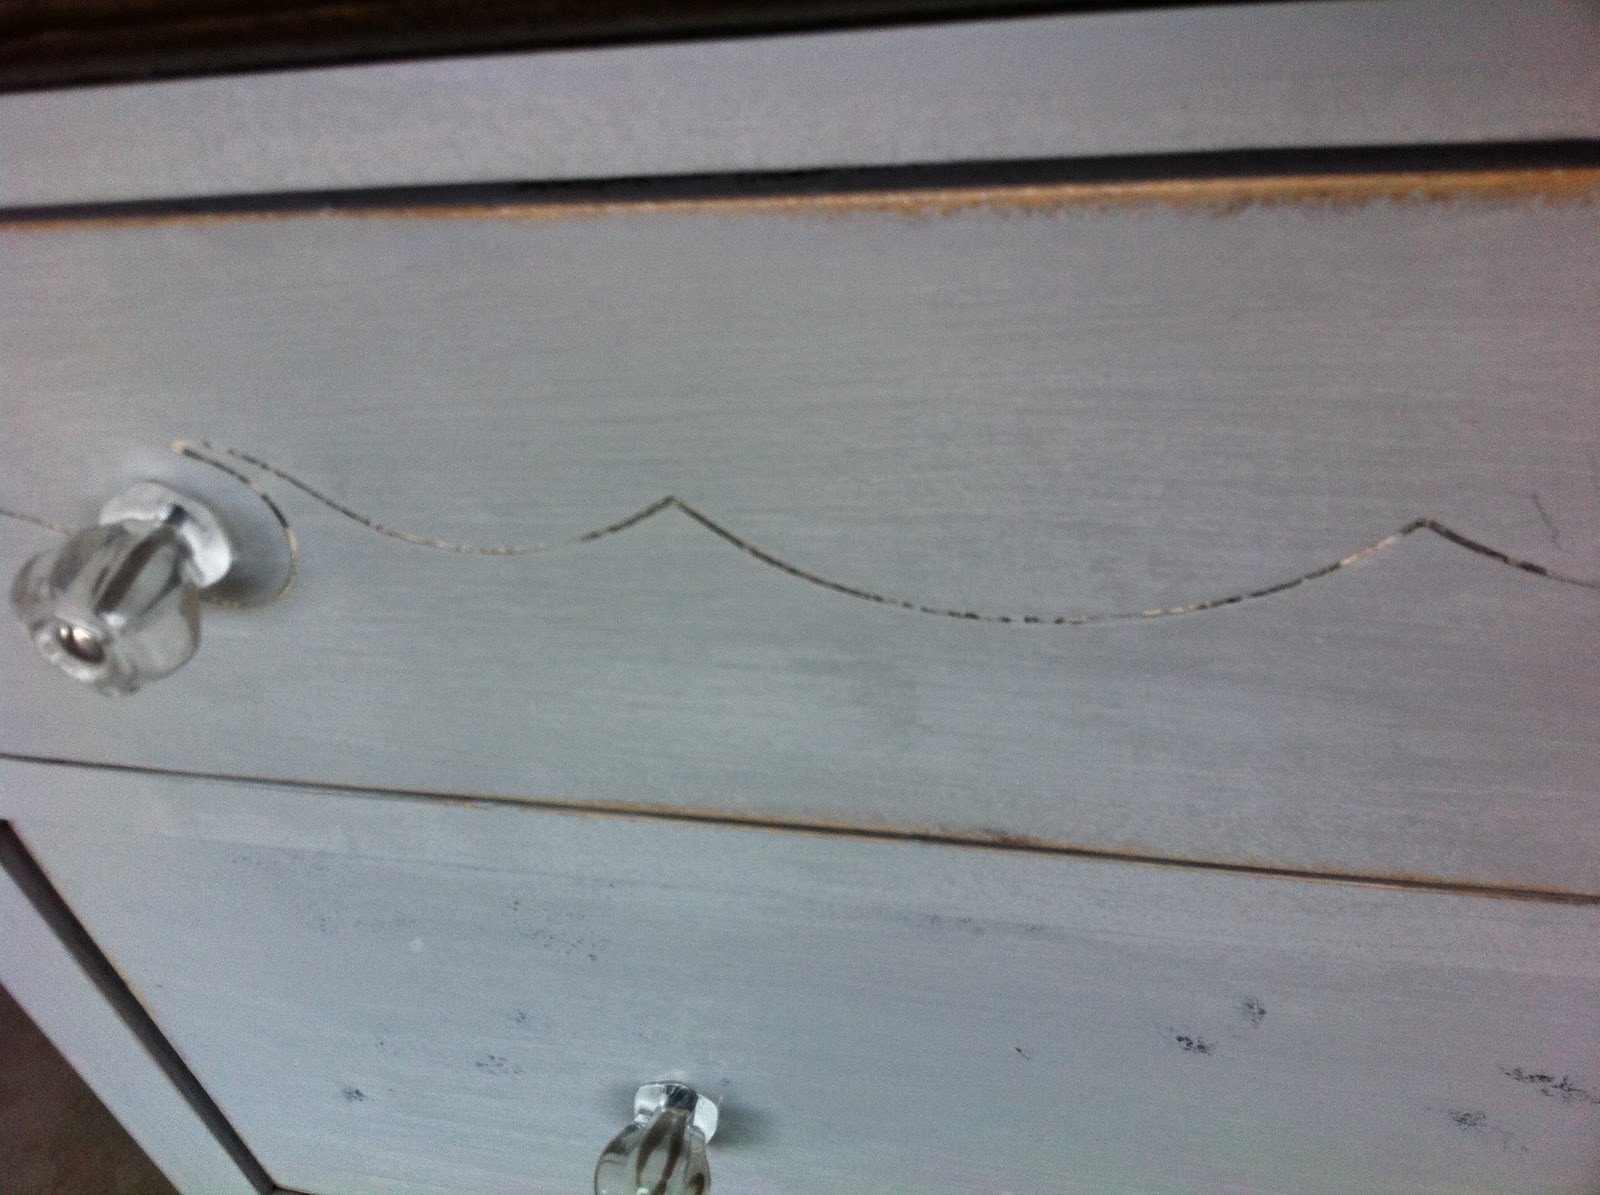
Those little dark spots didn't even show up until I added the wax. It adds so much life, character and distressed charm. Doesn't it look like it was supposed to be that way from the beginning?
I really liked how the knobby knees on the legs turned out with the finish.

See how smooth and shiny the finished piece is? And yes, it feels just as smooth as it looks. I LOVE the fact you don't have to wait for it to dry like you do with poly and you don't have to do three coats to get to this point. This was just one coat.


 |
| Sorry for my dusty finger prints on the top. It sure makes you dusty when you sand the paint. |
In my opinion, the expense of the paint AND the WAX may be worth it if I am not able to replicate a similar look with regular paint. However, I have a ton of the can left over to do many more projects. I'm going to give it a smiley face :) for the performance of the product and a frown face for the price :(
UPDATE: After I attempted to try to replicate the look with regular paint, I have a few things to add. 1) Coverage. Maybe there is a reason it costs $35 a can. It covers much more. 2) The chalk paint sanded smoother and you had more control over the sanding. With regular paint, it could have had a section where the enamel bonded together. If you try to sand, it may take more (or none in one section) than you want.
You can recreate the look, but you will need more paint and it isn't as easy as the chalk paint. Okay, I'm a fan now. I'm already looking for more colors and the dark wax. But first, I ordered something called Milk Paint. I should get that shipped this week and I'll review.
Linking up with:
Missmustardseed
chiconashoestringdecorating
frenchcountrycottage
Remodelaholic
thirtyhandmadedays
Be Different Act Normal
Tatertots and Jello
Under the Table and Dreaming
My Uncommon Slice of Suburbia
Home Stories A to Z
Tip Junkie
Not Just a Housewife
Gingersnap Crafts
I Heart Naptime
Thirty Sixth Avenue
The Shabby Creek Cottage
House of Hepworths
Perfectly Imperfect
I agree 100%. The price is crazy! I did not buy the wax. What did you use to apply it? Turned out great!
ReplyDeleteWow! You have a lot of patience not only did you refinish it but also taking the time to snap all of those photos. Thanks for sharing! I love ASCP and I bought the dark wax and I think the products are tremendous and worth it.
ReplyDeletehttp://www.bing.com/shopping/disposable-paint-brush-2-1-2-s117-388774/p/138C66EB760C76C85006?q=disposable+paint+brushes&lpq=disposable%20paint%20brushes&FORM=HURE
ReplyDeleteNick, for the wax I used one of those $1 disposable paint brushes. I brushed on the wax in a light coat and hand buffed with a cotton cloth. I actually don't know if that is the recommended way by the manufacturer. But, it was smooth and shiny when I finished.
Vicky, I loved the product too. I wanted to try the dark wax, but I played it safe. Hahahaha, I did take a ton of pictures, didn't I? I didn't even post all of the ones I took. :)
ReplyDeleteThank you for linking up to my "about me" linky! I LOVED it! If I ever come to St. Louis we can shop for power tools together :)
ReplyDeleteOh that would be fun, wouldn't it? It was fun reading yours and everyone else's page. Thanks for the party :)
ReplyDeleteI absolutely LOVE it! I have one quart of old white and have used it for an antique dresser, two chairs, a HUGE frame, a wooden candlestick, AND a side table. ...and I still have a 1/3 of a quart left. Amazing.
ReplyDeleteI found that as I used more and more of the can, the paint started to thicken a bit. No worries! I just added a tablespoon of water (or about that) and it was perfect again! Love the dresser. Amazing job!
Dana @ craftedniche.wordpress.com
Thanks for the tip Dana. I did notice there was still a lot of paint left after two coats on the dresser. Maybe it could be worth it if it lasts forever. I didn't think of that part. I think I was just in sticker shock from the initial purchase.
ReplyDeleteKaren, You are like Super Woman! Loved the projects you have done, and your tips. Not to mention the feedback from your follows is helpful too.
ReplyDeleteThank you Shawn. That made my day. :)
ReplyDeleteLooks beautiful! Miss Mustard Seed also has a few wax suggestions. I purchased the Fiddes & Sons light and Ruggars brown waxes (which she uses). The are also less expensive ($14.00) and I really liked how the went on... just another idea since the Annie Sloan waxes are so expensive..
ReplyDeleteTHANK YOU for the tip. I'm going to check them out.
ReplyDeleteI love this! I have a chest of drawers I'd like to repurpose so might just give this style a try. Great job ! :) FOund you via Ginger Snaps Wow Me Wednesday! :)
ReplyDeleteThanks Rebekah. After I used the chalk paint a second time, I realized it made projects like this much easier than ordinary paint and I love the way it sands super smooth.
ReplyDeleteIt looks amazing, Karen!
ReplyDeleteThank you Kim.
ReplyDeleteThis is GREAT feedback on the products-- thanks for sharing! Your dresser turned out beautifully; now I'm inspired to try it on a piece myself!
ReplyDeleteThank you. I'm actually glad now that I tried it. I didn't realize how much more coverage/usage you get out of the little can. If you have a furniture piece you need to refinish, I would give it a try. But, I think the wax is pretty standard. As she mentioned above, you can save tons of money using other brands of the wax. I just bought some with the milk paint I'm trying out this weekend. I'll let you know how it goes.
ReplyDeleteYou can make your own chalk paint for 1/4 of the price - http://www.iheartnaptime.net/chalk-paint/
ReplyDelete