New Body Lumbar Pillow for the Bed! Homemade Pillow Cover

Pin It
I found an awesome home decor blog featuring a homemade body or lumbar pillow case which became the focal point of the bed.  Not only did it look cozy and cheerful with the random color combinations, but it fun and easy to make.  And it was an awesome way to use beautiful pieces of left over fabric.

Here is my version.  Sorry about the dim lighting, but I finished it tonight.  I'll take better pics tomorrow with lighting.


I made mine a bit longer to conceal the ends.  I also made it a bit more casual by making it bigger around the pillow to allow for the pillow case to shrink a bit in the wash.

Below I laid out the fabrics to see how I wanted the colors to work together.


Then, after I stitched the pieces together, I added a top stitch to help reinforce the seam and it add a bit of detail.


I love how the vibrant pinks play against the calm blues & greens.


And here is where I was inspired.  Check out the awesome tutorial - http://www.thehandmadehome.net/2011/07/diy-a-patchwork-lumbar-pillow/
Thanks for stopping by, Karen :)

Linking to:
Tip Junkie handmade projectshomework Todays Creative Blog

http://homestoriesatoz.com

Master Bedroom - Mini Make Over

Pin It
It all started with the need for lighting...


Isn't that how all projects get started?  I just need new lights for my bedroom...  Have you ever read the book "If you give a pig a pancake"?  Yep, this is so that book.

Do you have that one room in your house where you have no idea on how you want it to look?  For me it is the master bedroom.  The room where I have no vision, no inspiration and no money to spend.  But, the room where I spend much of my time.

WARNING:  The photo you are about to see will shock you.  (And embarrass me)

I'm sharing this photo for two reasons - 1)  It can only get better from this starting point.  2)  As much as I like to think this room is my special place to retreat from the world, that little stuffed animal on the chair and the blanket on the floor proves children have been playing in here.  According to the messy blanket on the bed, jumping could have been involved.

This room needs to change.
List of things that needed to be changed/added:
- Lighting.  My lighting for the bedroom was seriously lacking.  I love to read in bed at night, but the only lighting we had (left) was my small lamp on my end table.  It is not adequate for some reason.  The lamp on my hubby's nightstand broke.  We have four kids and this is not a new thing to happen in our house.  :)
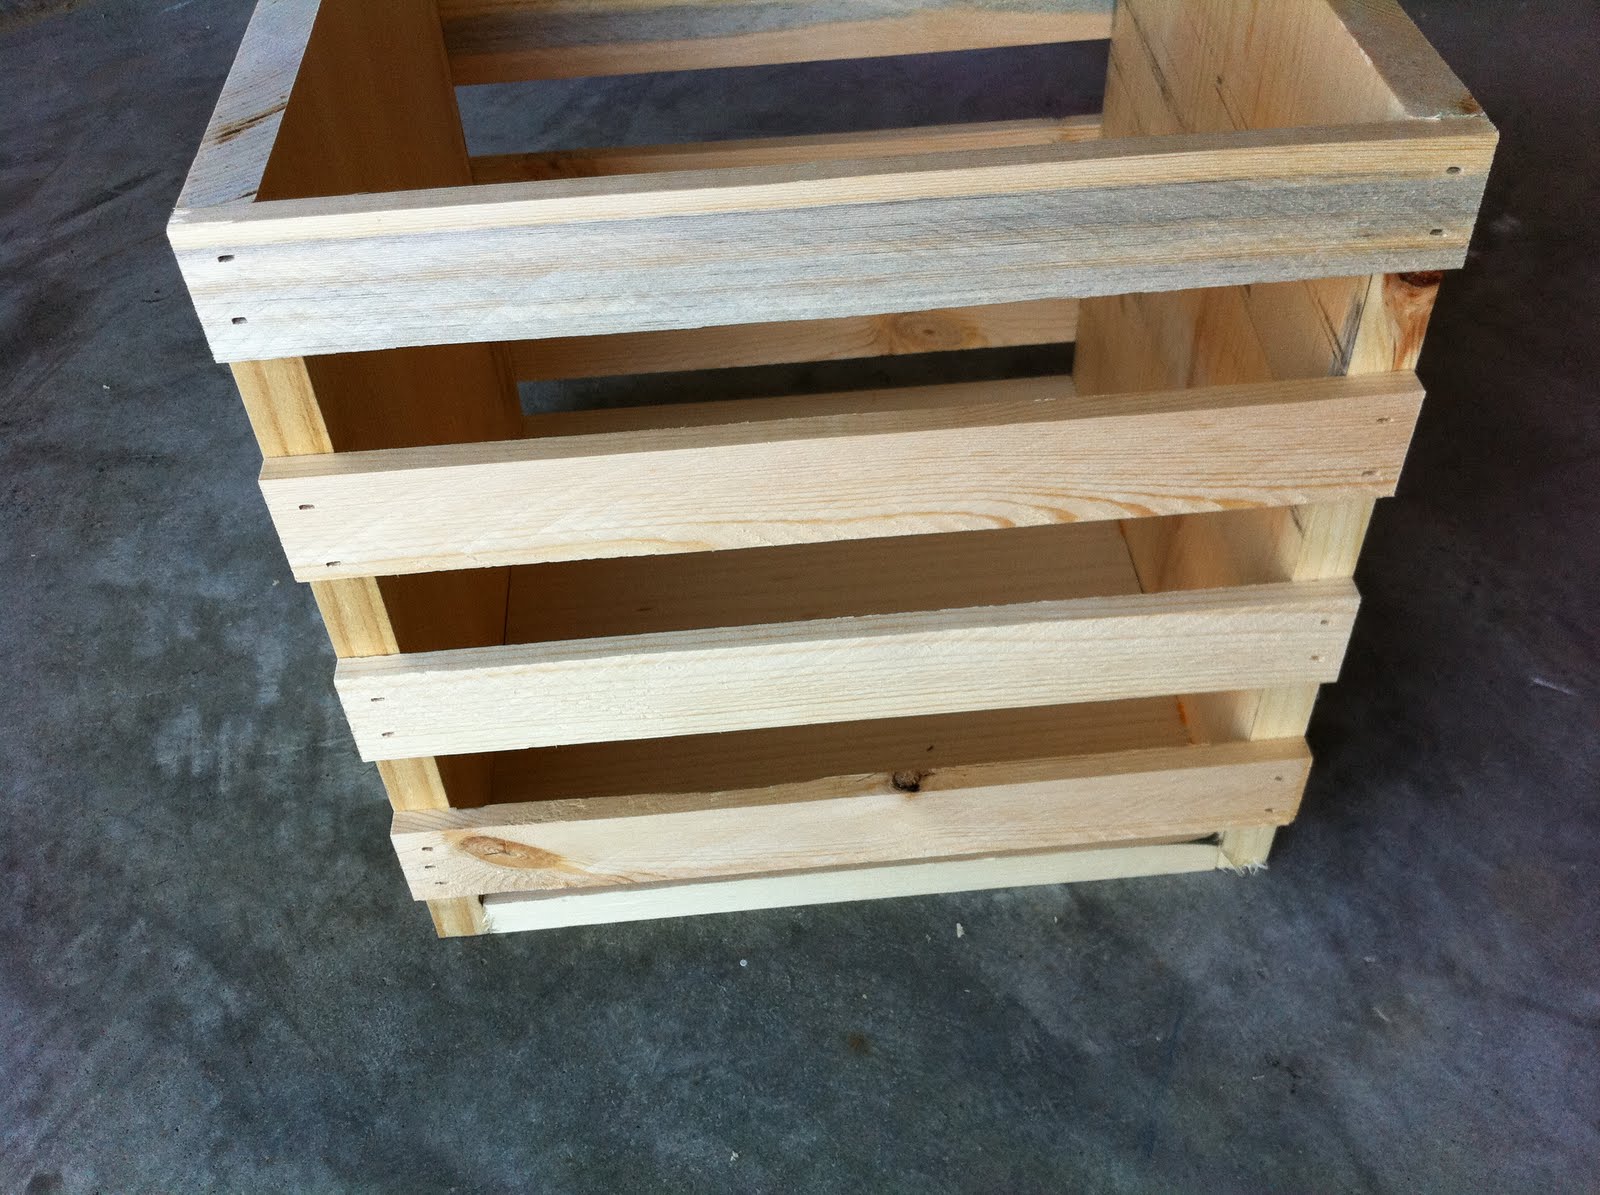
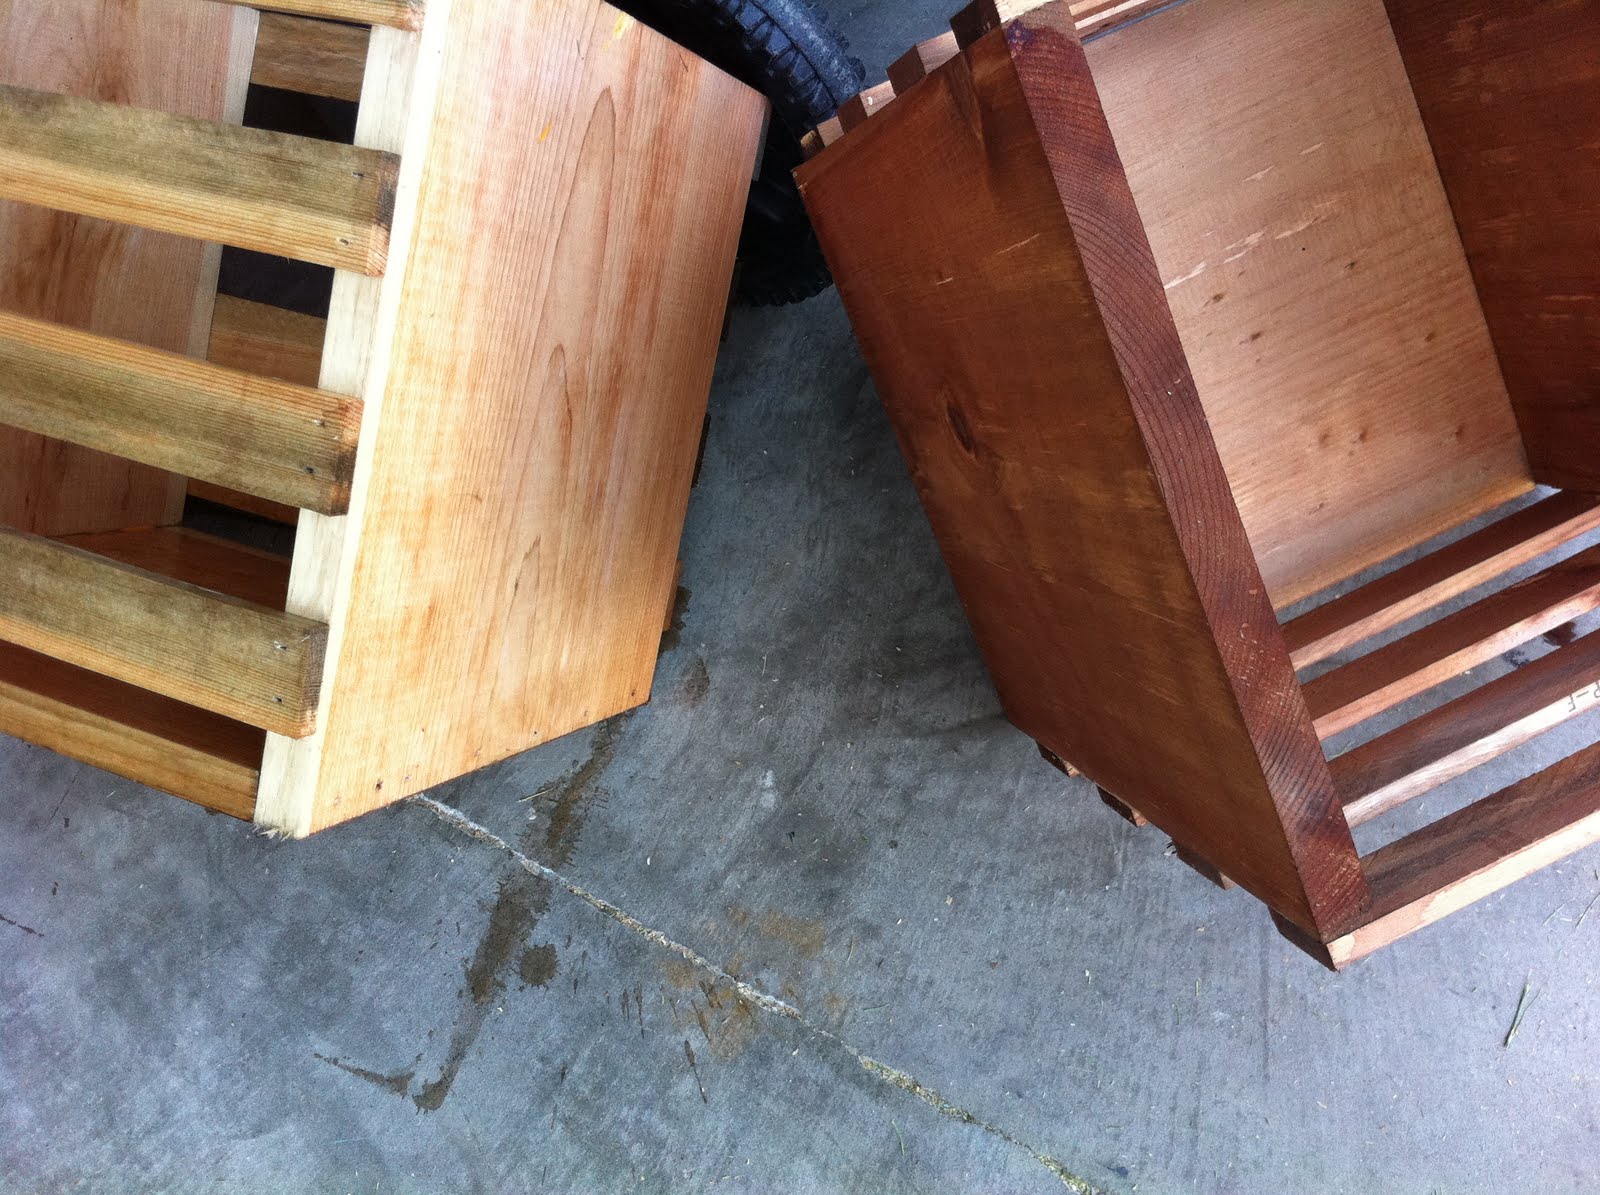
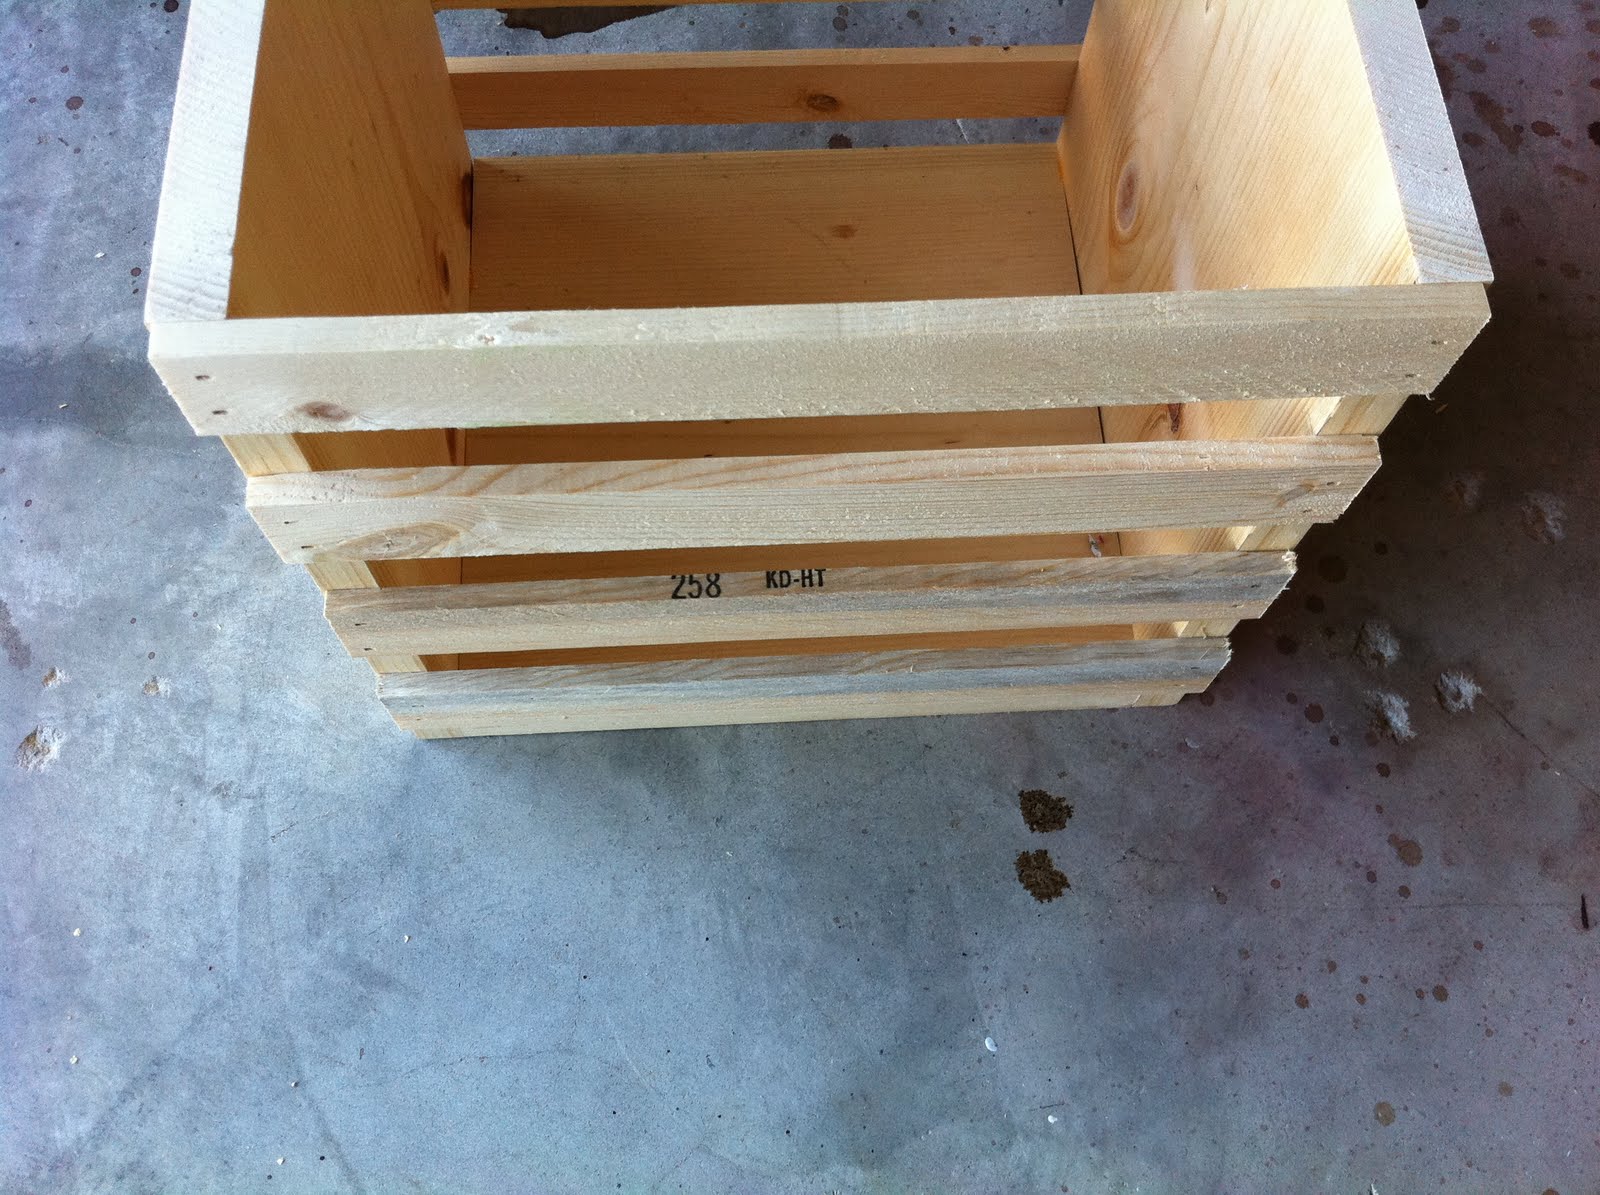
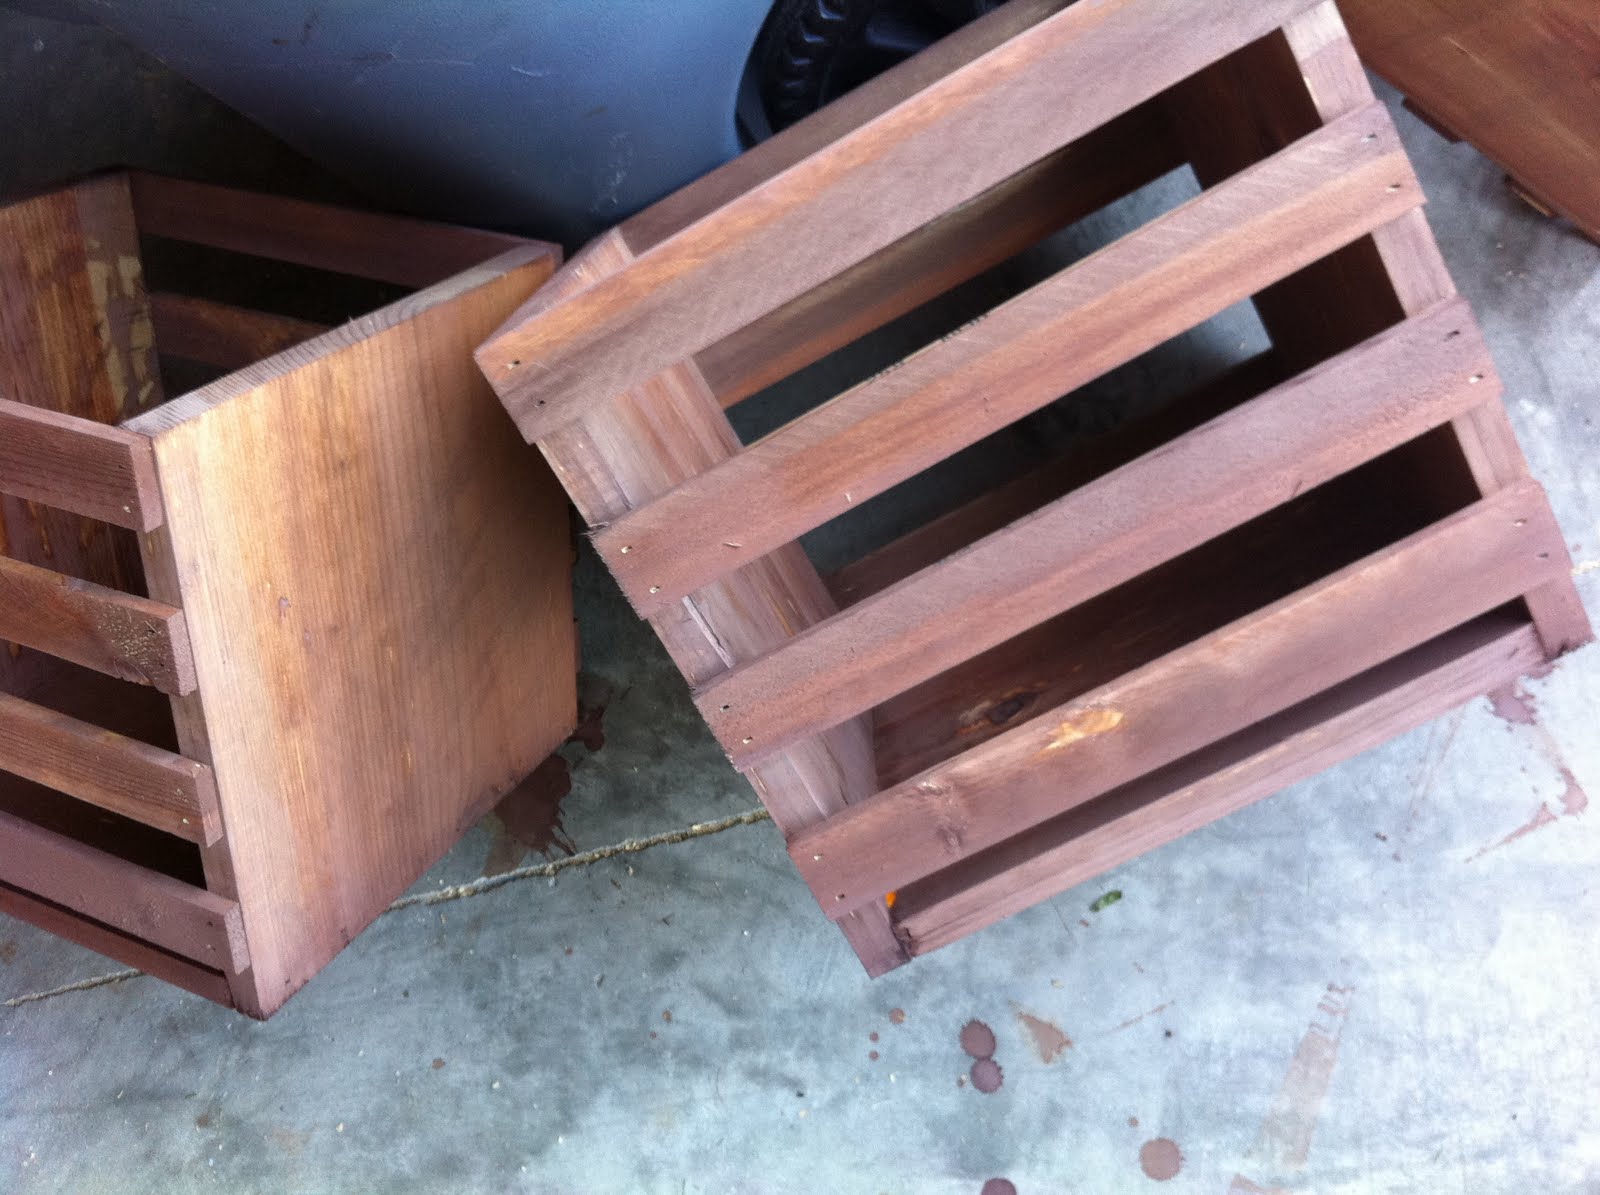
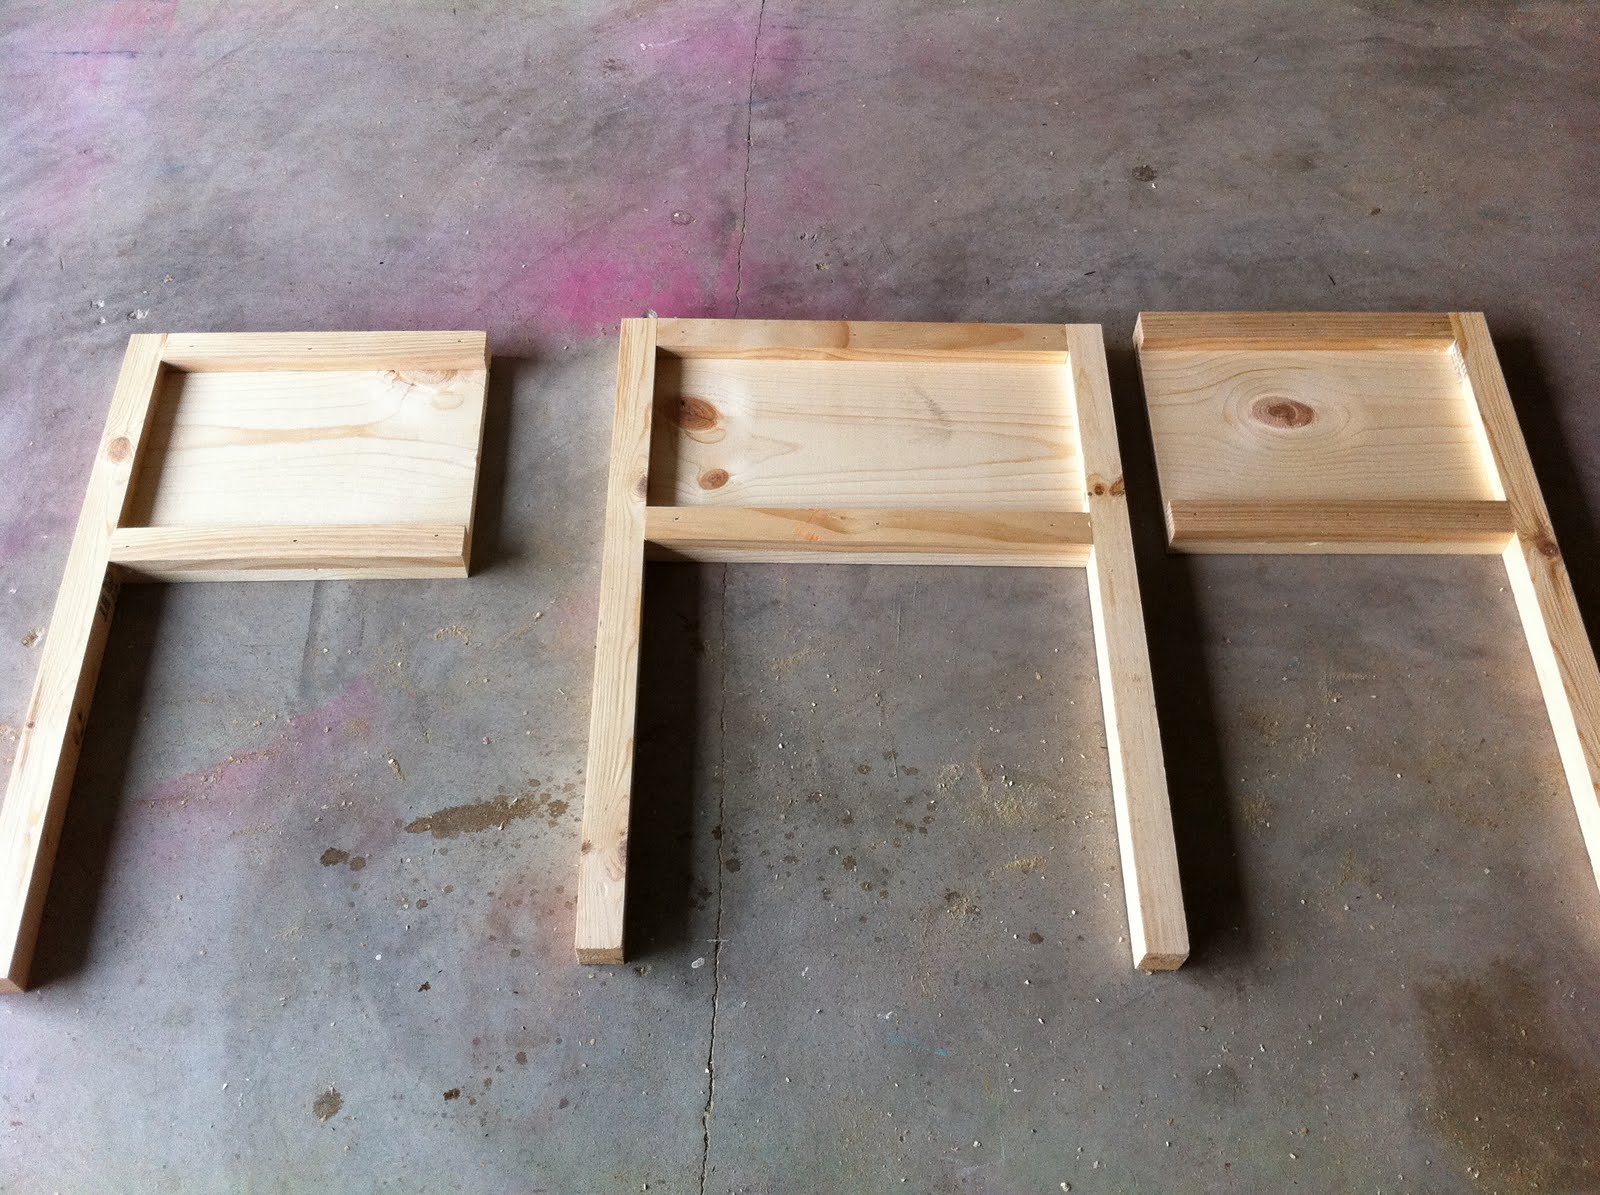
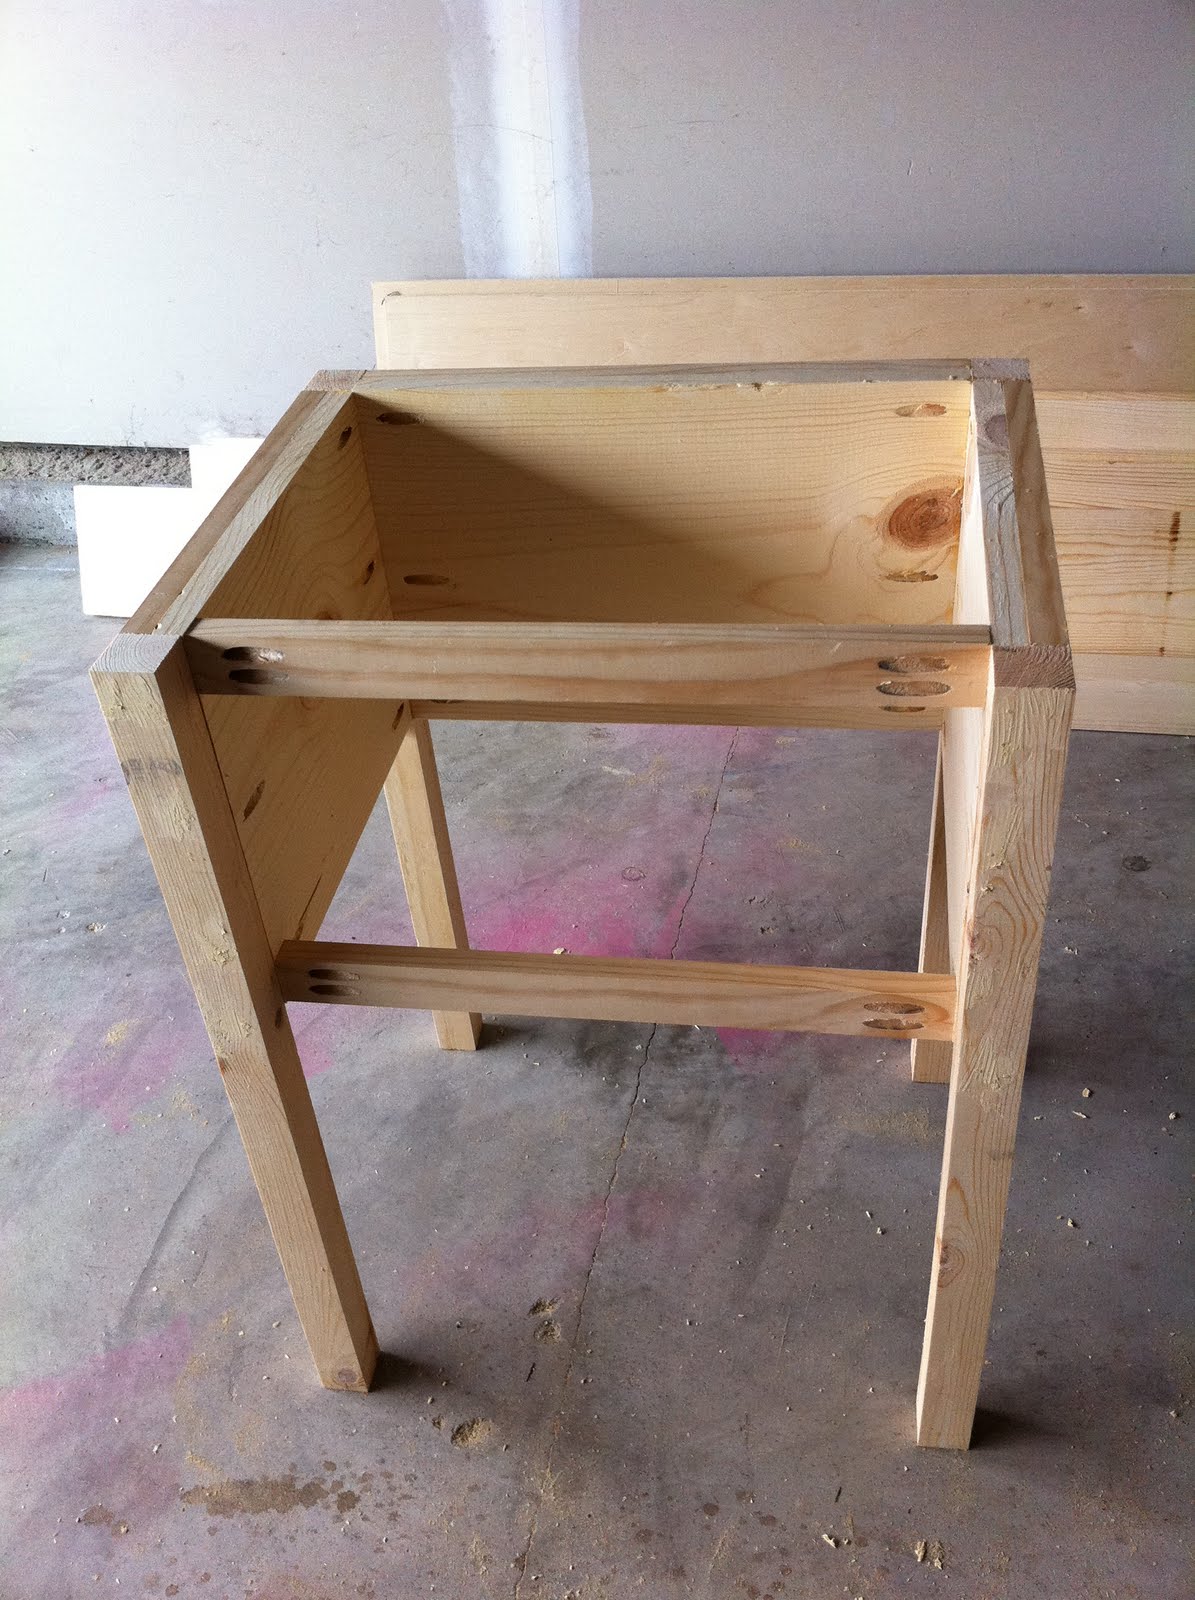
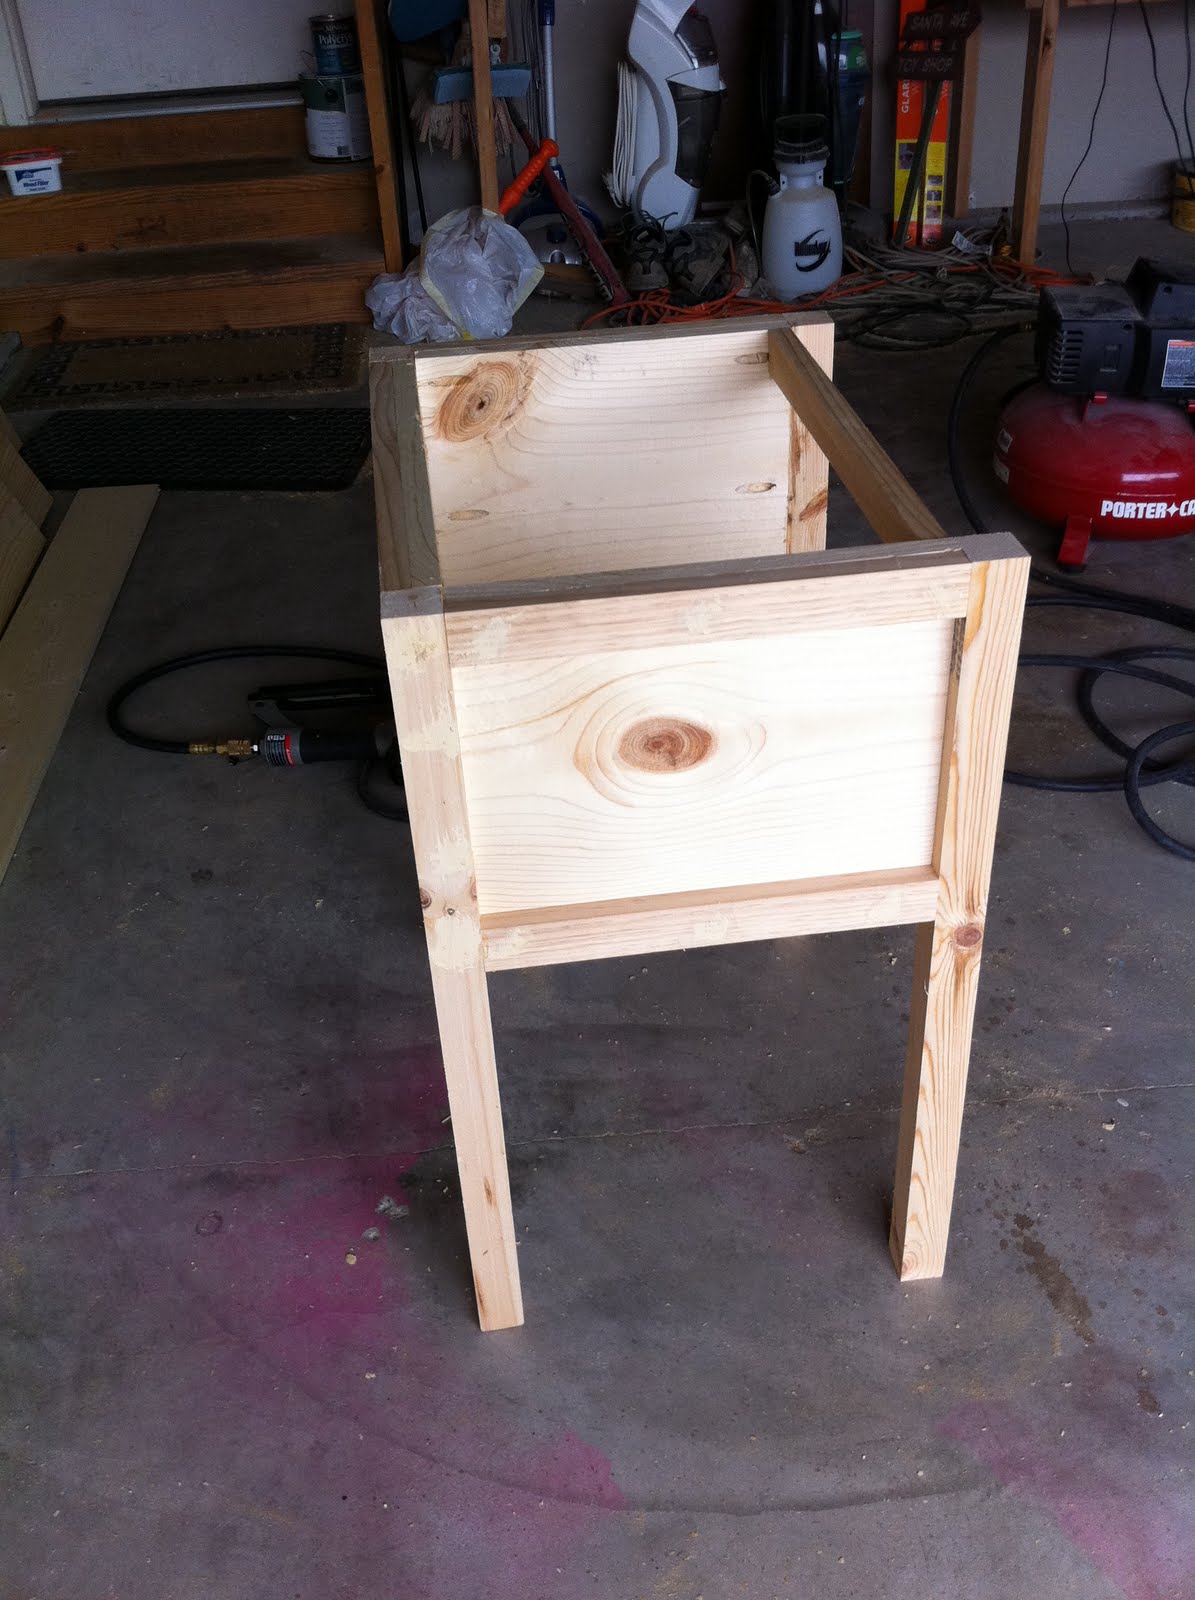
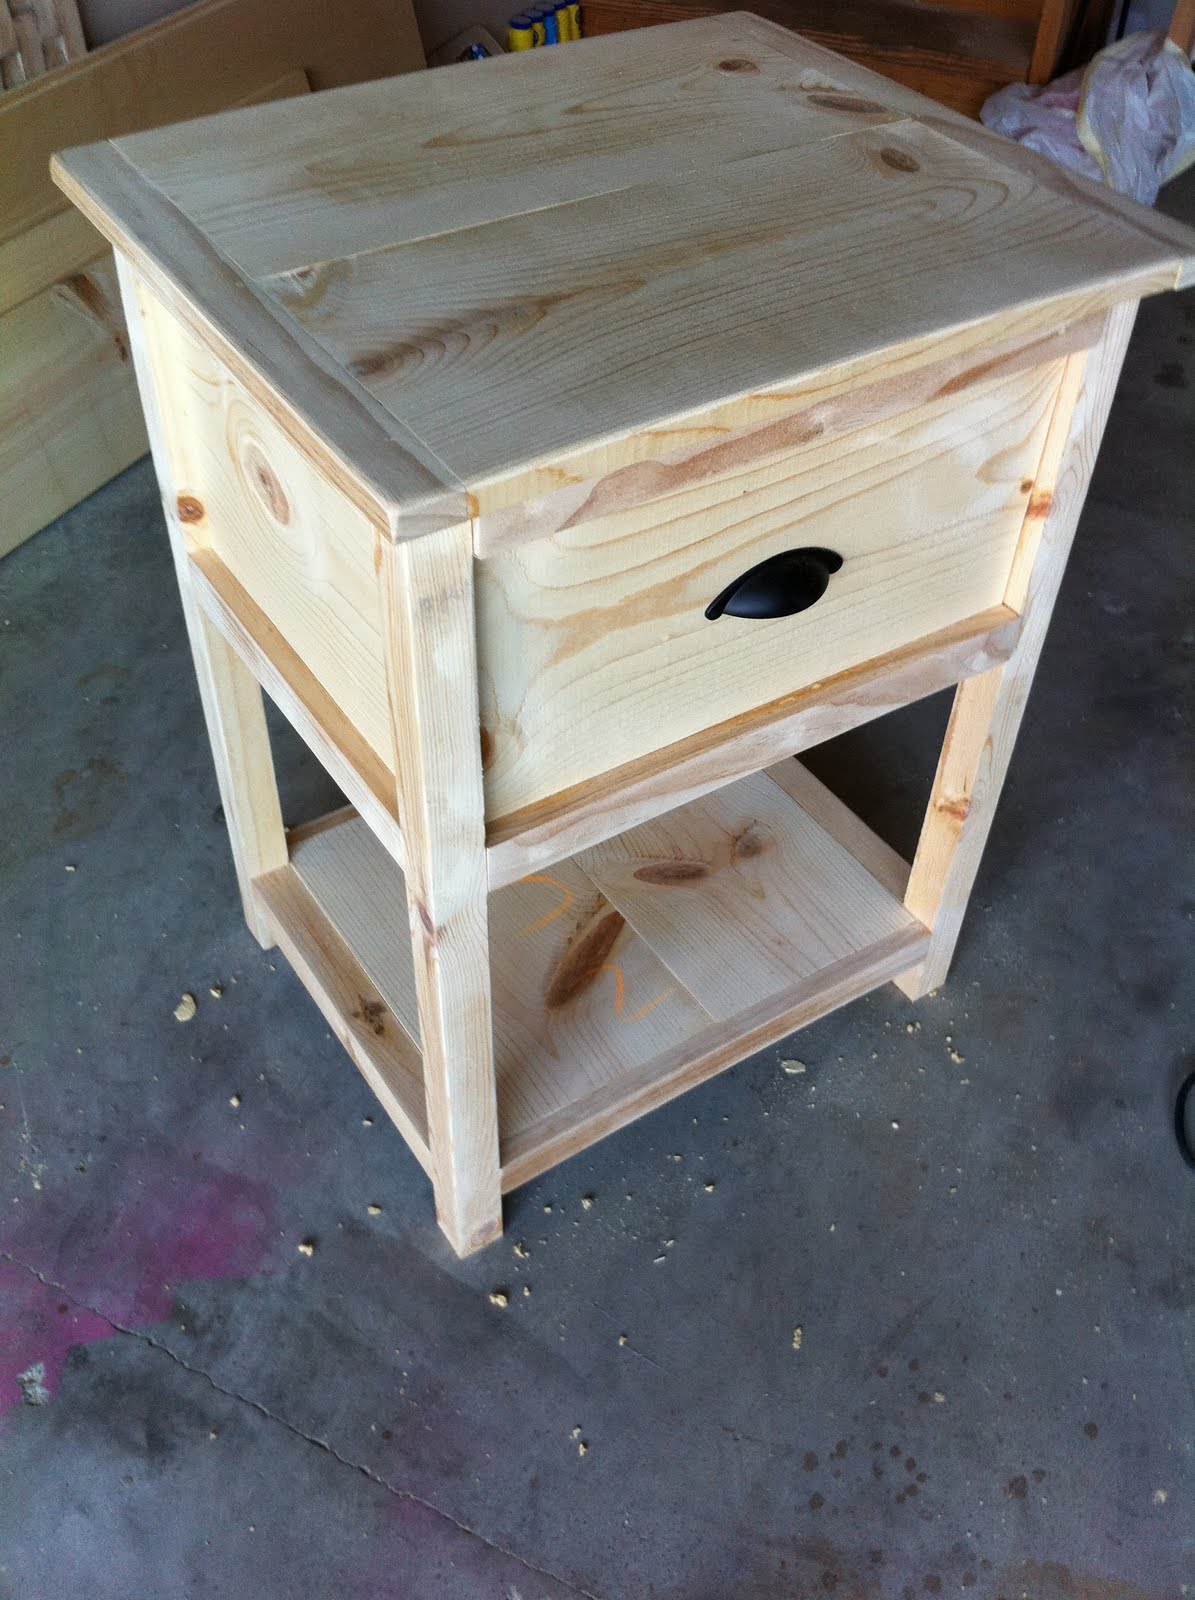
- End tables.  The end tables we have were purchased several years back at Crate and Barrel.  They were cute, but designed very poorly.  The cam system that held the panels together always came apart.  So then anytime I would go to adjust the position of the table...it fell apart.
- Must have seating or a low bench at the end of the bed.  Not really for seating, but for the little dog to make his way up onto the bed.  If he doesn't have access, I don't get sleep. 
- Laptop table.  I know it sounds weird, but I have never met a laptop that I can place on my lap.  They overheat when the fan is blocked with your leg or a couch or bedspread under them.  I don't ask for much, but I want to be able to write or surf the web from my bed when I have free time.
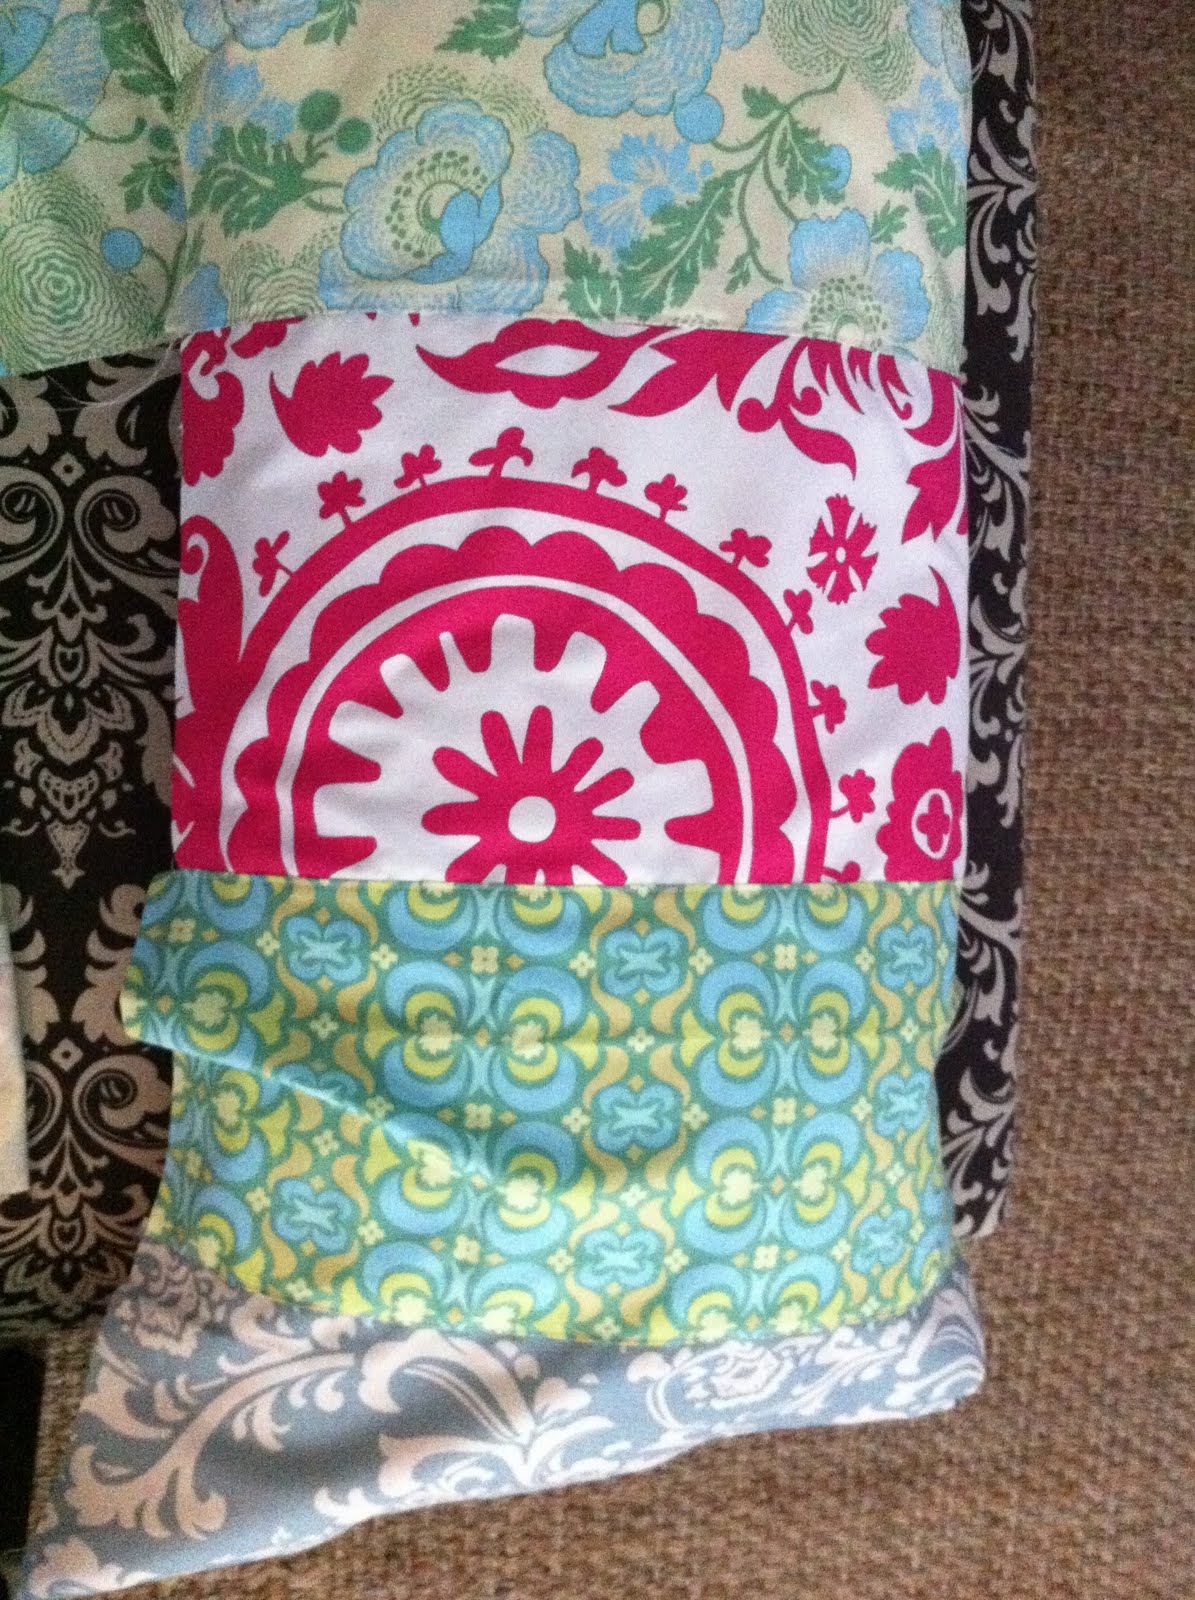
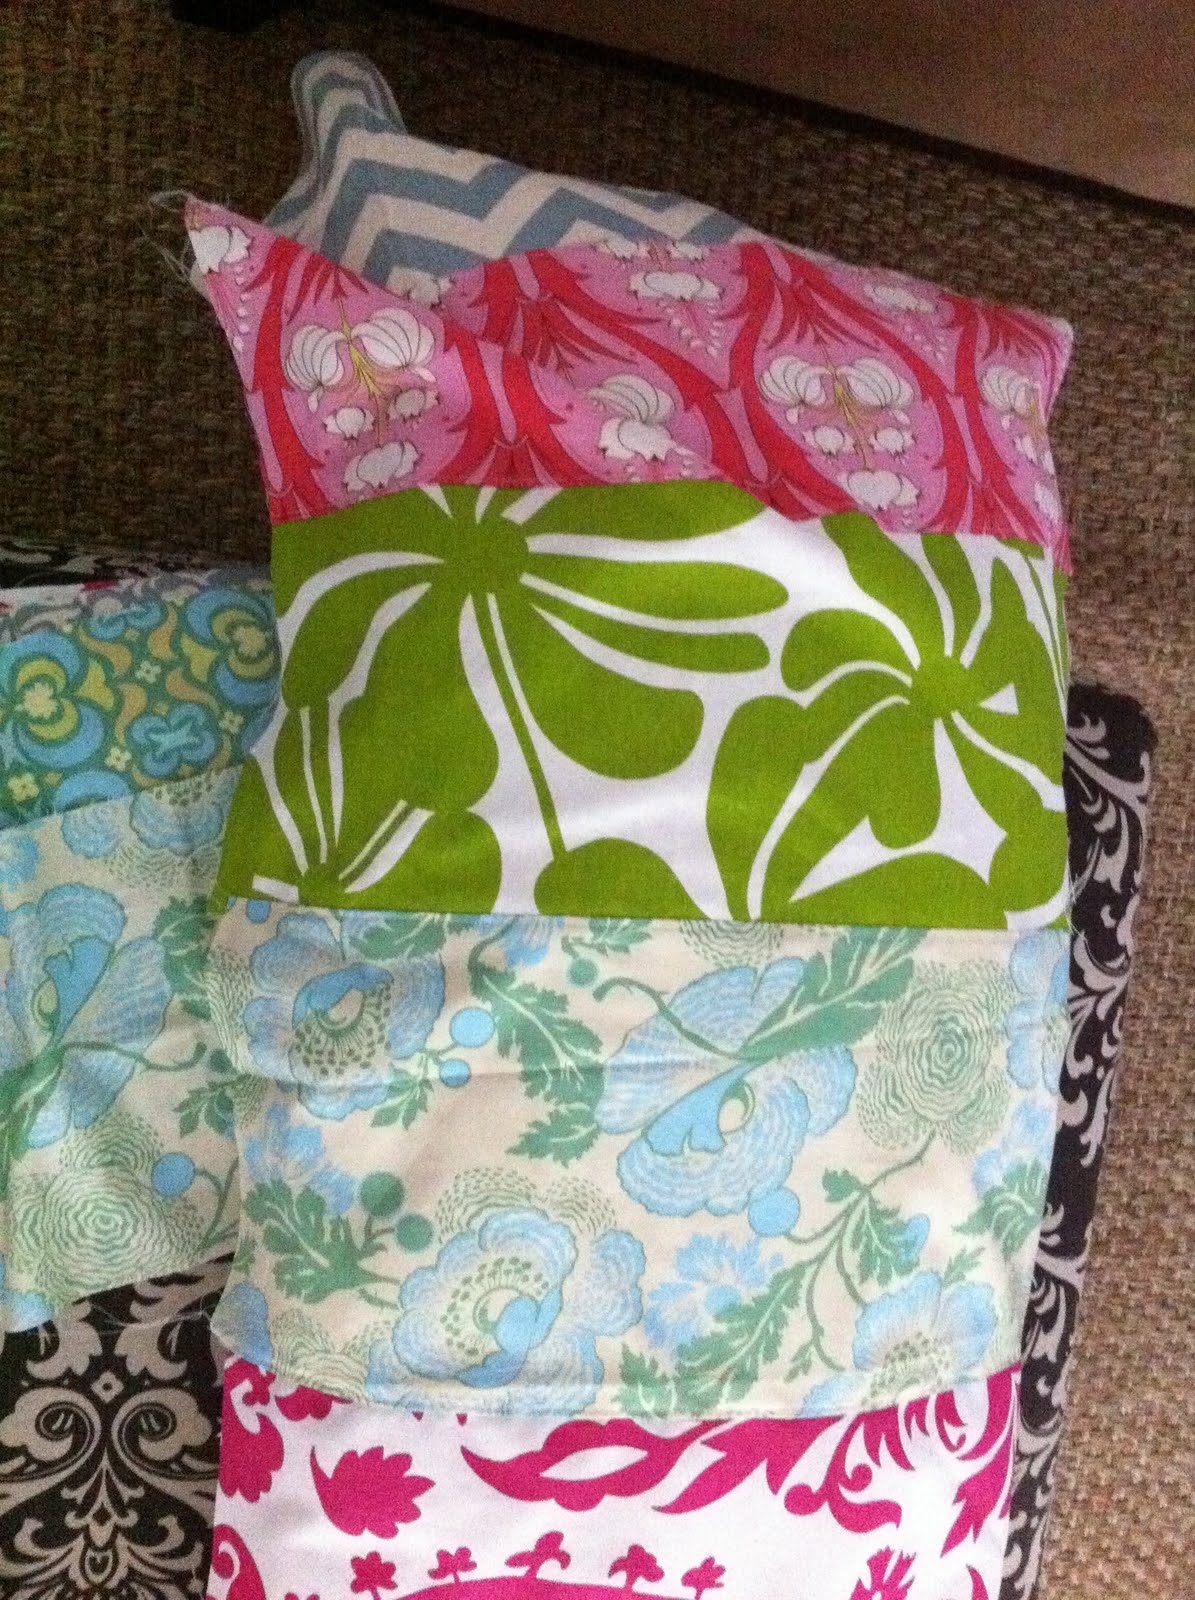
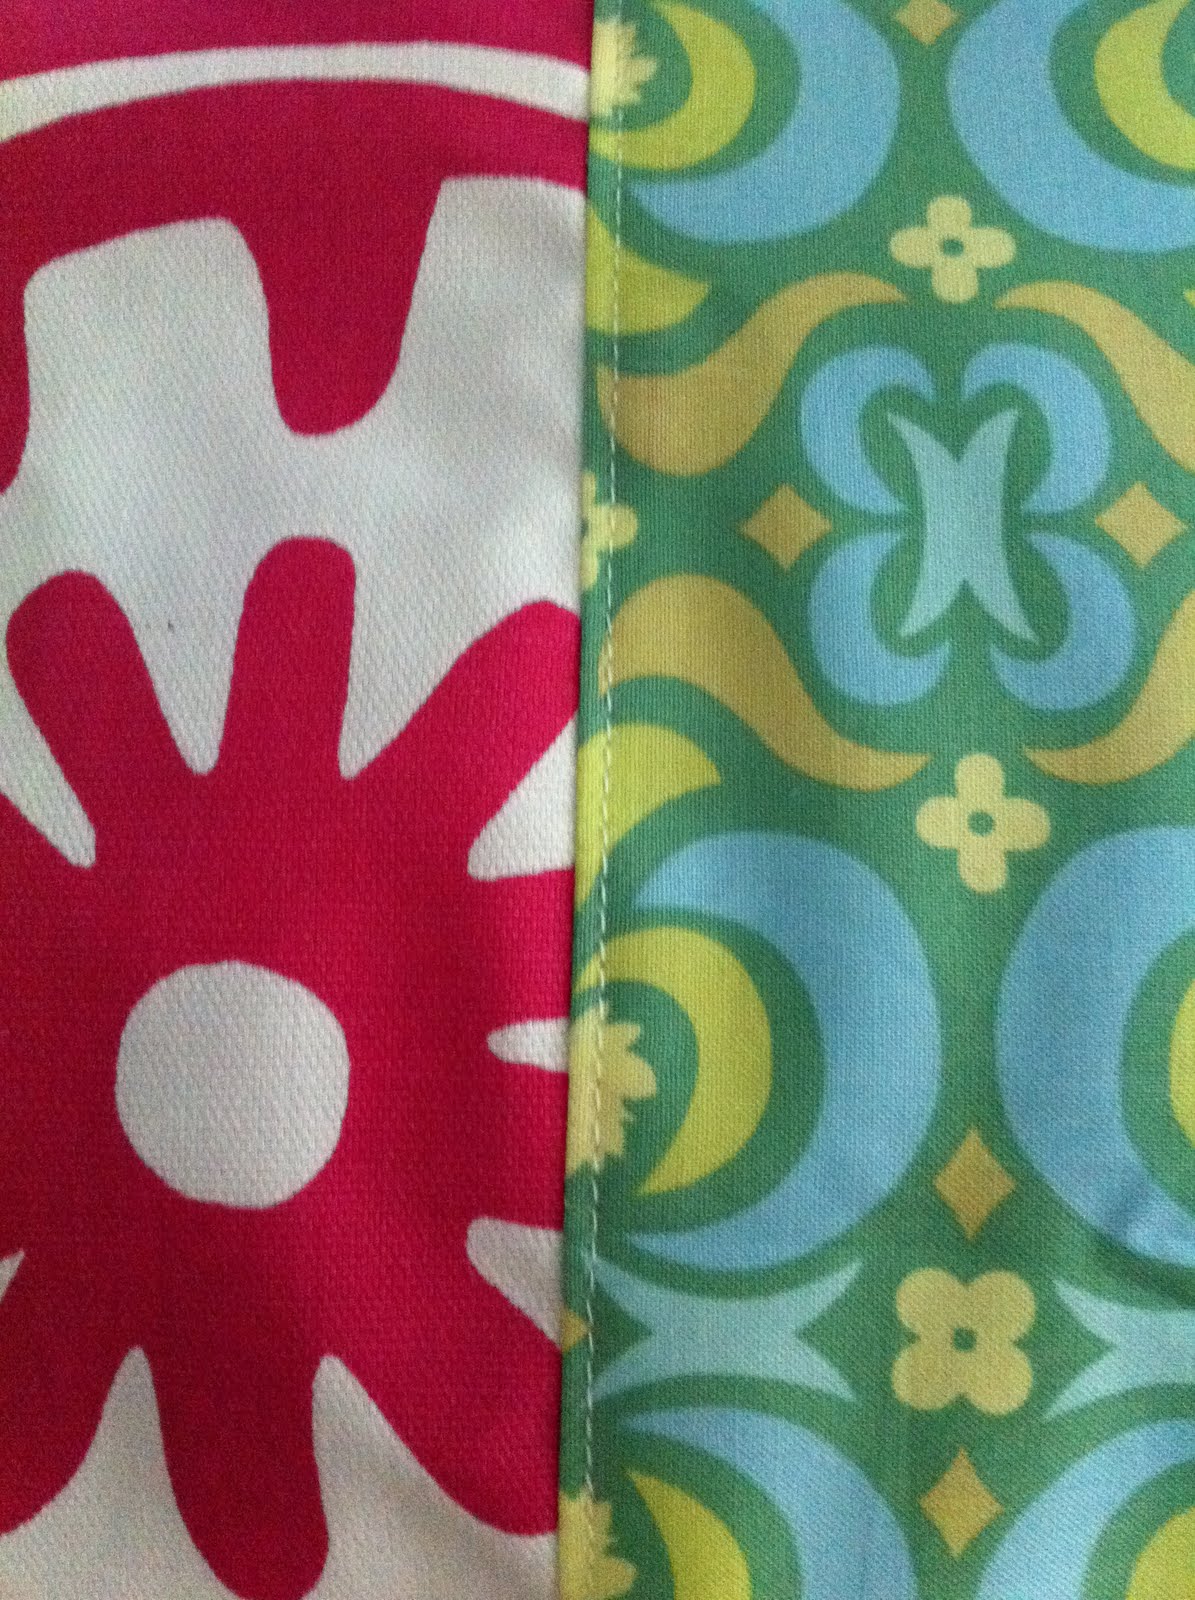
- New comforter and shams.
- Make a pillow sham for a large body pillow as the bed center piece.
- Possibly a rug at the end of the bed to add a cozy look to the room.  I had already installed hardwood flooring in the room a few years ago, but I love having area rugs on top of the hardwood.

Then I stumbled upon a blog called 
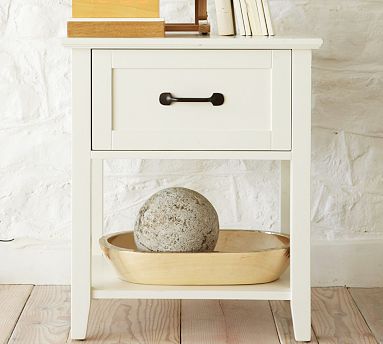
House of Turquoise.  I fell in love with this bedroom instantly.  It has a similar layout to my bedroom and it has a classic look that I love.  However, the furniture is all white and mine is dark.  :(

See the photos below.


Same vaulted ceiling with ceiling fan, door on the side wall (mine is a closet), bay window, wood floors... and this one had a footstool at the end of the bed.  I could totally see my room being just like this - in my head.  I'm pretty sure my hubby won't mind if I paint the walls (again).  I just don't see him letting me paint the new furniture from the espresso color to white.  I could make a white slipcover to pull over the dark "leather" headboard and footboard....what do I do?  I can just imagine how utterly cheerful and crisp my room can be like this beautiful picture.

As of today, one end table is finished & painted.  I decided to make mine a bit different from hubbys side.  On mine I will create a mini-bookcase to house some books and the laptop.  Boards and paint were finished on the lower half of the wall.  Lighting finished. 

Here is where the room is today...


It is slow progress....but it is progress.  Right?  Hopefully, next weekend the other end table will be finished.

Weekend Projects

Pin It Like many of you, you plan and think about the projects you need to complete over a weekend all week long.  It can get overwhelming and exhausting just trying to figure out all the things you need to do.  And then, once you starting thinking about it...the list just keeps GROWING!!!

Well, here is what I will be working on this weekend. 

I'll be picking a finish and completing this nightstand...  I keep going back and forth on how I want it to look.  Part of me (the part that usually wins the battles) wants to keep it neutral.  A nice muted grey or crisp white color would be perfect.  However, a small part of me wants a pop of color.  Something unexpected next to the muted color palette in the bedroom.  Turquoise or yellow or even a stenciled pattern on top. 

I'll be redoing this old dresser.  I use this table in my dining room for extra storage and a focal place to display items on the top.  At first, I wanted to sand it down and refinish it.  However, after about five minutes and loose pieces of the water damaged top flying everywhere...I realized that wasn't going to happen.  I think I'm going to like how I decided to finish it even more than my original plan.  This piece doesn't fit in with my plan to focus on my bedroom - but I need to get it back in the house from the garage (which is also my woodshop).

I'll be creating some inexpensive wall art, like this from Ballard Design.  I needed a few pieces of art wall for my wall over the bed.  I loved this idea and thought it would be super simple to recreate.

And I'll be working on some trim, lighting and bedding in my bedroom.  I found this adorable pillow case made by The Handmade Home and loved how she used scraps of fabric to create a cozy focal point on the bed.  It is such a great idea.


The Handmade Home
  
I'm going to keep the bedroom a surprise until I actually finish the nightstand.  I just need to figure that out first.  Wish me luck! 

Karen  :)

Chemistry 101

Pin It Remember back in science class when you had to rust a nail with vinegar?  Well, what do you get when you rust steel wool pads with vinegar?

Rustic Wood Stain - of course.

I poured a container full of vinegar (quart) & put a few course-grade 3 steel wool pads.  The "stain" gets darker the longer you allow the rust particles to sit in the vinegar.  24-48 hours would be a lighter stain. 

For my mixture, I let it go few extra days.  You can stop the process by straining (with a coffee filter) the small metal particles.  However, you will want to use a drop cloth or newspaper under your project.  This is basically rust and it will stain your concrete in the garage.

I wanted a rustic, weathered look for these little storage crates.  At this stage, they look too new.


Below, the one on the left is one I just brushed with the liquid.  The one on the right was the one I did about five minutes earlier.


Here is the beginning raw wood color.

Here are the four crates at four different shades just after I finished the final one.


Final rustic color, still needs to dry and add a layer of poly.


This process could come in handy creating one of those old looking benches for the front porch (when you don't have old reclaimed wood sitting around).

Link parties -
Todays Creative Blog

Tip Junkie handmade projects


UndertheTableandDreaming

Copy Cat - Bedside Table

Pin It I found this lovely bedside table on the PB website.  Unfortunately, I don't have $500 right now to buy two to replace my table that are falling apart.


I've come up with a similar version (using the Stratton end table as an inspiration piece).

Cut List:

4 - 1"x2" - 13" Side Trim
4 - 1"x2" - 19" Front & Back Trim
2 - 1"x12" - 13" Side Panels
2 - 1"x12" - 19" Front & Back Panels
4 - 2"x2" - 27 1/4" Legs

2 - 2"x2" - 13" Side Trim (Bottom)
5 - 1"x2" - 19" Bottom Shelf Supports

2 - 1"x10" - 14.5" Bottom Shelf
2 - 1"x10" - 20.5" Table Top
2 - 1"x2" - 19" Side Trim Table Top

2 - 1"x8" - 18" Front & Back of Drawer
2 - 1"x8" - 12" Sides of Drawer
1/4" Plywood for bottom of drawer

Screws, Nails, Drawer Handle, 12" Drawer Slides


Link parties -
Todays Creative Blog

Tip Junkie handmade projects

http://thediyclub.com/2011/08/august-2011-diy-project-party-monthly-contest/

UndertheTableandDreaming