Showing posts with label Budget Decorating. Show all posts

Master Bath Remodel Update - Sinks and Faucets

Pin It Quick Update on Master Bathroom Remodel:

The base cabinets are installed.  The countertop is installed, sanded and sealed.

I had purchased some cute square vessel sinks and a waterfall faucet, but sadly, they just didn't work.

Today, I stopped at Lowe's and Home Depot on the way home from work to get different sinks and faucets.  I am in love!!!


Here is the information on what I bought and where I bought it:


Drop-In Sink - Lowe's - Kohler $149


Faucet - Home Depot - Glacier Bay $68

Stay tuned for more updates on the bathroom remodel.

Karen

Stacked Baseboards

Pin It
As I try to waste time this morning to avoid going in the garage to build the bookcase for the half bath, I'd thought I'd answer one of the emails I received from a reader.

I've lived in this house for over ten years.  According to my master plan when I moved in, I should have completely been finished with all my remodel projects by now....finished the basement and possibly have an in-ground pool.  However, when I tend to remodel over and over until I think I've got it right things take a bit longer than I plan.  The only thing I have going for me is my overwhelming need to keep the structure as classic as I can.

By classic, I'm referring to the oak wood floors, trims & molding, windows, doors, etc.  The "structure" things you shouldn't really need to change when you remodel a room around a new comforter you purchase.  Classic white trim and oak wood floors (in my eyes and heart) will always be in style.

A reader spotted these baseboards in a photo of an end table I did last year.

Hallway to family room from front door

When I started installing the 2000+/- square feet of wood floors about three or four years into living here, I was sitting on the couch with a Pottery Barn catalog on my lap.  I don't have it anymore or I'd show you the picture of the inspiration.  While flipping through it I saw one of their beautiful pieces of furniture, but that isn't what caught my eye.  It was the stacked baseboard behind it.  I had to have sat there for an hour trying to figure out how to recreate those same baseboards.  But the thing that kept halting me was the fact their baseboards looked like a 1x12 board routed with beautiful grooves to create a piece of art.

Then, I set down the catalog and headed to my hardware store for therapy (Yes, I like to hang out in the lumber section to clear my head.  Some girls shoe shop, I buy lumber.  Don't judge).  I started picking up pieces of trim molding and inspecting them.  I brought home about five different pieces and began to create.


Hallway

But, when the dust settled, this is what I ended up doing.

1 - Top piece 1 1/4" Picture molding
2 - Middle piece 1" framed rope molding
3 - 5" baseboard (which I'm certain you could create with two separate pieces)

Unfortunately, it was BB (before blog) so I don't remember item numbers, prices, etc.  But, if you have read this blog before you know I'm all about creating something special on a very thrifty budget.  I wouldn't have bought the high end $5 a linear foot stuff.  When I win the lottery (because I will someday, I just know it) I will probably still have the same need to recreate things on a budget I will just have way more time to do it.

I measured 11.5" up from the floor (same as a 1x12" piece of lumber) marked around the room with my tape measure and level and installed the picture molding.  Then I marked 8" up and repeated the process with the framed rope pieces.  Then I installed the baseboards.  I don't think it matters if you start at the top or the bottom.

Then, caulk, prime and paint.  I do remember the day I painted mine I had the Cardinal v Brewer game on in the background.  It was hard to pay attention to cutting in with the distraction.

Front Living Room


I still have some requests to see the kitchen (which was also a total gut before the blog).  I haven't forgotten.

Have a great day!!!

Karen

Linked to:

Inexpensive Window Hardware

Pin It

Today I did some simple curtains for the laundry room and hung them.

However, when I was shopping for curtain rods and hardware I was a bit shocked at the prices.  For a small window like this one, it was going to cost anywhere from $50 on up for simple hardware  ($20 for brackets and $30 for the rod). 

As I was trying to play off the industrial metal backsplash, silver cabinet handles and the metal accents I put down the curtain hardware and decided to check out the plumbing section of the hardware store.

Until I found this...


It looks like curtain hardware to me.  Here are the product packages for anyone who is interested.  The flange and split ring hanger are in the plumbing section, the threaded rod is in the screws and bolts section. 

Then add your favorite conduit or spray painted wood dowel.

They even have pipe end pieces to add for finials, but I wanted this simple look.
Here is my new $10 curtain rod, including the hardware. 
The little clips were another $5.


What do you think?  Would you use plumbing for your window hardware?
I like it so much I may use it in my upstairs hallway (spray painted oil rubbed bronze).

Karen :)

Chemistry 101

Pin It Remember back in science class when you had to rust a nail with vinegar?  Well, what do you get when you rust steel wool pads with vinegar?

Rustic Wood Stain - of course.

I poured a container full of vinegar (quart) & put a few course-grade 3 steel wool pads.  The "stain" gets darker the longer you allow the rust particles to sit in the vinegar.  24-48 hours would be a lighter stain. 

For my mixture, I let it go few extra days.  You can stop the process by straining (with a coffee filter) the small metal particles.  However, you will want to use a drop cloth or newspaper under your project.  This is basically rust and it will stain your concrete in the garage.

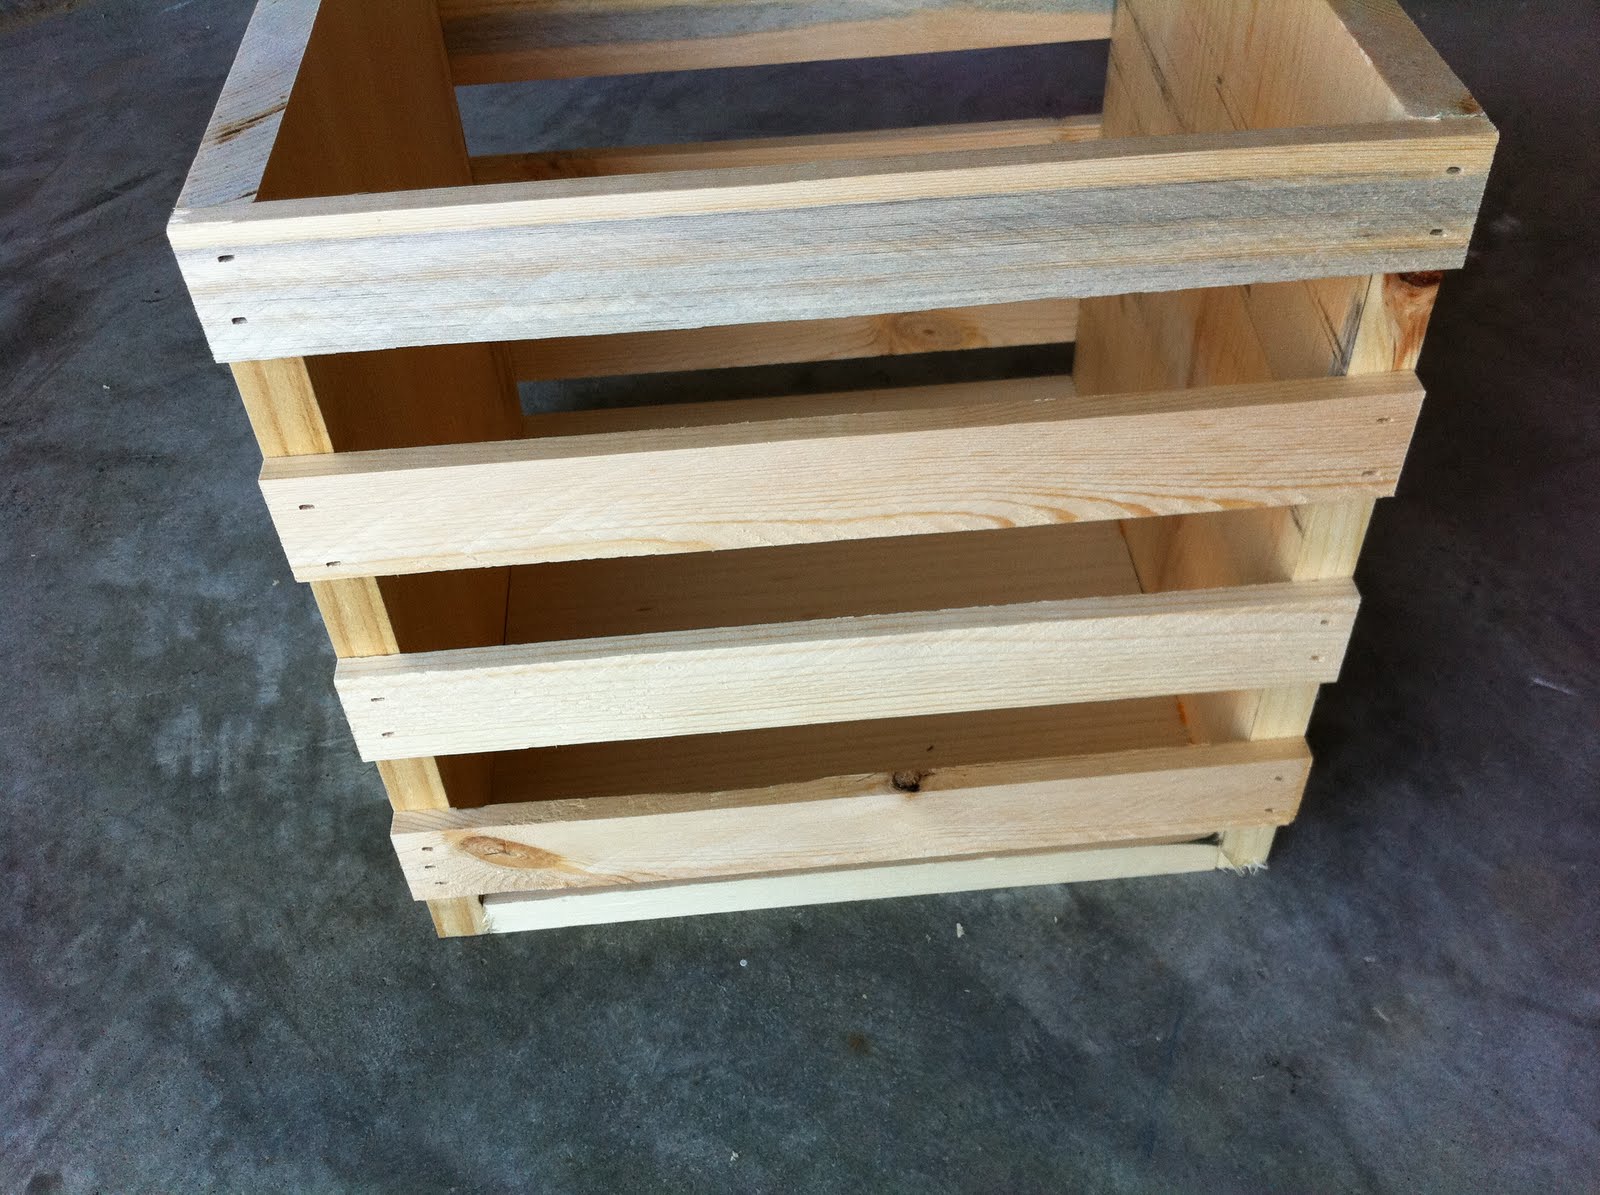
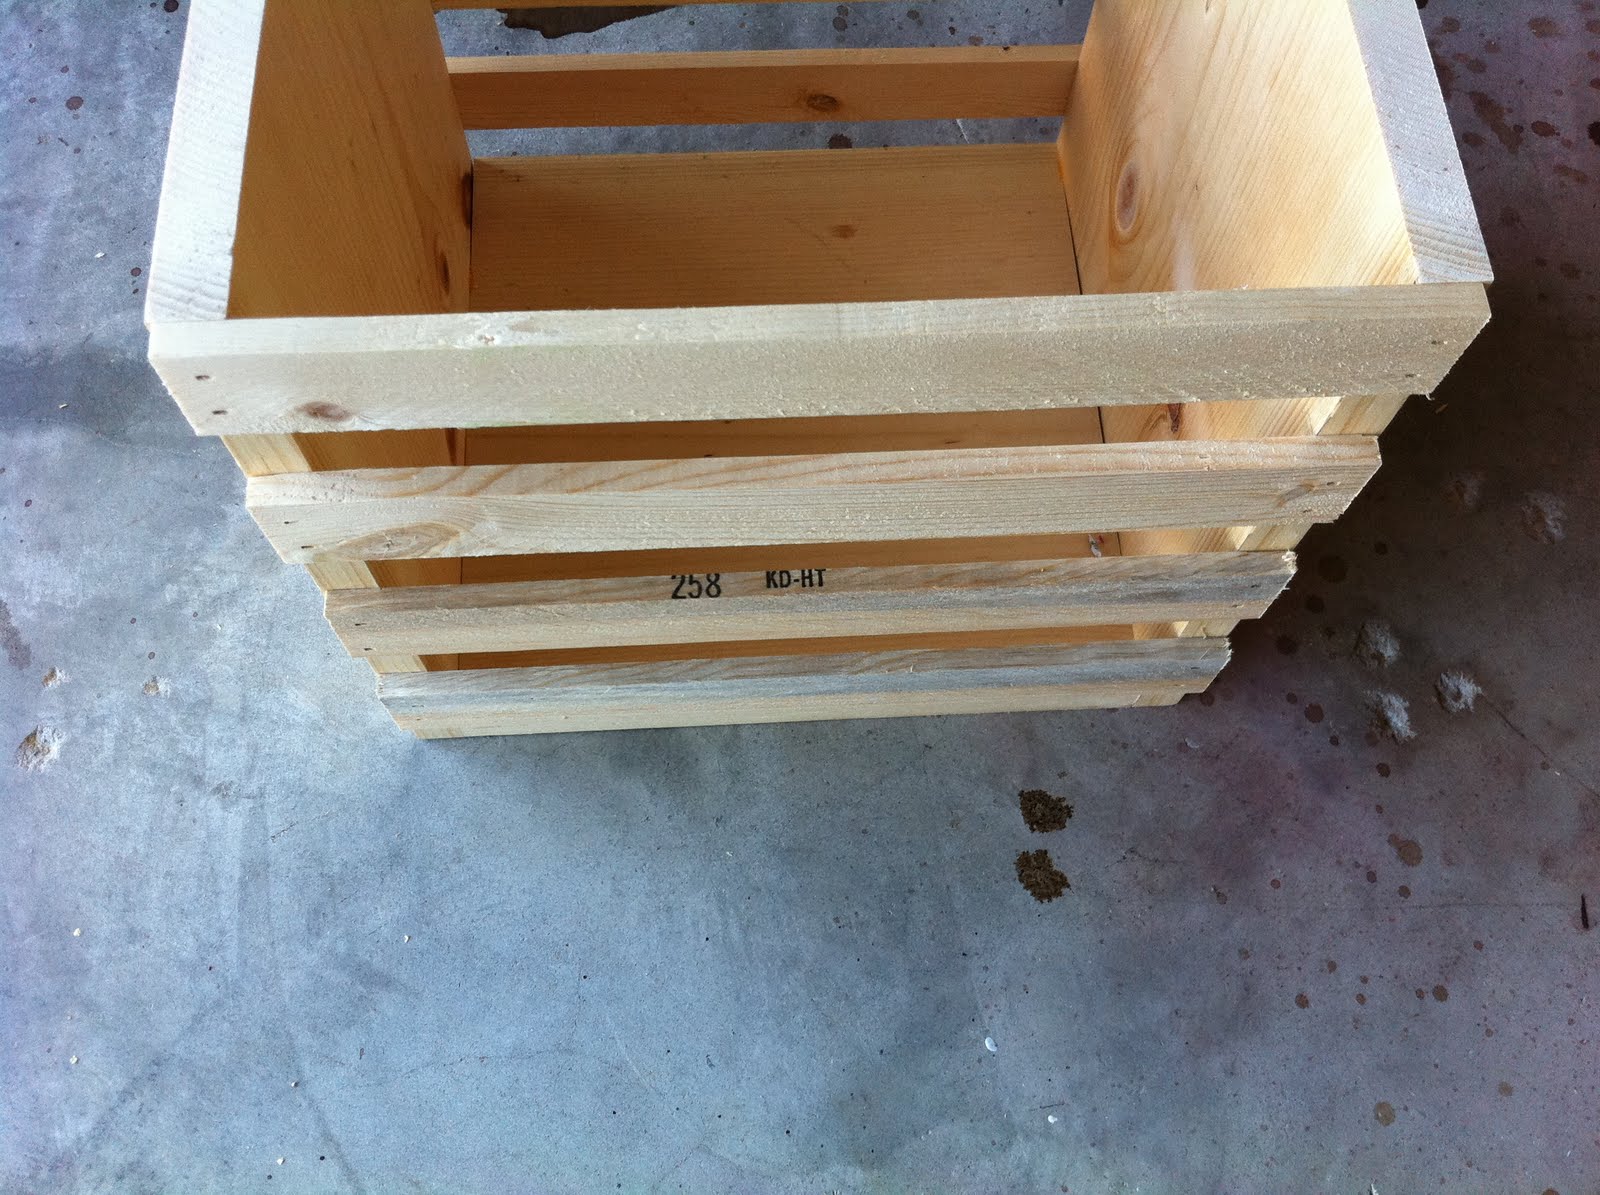
I wanted a rustic, weathered look for these little storage crates.  At this stage, they look too new.


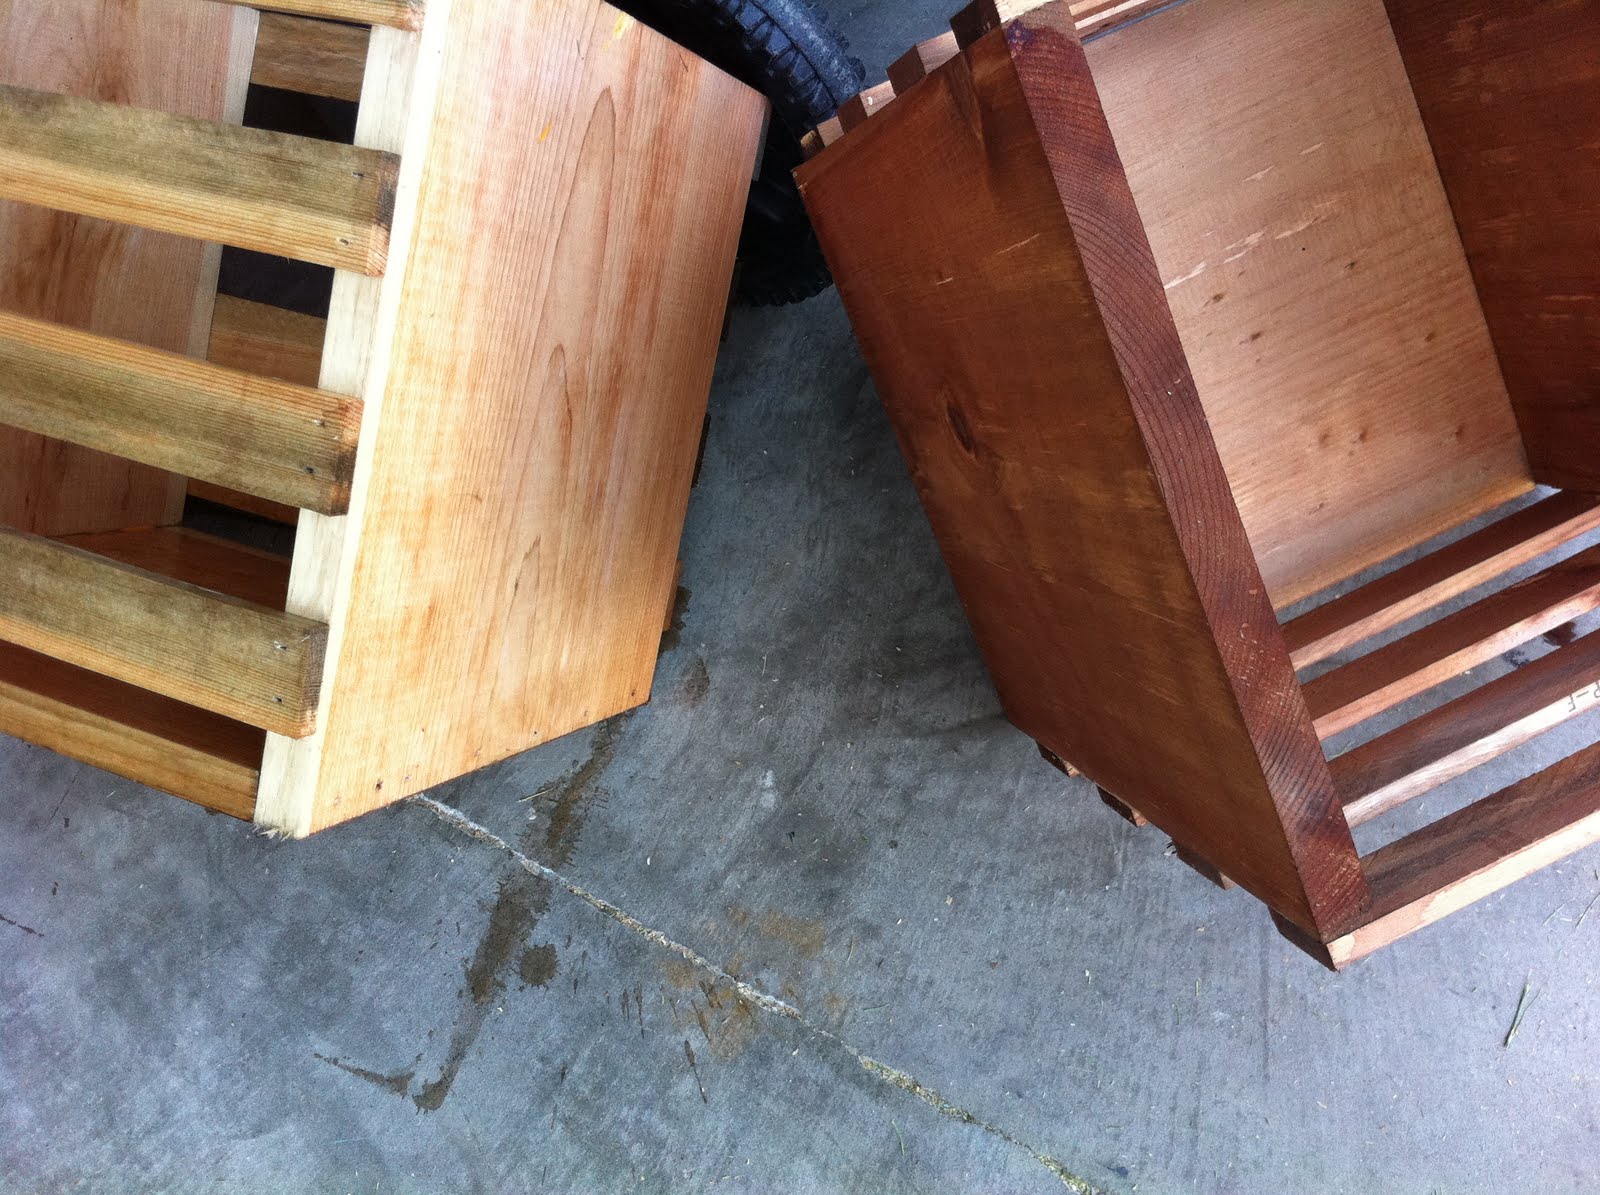
Below, the one on the left is one I just brushed with the liquid.  The one on the right was the one I did about five minutes earlier.


Here is the beginning raw wood color.

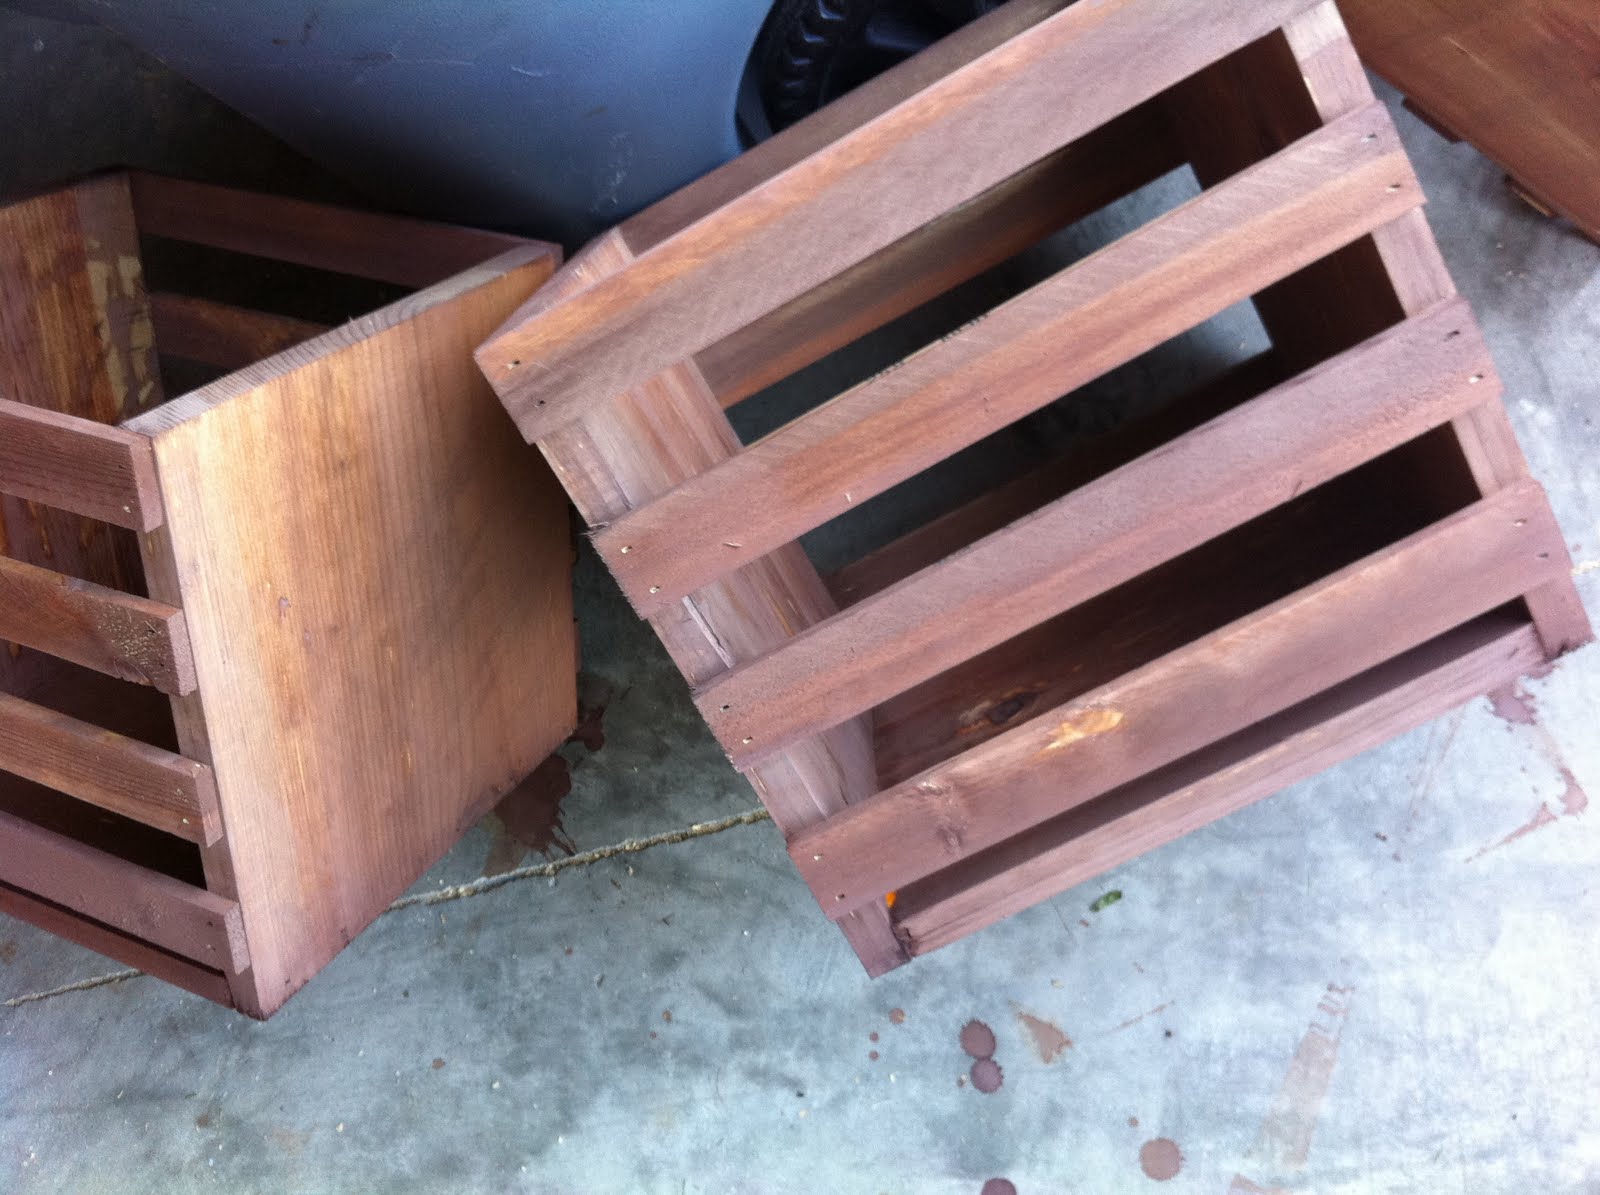
Here are the four crates at four different shades just after I finished the final one.


Final rustic color, still needs to dry and add a layer of poly.


This process could come in handy creating one of those old looking benches for the front porch (when you don't have old reclaimed wood sitting around).

Link parties -
Todays Creative Blog

Tip Junkie handmade projects


UndertheTableandDreaming

My favorite Robert Frost Poem

Pin It When I made this pallet frame, like the PB one from the spring catalog, I found a great tutorial from The Lettered Cottage.  Find their instructions on their blog here.

Well, I made the frame and stained in Early American.  Then it sat for a few weeks while I decided on what to put on it.

Actually, I'm not really big on poetry, but I've always loved a Robert Frost poem.  I couldn't remember the name of it, but I had it memorized.  So I googled it and printed it out.

Two weeks past as I made sure that was something I would want on my wall for awhile.

Envelope Pillows - If you love pillows and hate to sew zippers, this is for you!

Pin It I've always loved pillows and hated the prices of pillow covers.  So I've made my own.  Not only is it inexpensive, but you can match the colors you need to fit your rooms.  Perfect right?  Well, not if you can't stand to sew those little pesky zippers that you may not use but twice.

My solution? 

~ Shim Art...Do Over! ~

Pin It Well, after I got the stain on my little shim art project...I had to admit, I was not in love with it.

See the original post here.

Back to the drawing board.  Er, the spray paint board?

Here it is with a coat of primer (better already):


Anyway, I was just outside spray painting a lamp and my shim art project was just sitting there.  Actually, it was calling to me.  "Karen...Karen..."  hahahaha  But, I listened and I think I love the way it looks now.  I could still be high on the spray paint fumes, so final vote won't be until tomorrow.  I'll have to see how it looks inside.  The way it looks now, it might just have to sit on the table (leaning up against the wall) behind the lamp I spray painted.

Here is the "final" (unless I don't love it tomorrow) look:

I think it has just enough texture and rustic appeal.  And the darker stain kind of weighed it down a bit.  My bedroom already has dark furniture, so the accent pieces need to balance all the heavy.
Thoughts?

Distressed Wall Art

Pin It

I bought a wall decal (this one) from Amazon.com with the plan to stick it to the wall.  However, after I thought about it and the constant need to have to change the wall colors...I decided to create a piece of wall art instead.

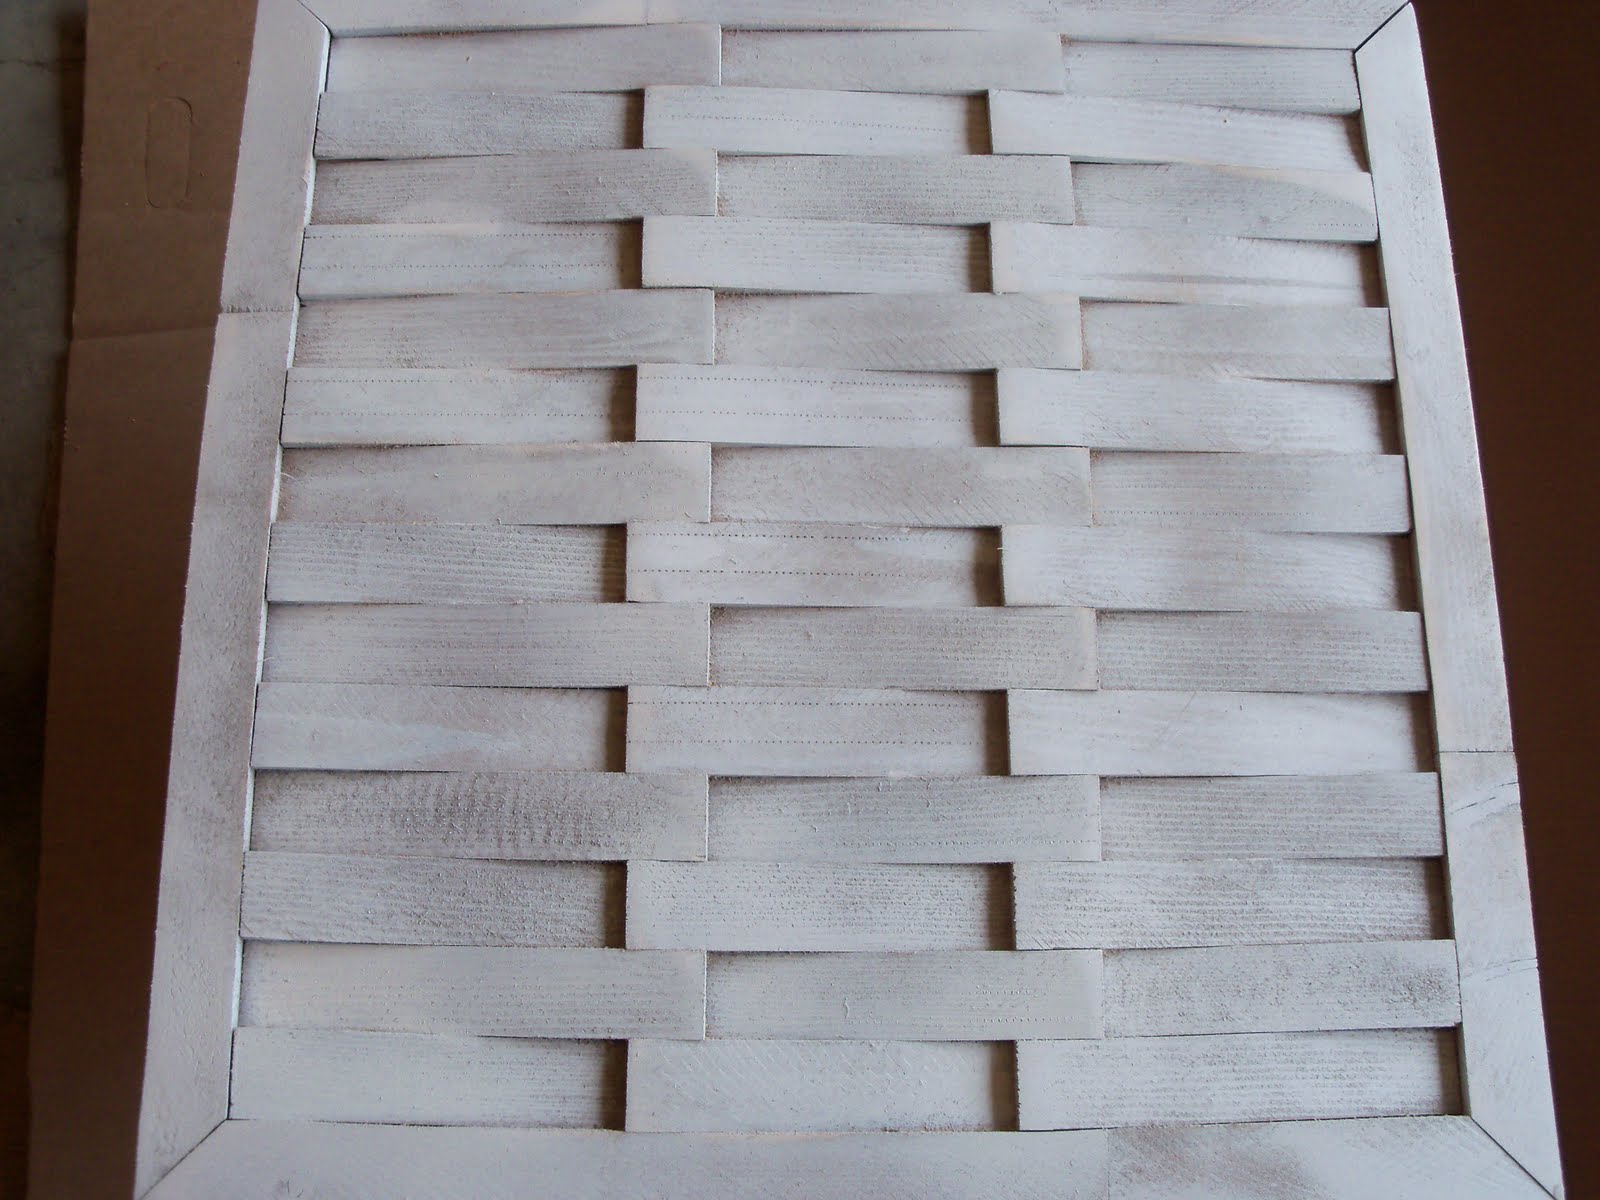
I grabbed a few pieces of scrap wood and set out to build a flat surface to use.  I then added a 1"x2" (mitered corners) strip of wood around the edge to frame the boards.

See the back:


Then I painted the boards and frame with a sandy-yellow color paint.  When it was dry, I sanded some raw spots and roughed up the edges.  After I wiped the dust, I glazed with Jacobean stain and wiped and rubbed to create an aged look.  I attached a simple hanger on the back:


Here is the finished project:


Sprucing up the Entryway

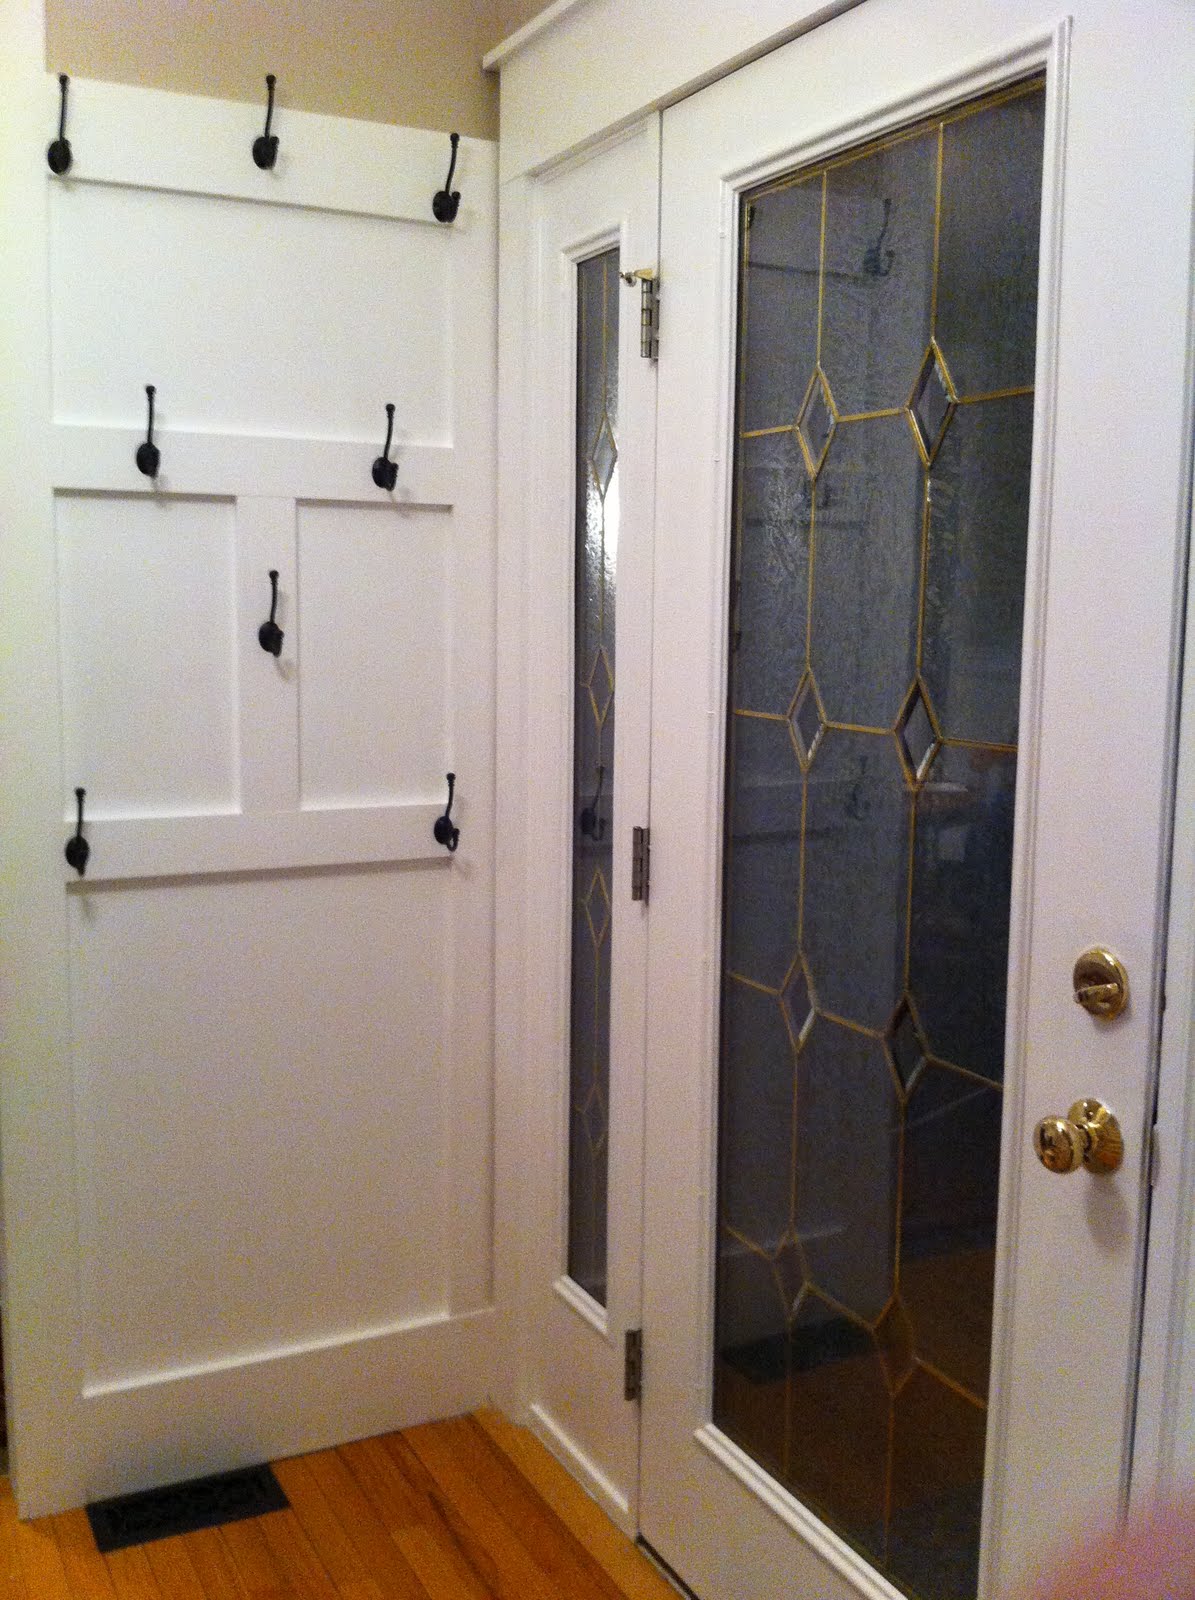
Pin It I spent a Saturday with a few scrap pieces of wood, new coat hooks (Lowes) and some paint and came up with this:

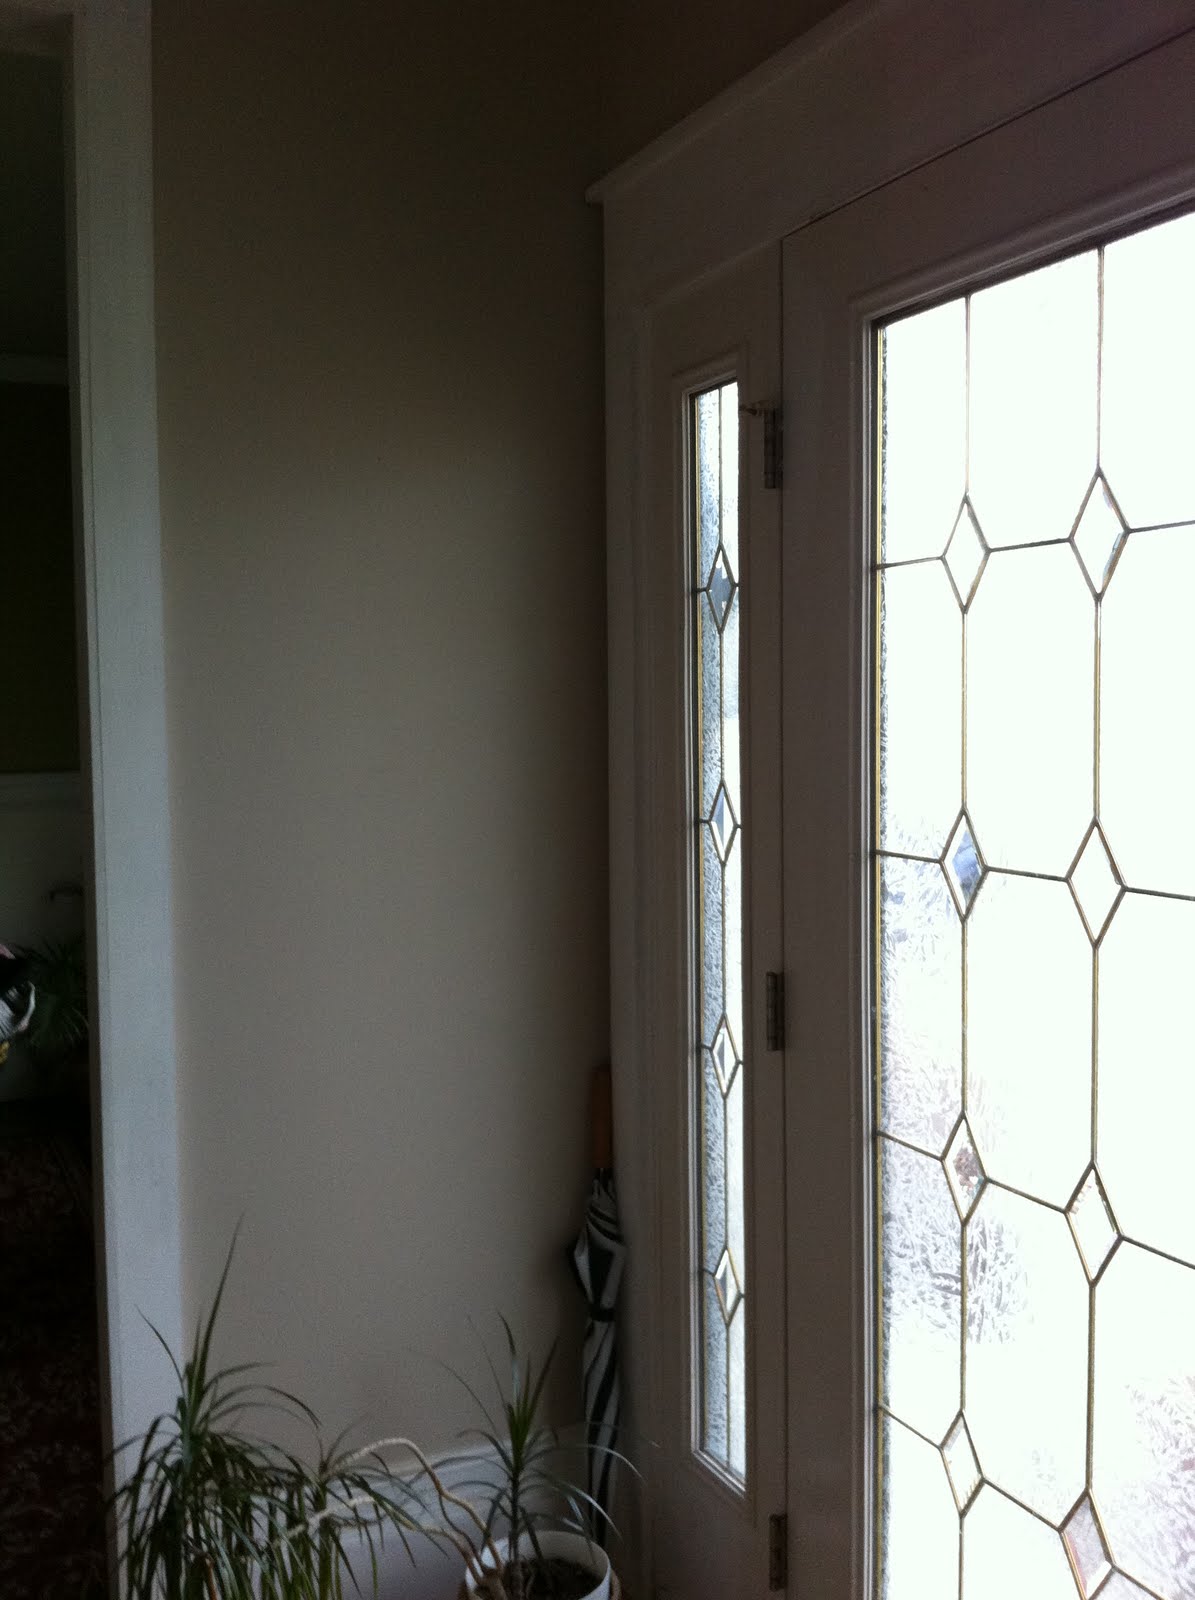
Here is the starting point inside the front door:


Added 1"x4" strips of wood to the wall.  I used countersunk screws into the studs since I planned on attaching large coat hooks.  It probably wasn't necessary, but with my kids and their fifty pound backpacks it was worth the extra effort.  I filled the holes with wood filler, sanded and primed.


Then used two coats of Ultra White Behr Satin. 


Installed the bronze coat hooks.  I think they were about $3 each.
When visitors come over, they always comment about how interesting it is that I used a door by the front door for my coat hooks.  I didn't plan to make it look like a door, but when I look at it I see how much it does.  Cool!
http://cottageandvine.blogspot.com/