Showing posts with label Living Room. Show all posts

New Entertainment Center

Pin It
I had a small village of components living around my television in the family room.  DVR, DVD, Playstation, Xbox, Large Speakers, small speakers, DVDs, Video Game & Controllers.  Sound familiar?

I spent quite of bit of time searching for the perfect piece of furniture (either to replicate or purchase).  Guess what?  It didn't exist.  Apparently, you need to purchase a four foot length console for the massive televisions and all the equipment and just make do.  Some of the "larger" sized units were around $500 and still not what I needed and made of MDF.  Yes, some of them have the huge wall towers to go over the television.  However, I have tons of windows and didn't like the look of a wall of stuff.

Here is my solution.  Unfortunately, this photo was take with the iphone last night when it was dark, so you will need to check back with the plans and the "good" photos soon.  This will give you an idea of what is coming.


I know this picture is horrible.  I will hurry and add a better one this week.

This one is a bit better, but still with the iphone


For comparison purposes, this is a 46" television (which the hubby claims is now too small - Ha!).

Top row holds the DVD, DVR, Playstation & Xbox
Center row holds the smaller front speaker and has room for decor.
Center bottom houses the large speaker (hidden) and four rows of DVDs.
The two end spots are to hole large wicker baskets to hold video games and equipment. 

No more clutter!

Here is what I had before.  Looks kind of wimpy compared to the new one.

Here are a couple of the build:  I used Purebond plywood

I am so pleased with how it turned out.  I will share plans for anyone needing ideas for their own build.  Also, I will have more projects starting soon for the family room (adding wall planks and building a new coffee table to hide more DVDs).  I'm beginning to think I have too many DVDs and need to get rid of some.

Karen :)

Cozy Additions to the Family Room

Pin It
Comfy, cozy additions to the family room.

New homemade furry and knitted pillows with the Ikea Pillow and throw.

Photo Bomber - Max the Morkie

Well, I jumped into the family room(taking a break from finishing the half bath-no judgments please) to do a few things to make the room more inviting during the summer while we lounged inside watching movies and avoiding the heat.

Last week, I posted on Facebook that I found a new rug on Overstock.com for a steal at $148 for an 8x11.  I jumped on it even though I wasn't a huge fan of the chevon pattern.  My goal was to add a bit more color and this did not have brown or beige, so it was actually perfect.

It was to replace the jute rug (below) that my family hated.  If you notice in this picture, the theme of the room was The World of Blah Beige and Brown.


Last night I made two new pillow covers for the sectional.  One furry, one knitted.

I found the furry fabric on ebay and I used a soft baby chenille yarn for the knitted one.


Here is the furry one, which Max the Morkie actually hates.  He barked at it for the first five minutes it was on the couch.  Maybe it reminded him of his father or he thought it was his competition.


Here is the knitted one.  It would be much easier to make with a sweater from Goodwill, but I couldn't find one I liked with soft material.


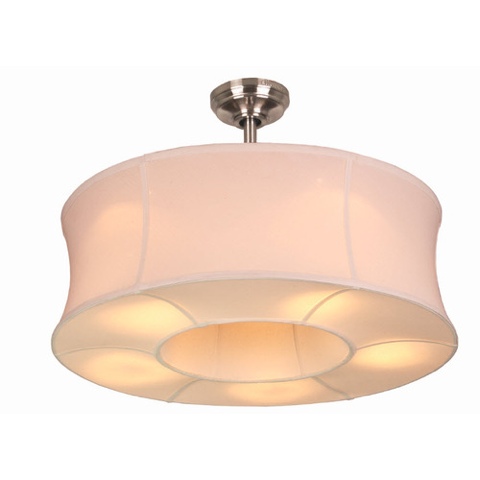
Here are two thoughts for a new ceiling fan, both from Lowes - Allen Roth.  I think the second one is more casual, which is a better fit for my house.


I swapped out the dark brown curtains with the ones from the front living room.  Free!  And I am loving how light and bright the room looks with the change.  Here are a few before and after with the lighter curtains.  The room actually looks much bigger now.

I need to reupholster the ottoman, but I will be repainting the walls and covering the popcorn ceiling too!  (Last room with popcorn on this level)


I plan to do a bit of work in the half bath to finish it up this weekend.  I just hate the small finishing touches that seem so tedious, don't you?

See you soon!  Karen :)

Linked to:

DIY Copy Cat Nesting End Table - Part 1

Pin It

Last week, I found an awesome finish on the PB website as an inspiration for a narrow end table I built for my family room.  When I started building a second end table for the family room, I decided to do a table similar to the one I saw.

Here is the inspiration piece (unfortunately, the yellow color wouldn't work for my color scheme):

DIY Simple End Table for Small Spaces

Pin It We have end tables that are too tall for our couches.  The tops of the tables are about three or four inches taller than the arm of the couch.  The fact they are tall wouldn't be so bad, except we can see the unfinished back of the table over the arm of the chair.

I measured the arm of the couch and it was only 22" tall.  I think most end tables are 24" tall or taller.

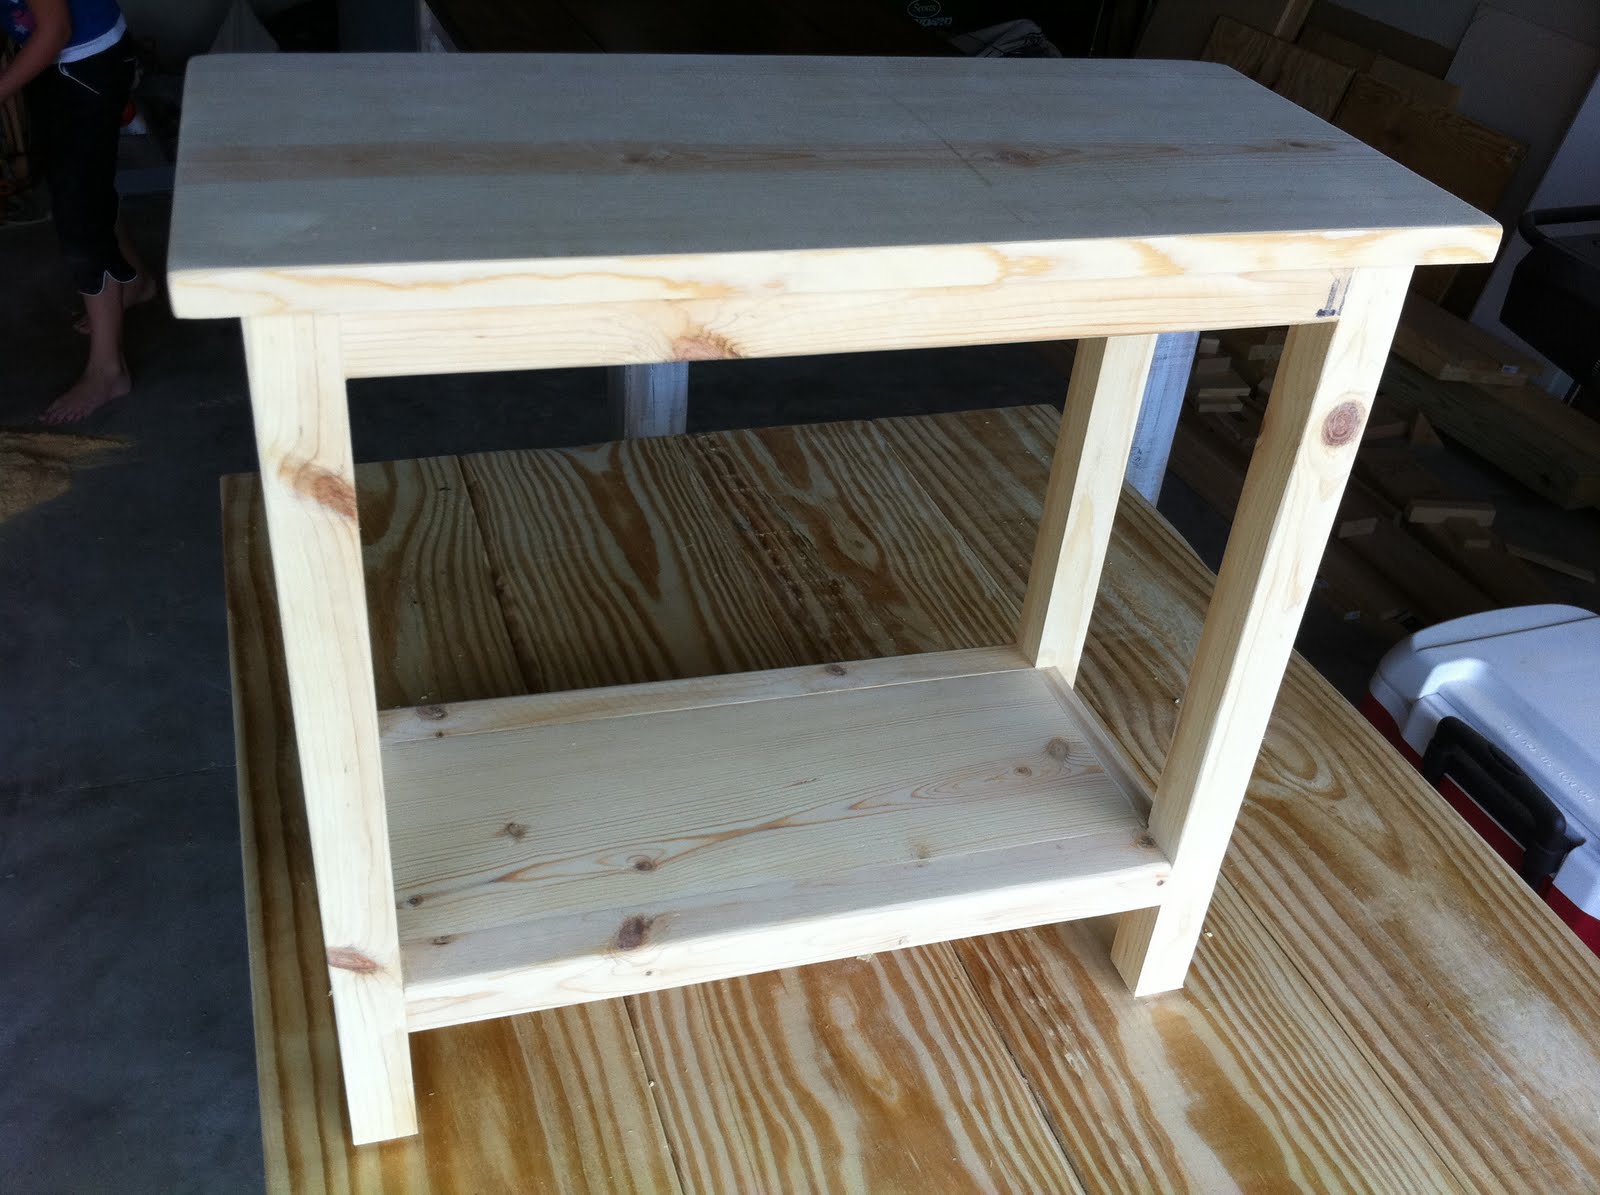
So, I made a little (and narrow) table to fit the needs of my small room.

Here it is without the finish.  Small, narrow and just the right height for my short arm couches.