
Anyway, I needed to build them to replace the ones that were falling apart that I had already removed. The ones I replaced were great...at first. Like with most reasonably priced (my budget) furniture - it never lasts long. However, I found the furniture items I had built in the past were very sturdy and could stand up to my children...BONUS! I decided to build my own bar stools.
Here is the picture of all the cut pieces:

Cut List (per chair):
6 - 11" 2"x2" (cross braces for legs)
4 - 22 1/2" 2"x2" (legs)
4 - 11" 2"x4" (upper cross braces for legs, under seat)
3 - 16" 2"x6" (seat - screwed together with Kreg)

You can take this time to fill those Kreg holes on the interior of the stool. Since I was staining and didn't think anyone would look inside the stool, I didn't bother. However, down the road I may add a paint technique on the legs to make it look old and rustic, so I might add wood filler down the road if I change it.
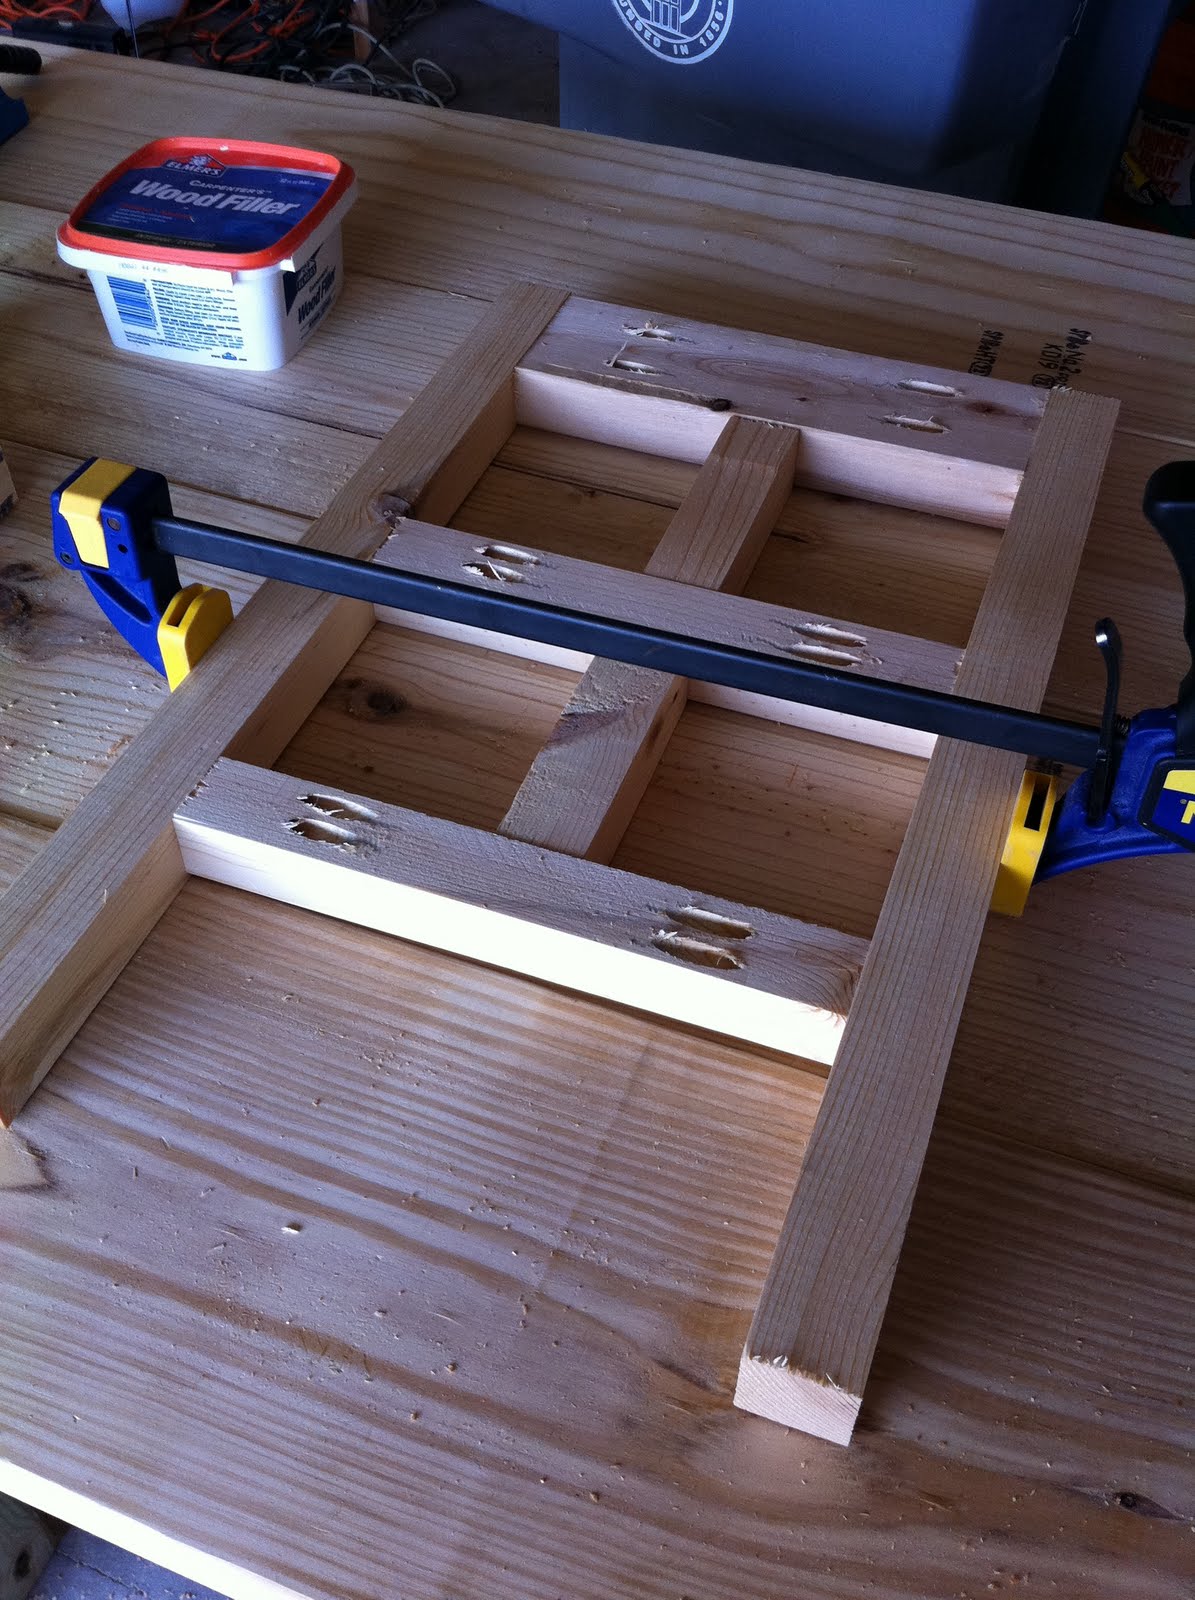
If you don't use two screws on the little slats, they will move when people put their feet on them. I used the clamp to hold them in place while I screwed everything together so it was where it needed to be.


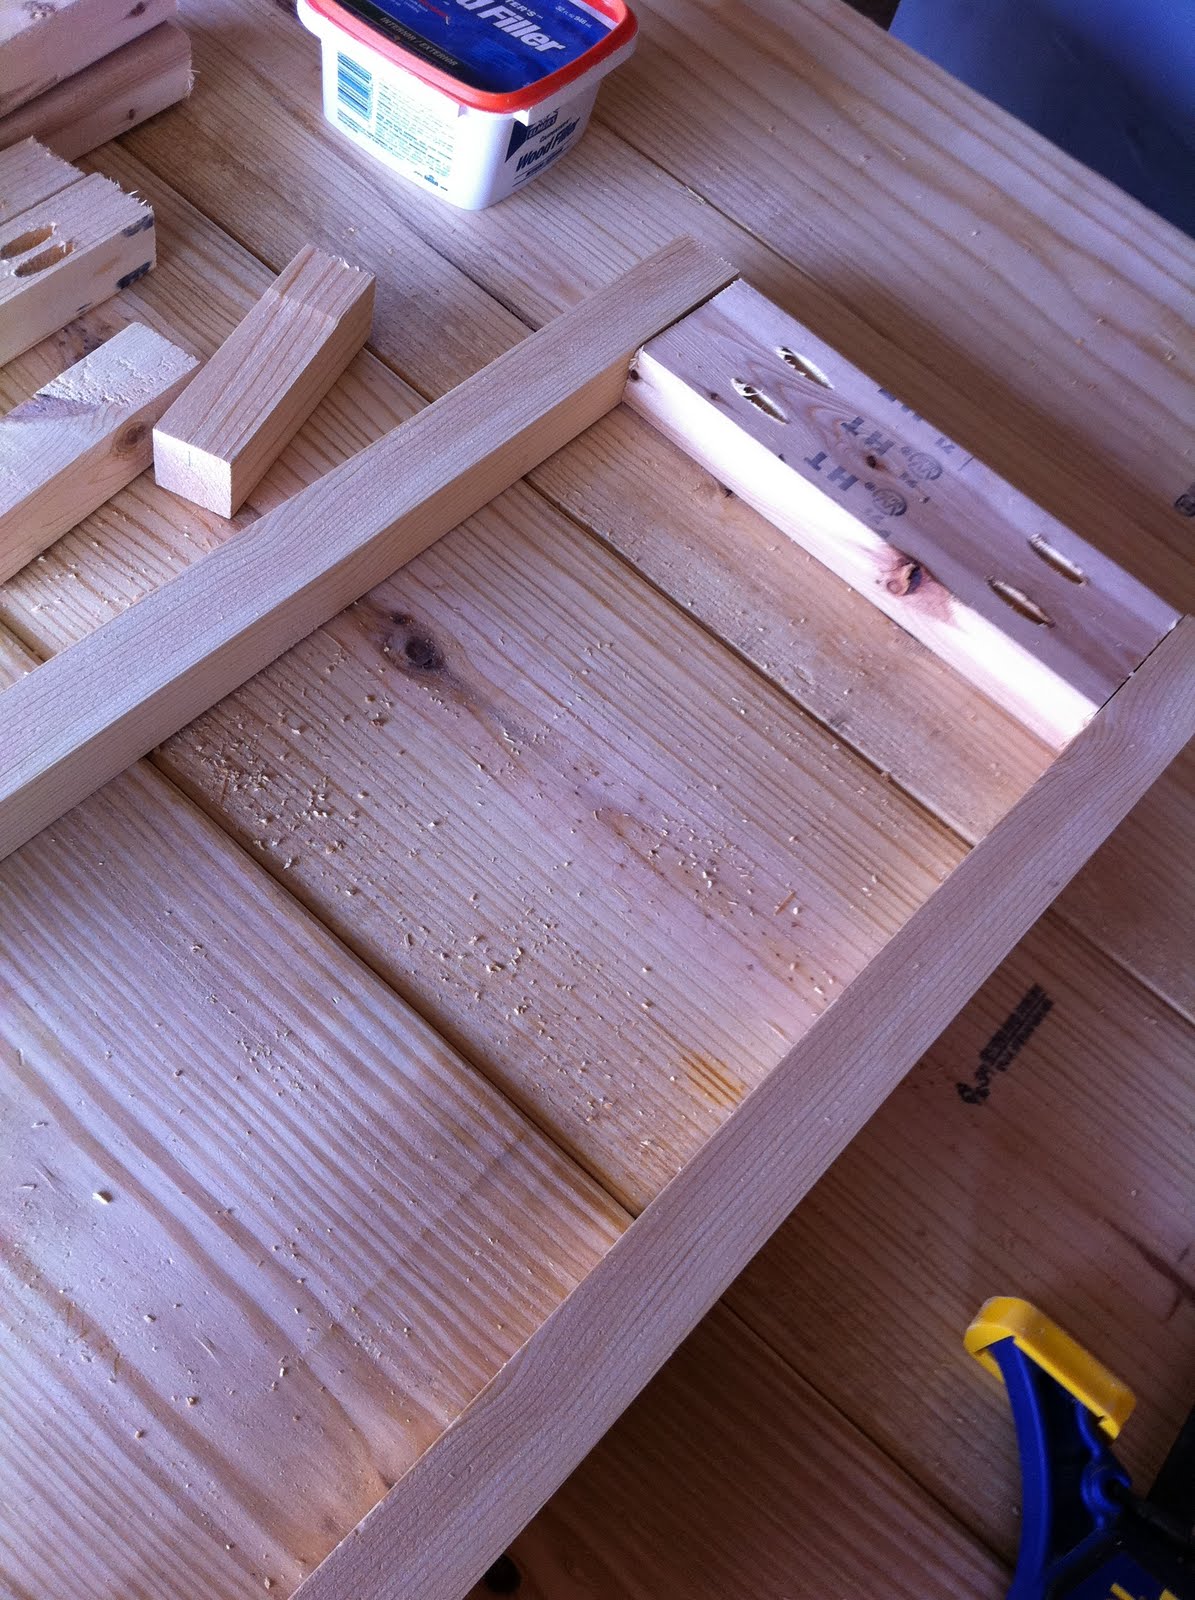
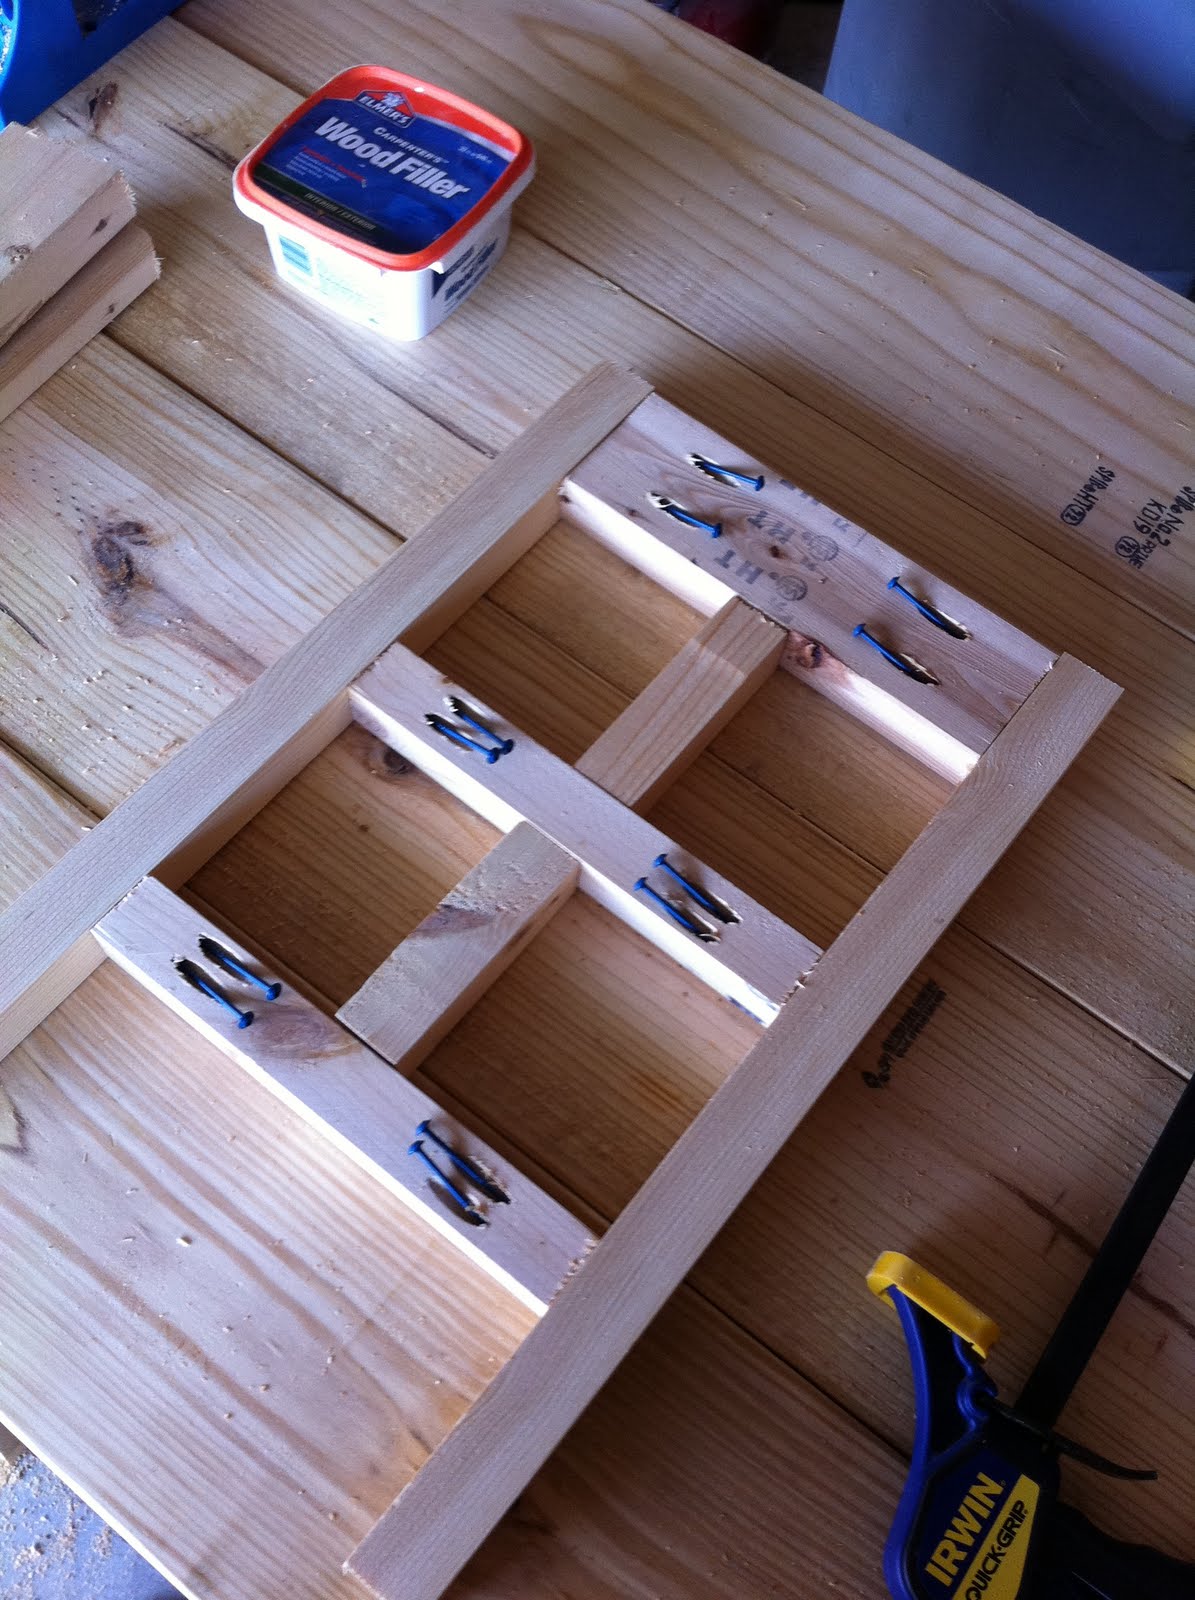
When you complete the two sides with the three slats, you will hold those up (opposite from each other). You will need to make your plan for this part based on if you are using nails or Kreg for these two slat piece sides.
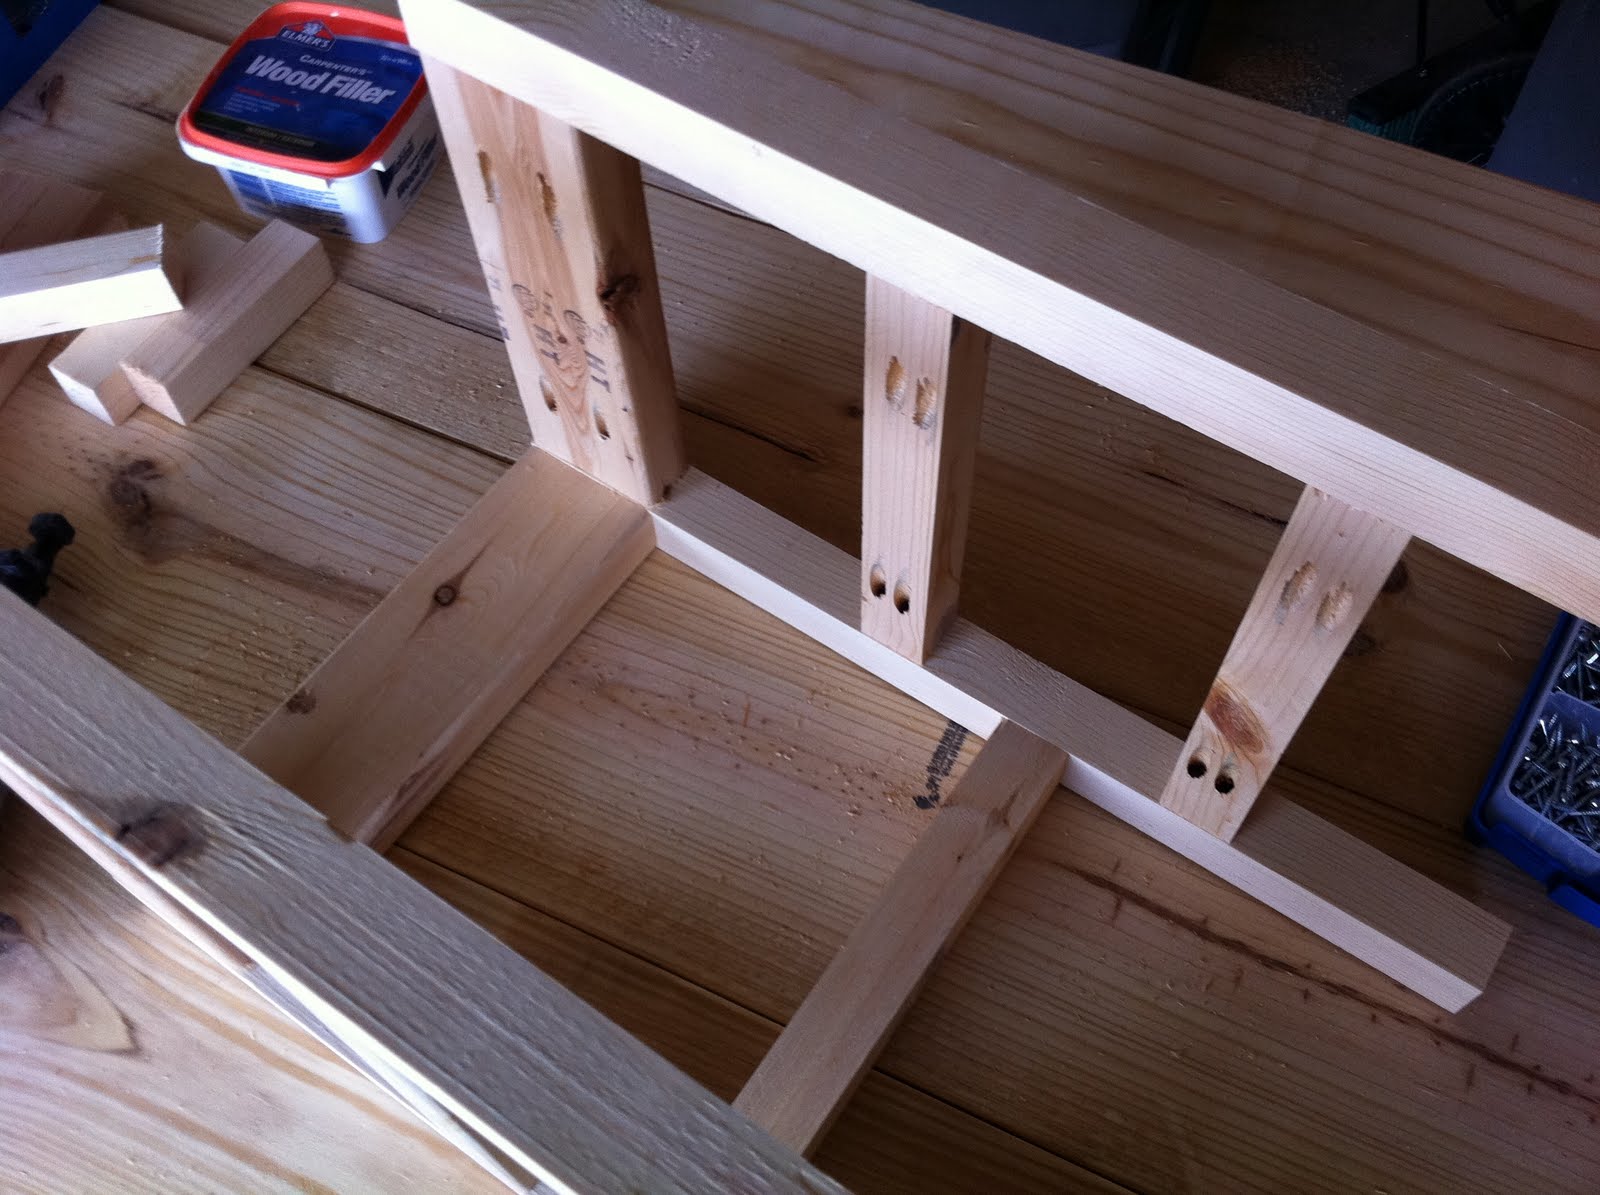


Extra structure and a place to drill in the seat. I used left over pieces of 2"x4" on 45 degree cuts.
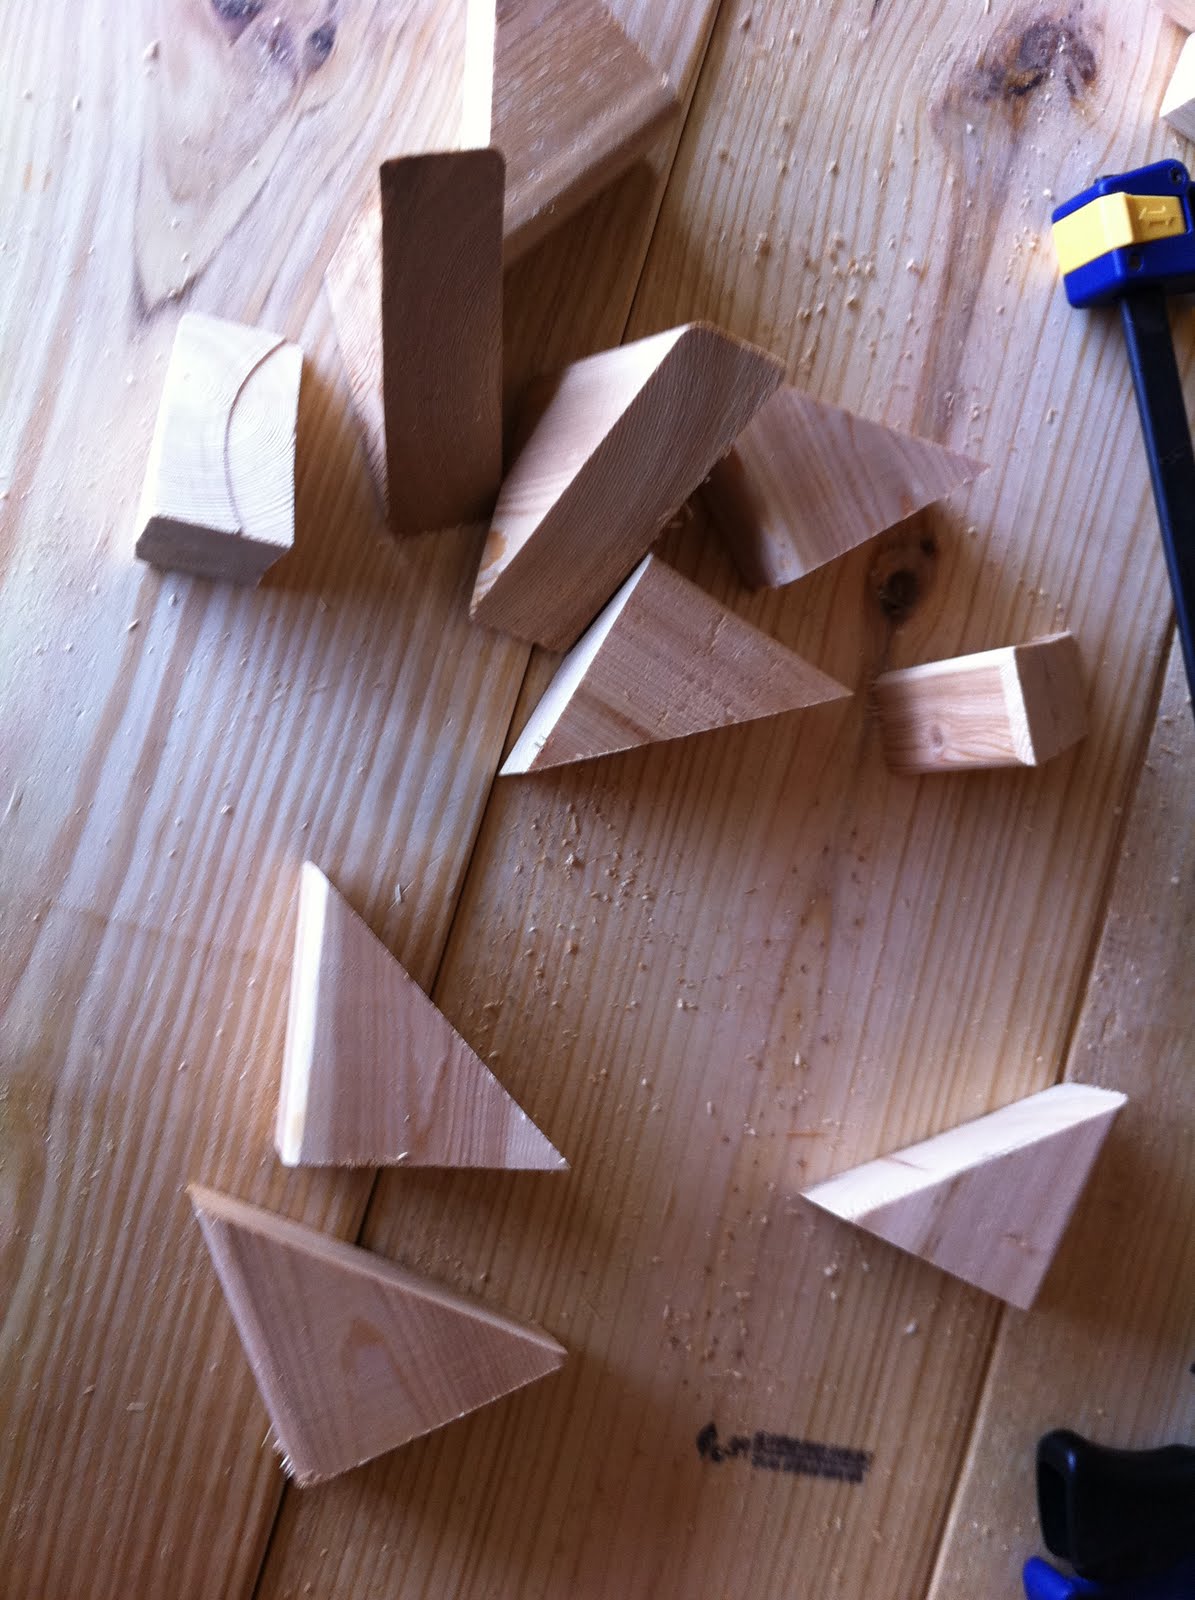
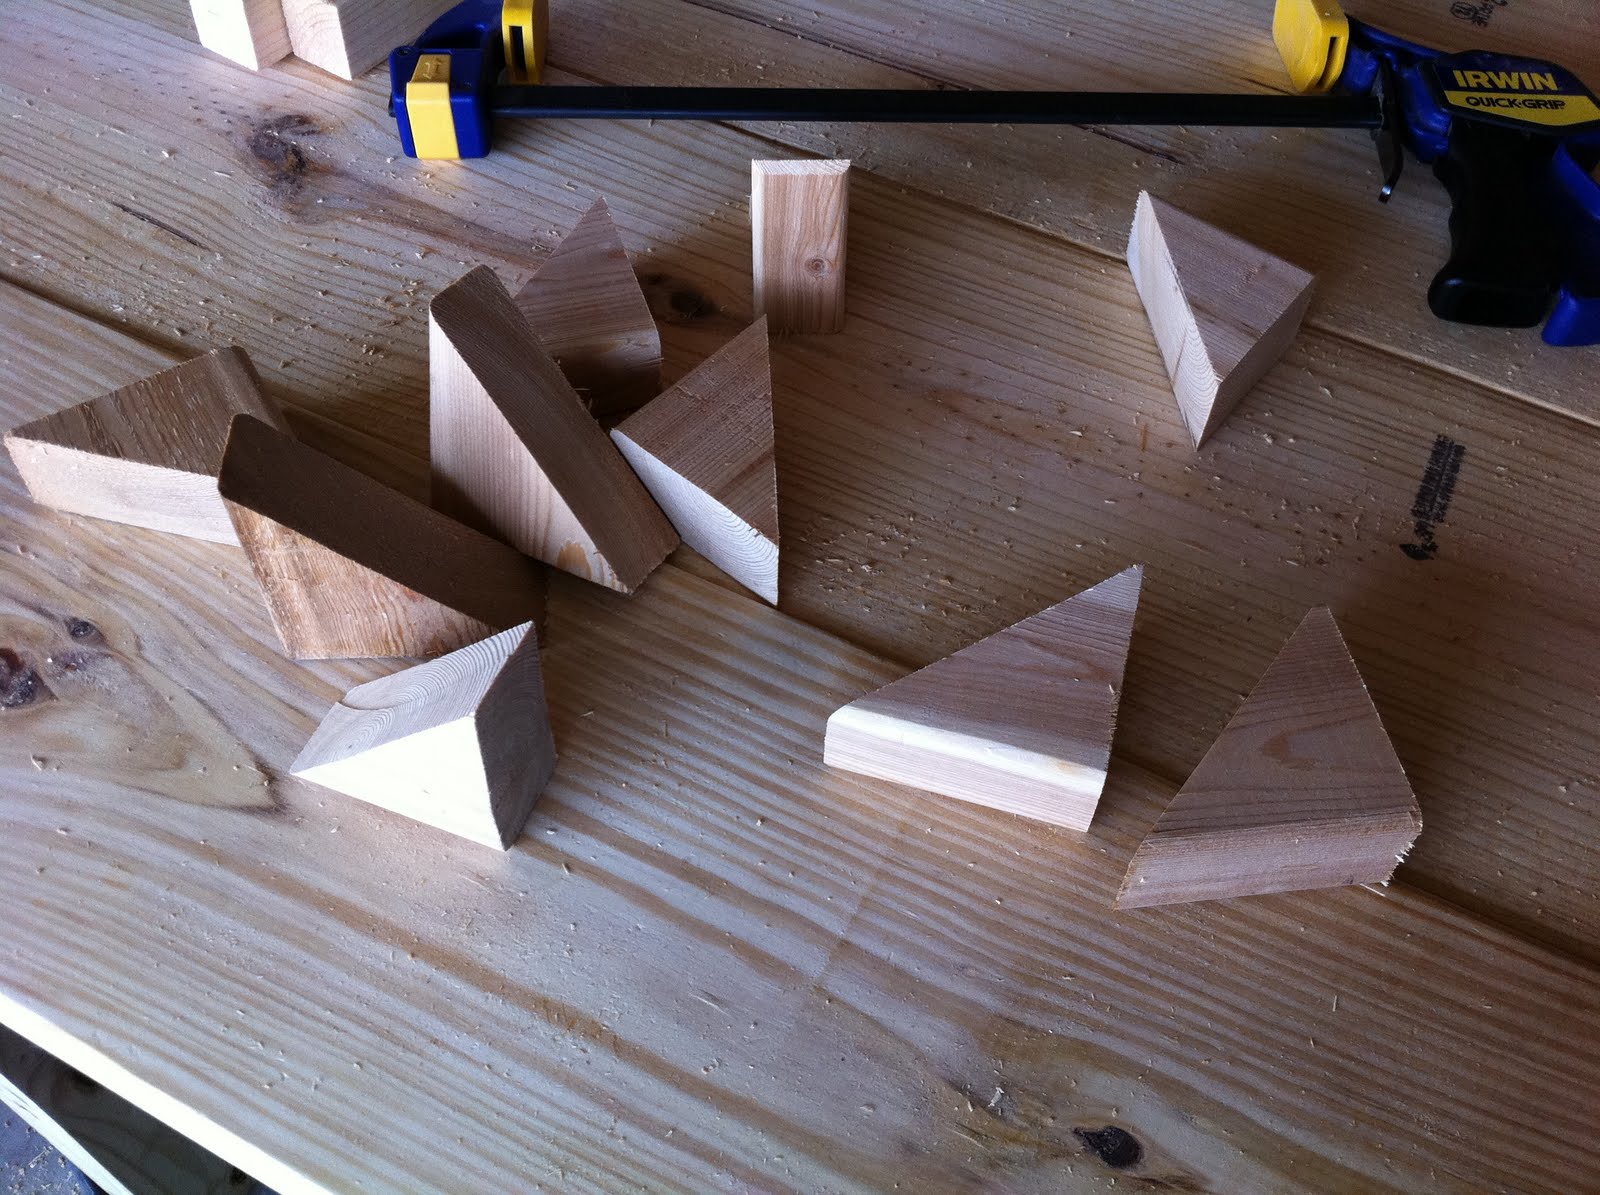
Added a countersunk hole for the screw.

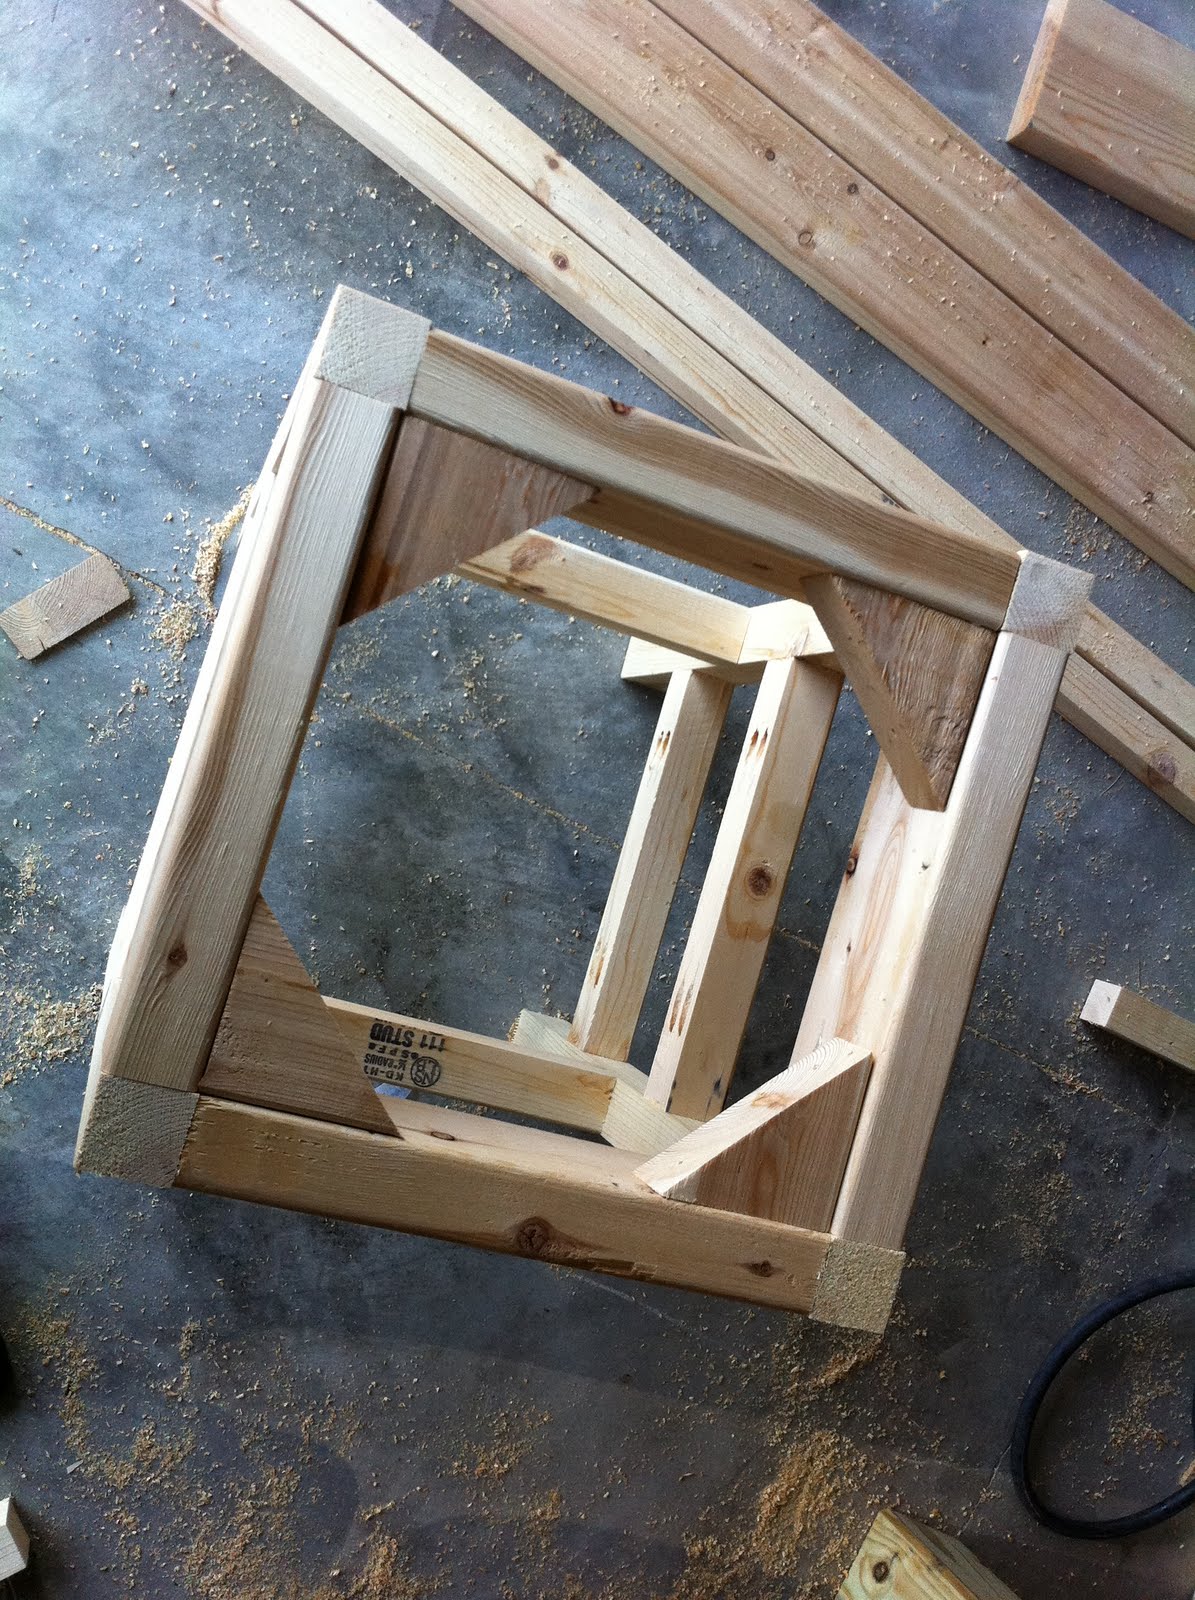
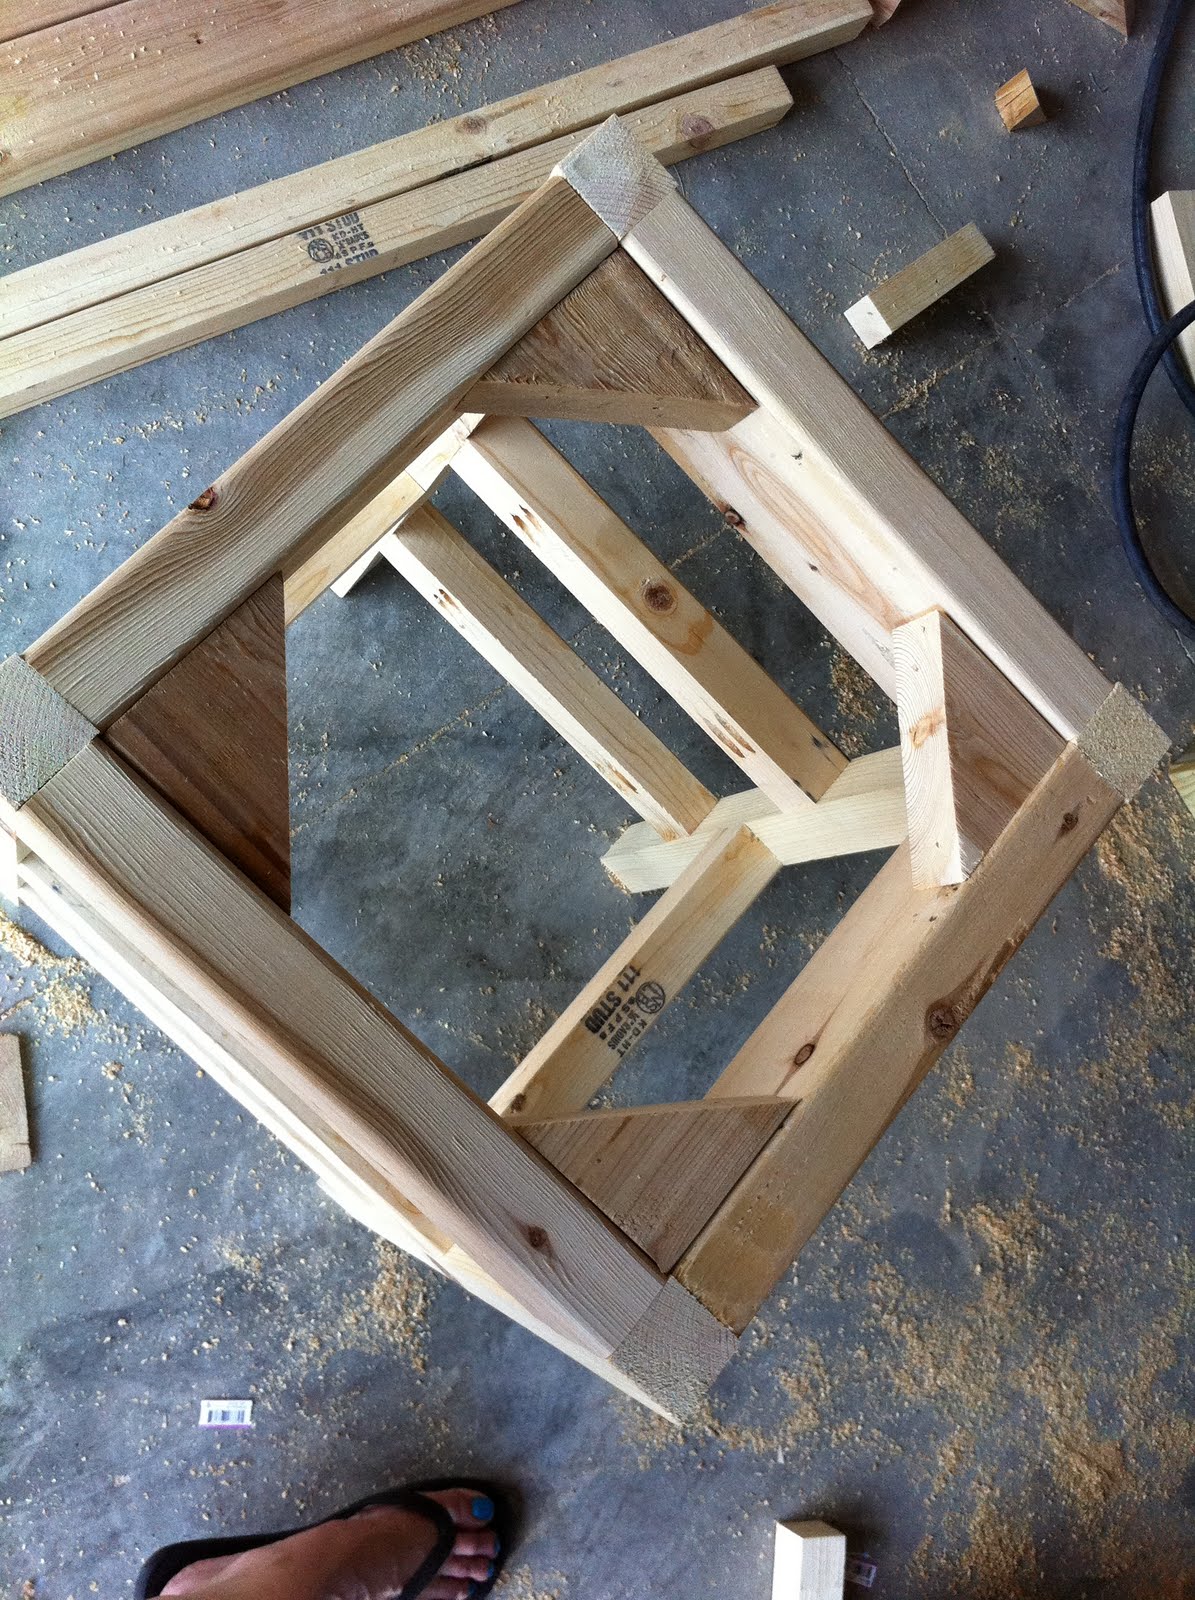
Seat of three 2"x6" were joined together with the Kreg screws.

I secured the seat to the stool with 2 1/2" screws.

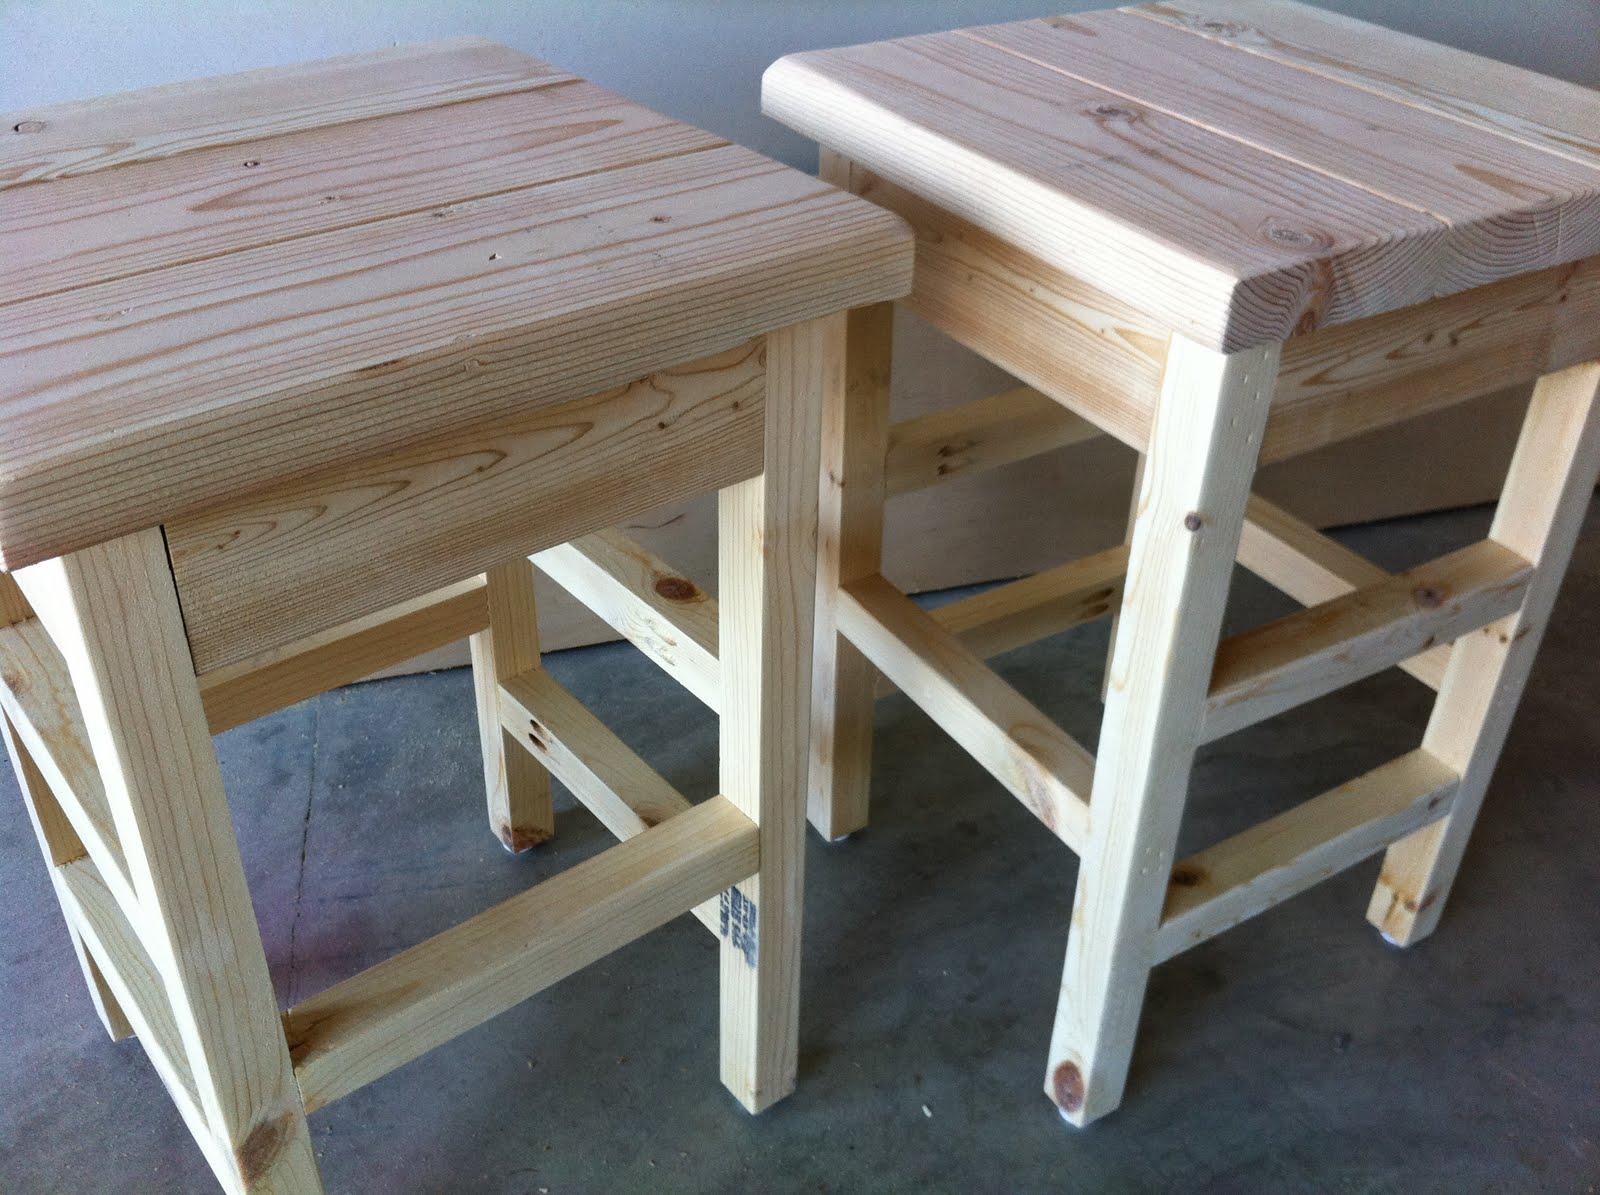


Here is finally the pics of the poly on the stools:


Thank you so much for checking out my new blog and my latest project. If you have questions or suggestions, please comment or send a message. I would love to hear from you.
Karen
More to come! Next weeks post will be the new breakfast room table. I'm also thinking of building window seats, but I am trying to determine the layout first.

