Showing posts with label Art Project. Show all posts

Weekend Projects

Pin It Like many of you, you plan and think about the projects you need to complete over a weekend all week long.  It can get overwhelming and exhausting just trying to figure out all the things you need to do.  And then, once you starting thinking about it...the list just keeps GROWING!!!

Well, here is what I will be working on this weekend. 

I'll be picking a finish and completing this nightstand...  I keep going back and forth on how I want it to look.  Part of me (the part that usually wins the battles) wants to keep it neutral.  A nice muted grey or crisp white color would be perfect.  However, a small part of me wants a pop of color.  Something unexpected next to the muted color palette in the bedroom.  Turquoise or yellow or even a stenciled pattern on top. 

I'll be redoing this old dresser.  I use this table in my dining room for extra storage and a focal place to display items on the top.  At first, I wanted to sand it down and refinish it.  However, after about five minutes and loose pieces of the water damaged top flying everywhere...I realized that wasn't going to happen.  I think I'm going to like how I decided to finish it even more than my original plan.  This piece doesn't fit in with my plan to focus on my bedroom - but I need to get it back in the house from the garage (which is also my woodshop).

I'll be creating some inexpensive wall art, like this from Ballard Design.  I needed a few pieces of art wall for my wall over the bed.  I loved this idea and thought it would be super simple to recreate.

And I'll be working on some trim, lighting and bedding in my bedroom.  I found this adorable pillow case made by The Handmade Home and loved how she used scraps of fabric to create a cozy focal point on the bed.  It is such a great idea.


The Handmade Home
  
I'm going to keep the bedroom a surprise until I actually finish the nightstand.  I just need to figure that out first.  Wish me luck! 

Karen  :)

My favorite Robert Frost Poem

Pin It When I made this pallet frame, like the PB one from the spring catalog, I found a great tutorial from The Lettered Cottage.  Find their instructions on their blog here.

Well, I made the frame and stained in Early American.  Then it sat for a few weeks while I decided on what to put on it.

Actually, I'm not really big on poetry, but I've always loved a Robert Frost poem.  I couldn't remember the name of it, but I had it memorized.  So I googled it and printed it out.

Two weeks past as I made sure that was something I would want on my wall for awhile.

~ Shim Art...Do Over! ~

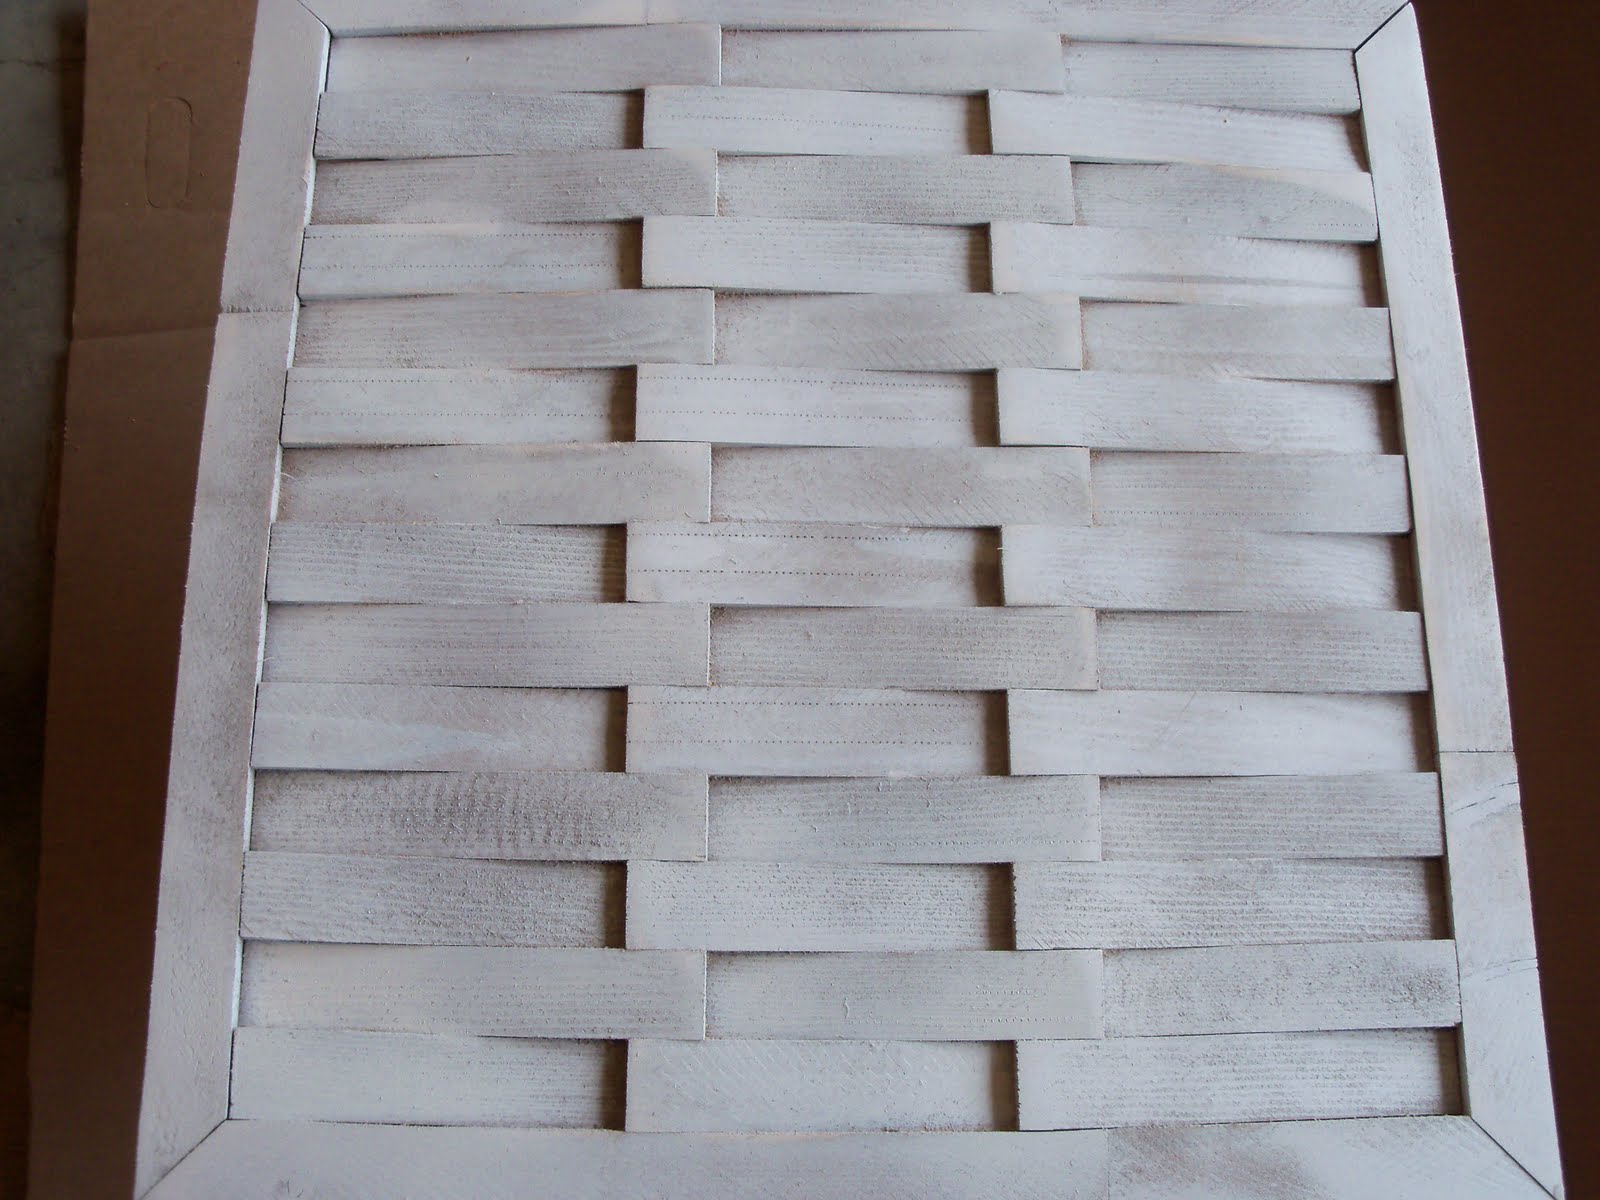
Pin It Well, after I got the stain on my little shim art project...I had to admit, I was not in love with it.

See the original post here.

Back to the drawing board.  Er, the spray paint board?

Here it is with a coat of primer (better already):


Anyway, I was just outside spray painting a lamp and my shim art project was just sitting there.  Actually, it was calling to me.  "Karen...Karen..."  hahahaha  But, I listened and I think I love the way it looks now.  I could still be high on the spray paint fumes, so final vote won't be until tomorrow.  I'll have to see how it looks inside.  The way it looks now, it might just have to sit on the table (leaning up against the wall) behind the lamp I spray painted.

Here is the "final" (unless I don't love it tomorrow) look:

I think it has just enough texture and rustic appeal.  And the darker stain kind of weighed it down a bit.  My bedroom already has dark furniture, so the accent pieces need to balance all the heavy.
Thoughts?

Distressed Wall Art

Pin It

I bought a wall decal (this one) from Amazon.com with the plan to stick it to the wall.  However, after I thought about it and the constant need to have to change the wall colors...I decided to create a piece of wall art instead.

I grabbed a few pieces of scrap wood and set out to build a flat surface to use.  I then added a 1"x2" (mitered corners) strip of wood around the edge to frame the boards.

See the back:


Then I painted the boards and frame with a sandy-yellow color paint.  When it was dry, I sanded some raw spots and roughed up the edges.  After I wiped the dust, I glazed with Jacobean stain and wiped and rubbed to create an aged look.  I attached a simple hanger on the back:


Here is the finished project:


~ The Art of Shim Wall Art ~

Pin It New Wall Art...


My room needs a large piece of artwork to hang over my bed.  It has to add a huge visual element to the wall without the major dollar signs that tend to go along with art.  After seaching for that perfect piece or pieces (without much success - even simple large frames or large mirrors seem to be quite expensive), I was playing with wood shims in my shop one day and a thought came to me.

I set out and searched the internet to see if a similar wood shim art piece had already been done...it has!  I didn't know if I should feel bummed that I wasn't as creative as I had thought or if I should revel in the fact that there are others out there with great ideas and who aren't afraid to share them with the world. 

Kudos to a terrific art piece by Stephanie at Under The Table and Dreaming in creating this piece:


I continued to see what else could be done with wood shims and some imagination.  I stumbled upon Kevin and Layla's blog called The Lettered Cottage.  They created a huge impact art piece with just shims and a mirror.  Don't you just love their light and airy decorating style?


Then I found this picture on Ready Made and WOW!!!!  What an impact.


I had been thinking about using old wooden pallet boards to create a wall like this, but the shims are so fun.

Anyway, I have my shims laid out and ready to attach to the board (like the first piece of art above).  I'm going to assemble it tonight and let you know how it turns out.  I hope it is as easy as her tutorial makes it look.  Wish me luck.  :)  Top photo is of the stained Shim Art after I finished putting it together and staining it.

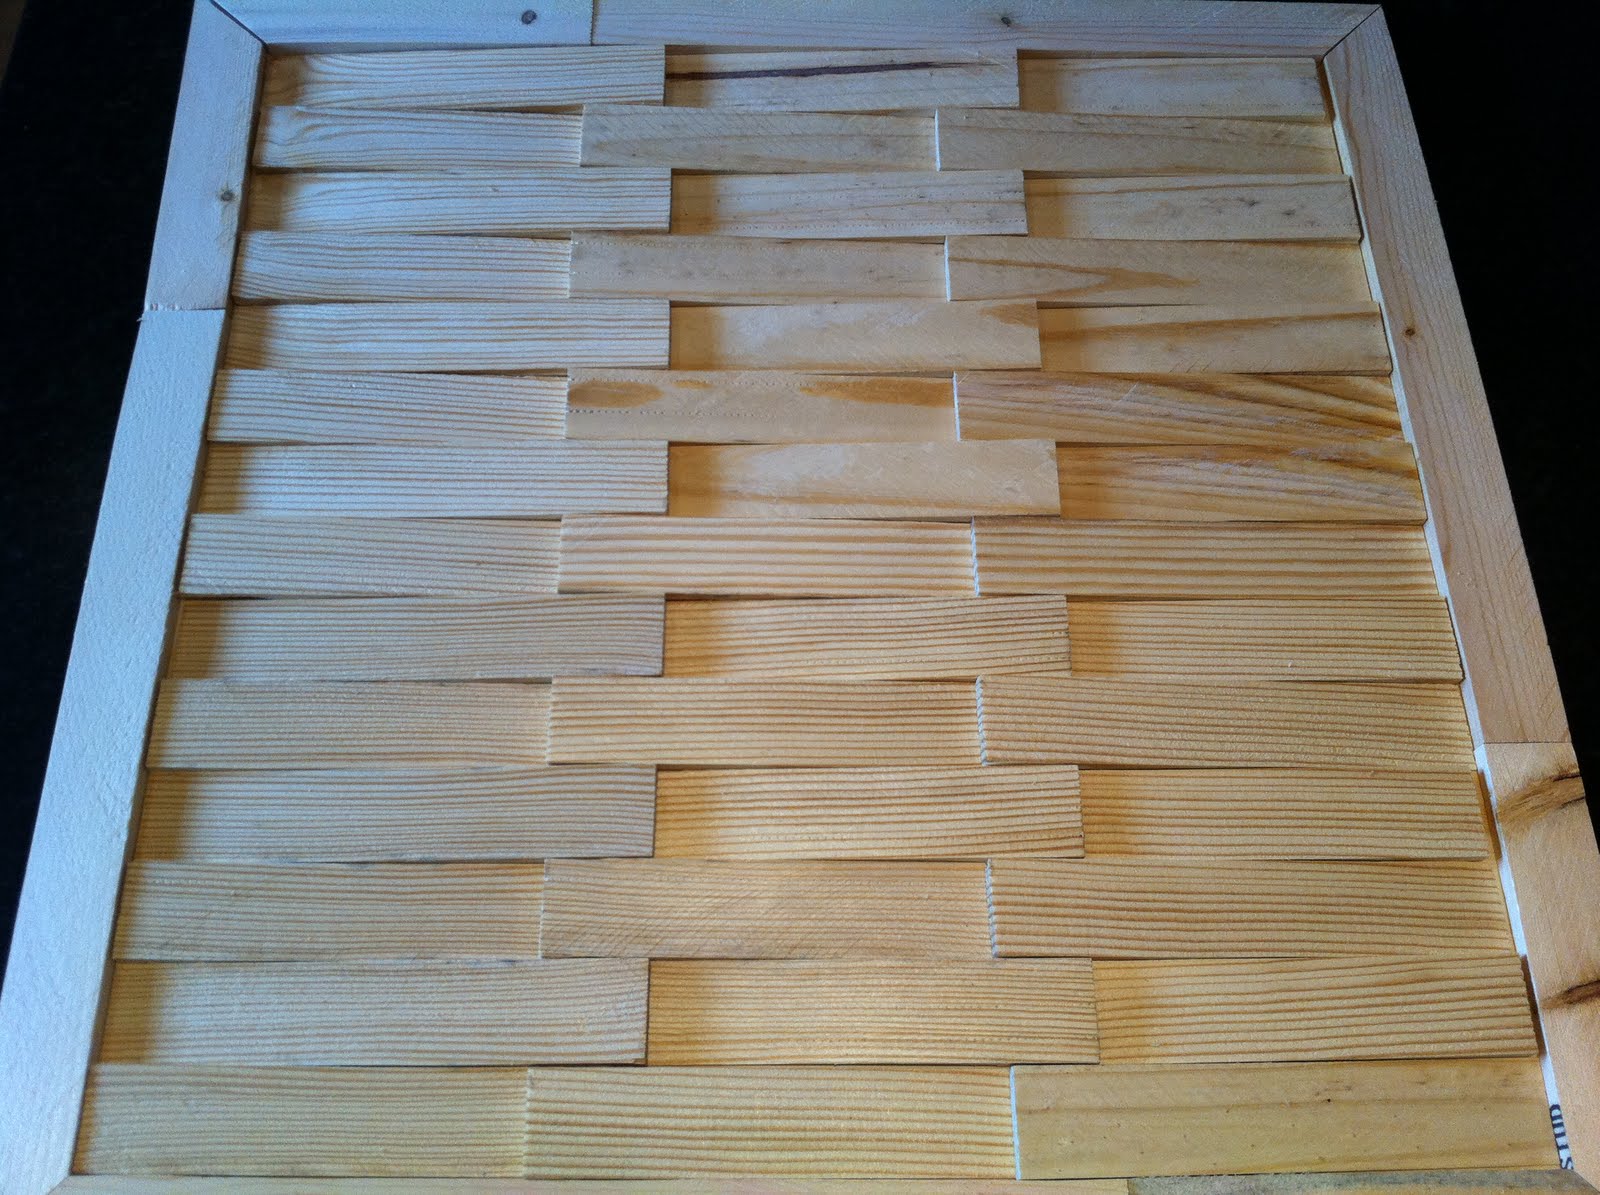
Here are the photos of the layout (finished tonight):

I started with a 1/4 inch 24" x 24" of precut plywood from Home Depot and laid out about five packs of shims.  I used some scrap 1/4 strips for the border.


Made sure I liked the staggered joints and had one row stacked in one direction and the next row in the opposite direction.  The shims are just stacked right on top of each other and spaced out uniformly in a pattern.  Then, I glued them to the plywood with wood glue-a lot of wood glue to make sure they would stay.

I'm really loving the layout and the pattern.

I used Early American stain color.  Here it is after one coat.