Showing posts with label Bedroom. Show all posts

Little Bit of Sensory Overload

Pin It
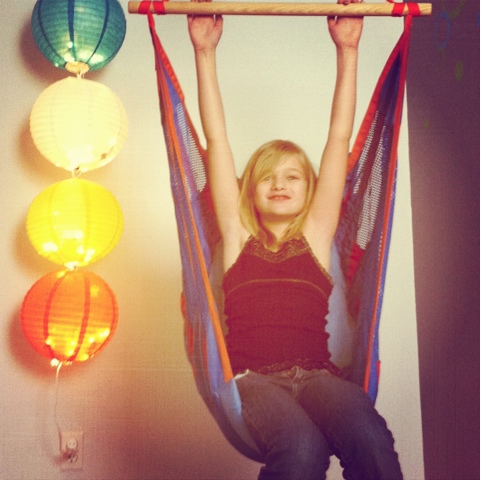
My daughter testing out the swing. Yep, it is just as fun as it looks.

I'm going to start this post by explaining I am not an expert on children with autism. I'm not going to get into a debate on whether or not I believe in Jenny McCarthy and her magical powers and I'm not going to discuss any theories on immunizations. However,

...I'm a parent of a non-verbal autistic boy who means the world to me...

As the parent of this sweet little boy, I sometimes get disappointed with my lack of ability to find presents to entertain him in the ways my other children are entertained with games and books.

So when I was trying to figure out anything to buy him for Christmas last month, I saw a news report on a new creative space at the hospital for children with autism. The room is filled with so many wonderful machines, lights and sounds to capture the attention of children.

If you have a child with autism, you understand how frustrated some of the simplest tasks we take for granted can be to them. You may also understand how upset they can become when their frustration gets the better of them. When this happens, they need a way to calm themselves. And when they are in a good mood, they need a way to stimulate their senses.

When I saw the clip, I thought it would be so expensive to create a room with things such as fiberoptic lights and computers that work by touching the screen.

News Report Video for the Sensory Room - Click Here

http://www.kplr11.com/news/kplr-psychedelic-room-helps-sooth-autistic-kids-121211,0,822207.story

However, even if I didn't have the budget to create a room on the scale of the hospital, it did give me so many ideas to help transform my autistic son's room from a plain empty space into a room he can enjoy.

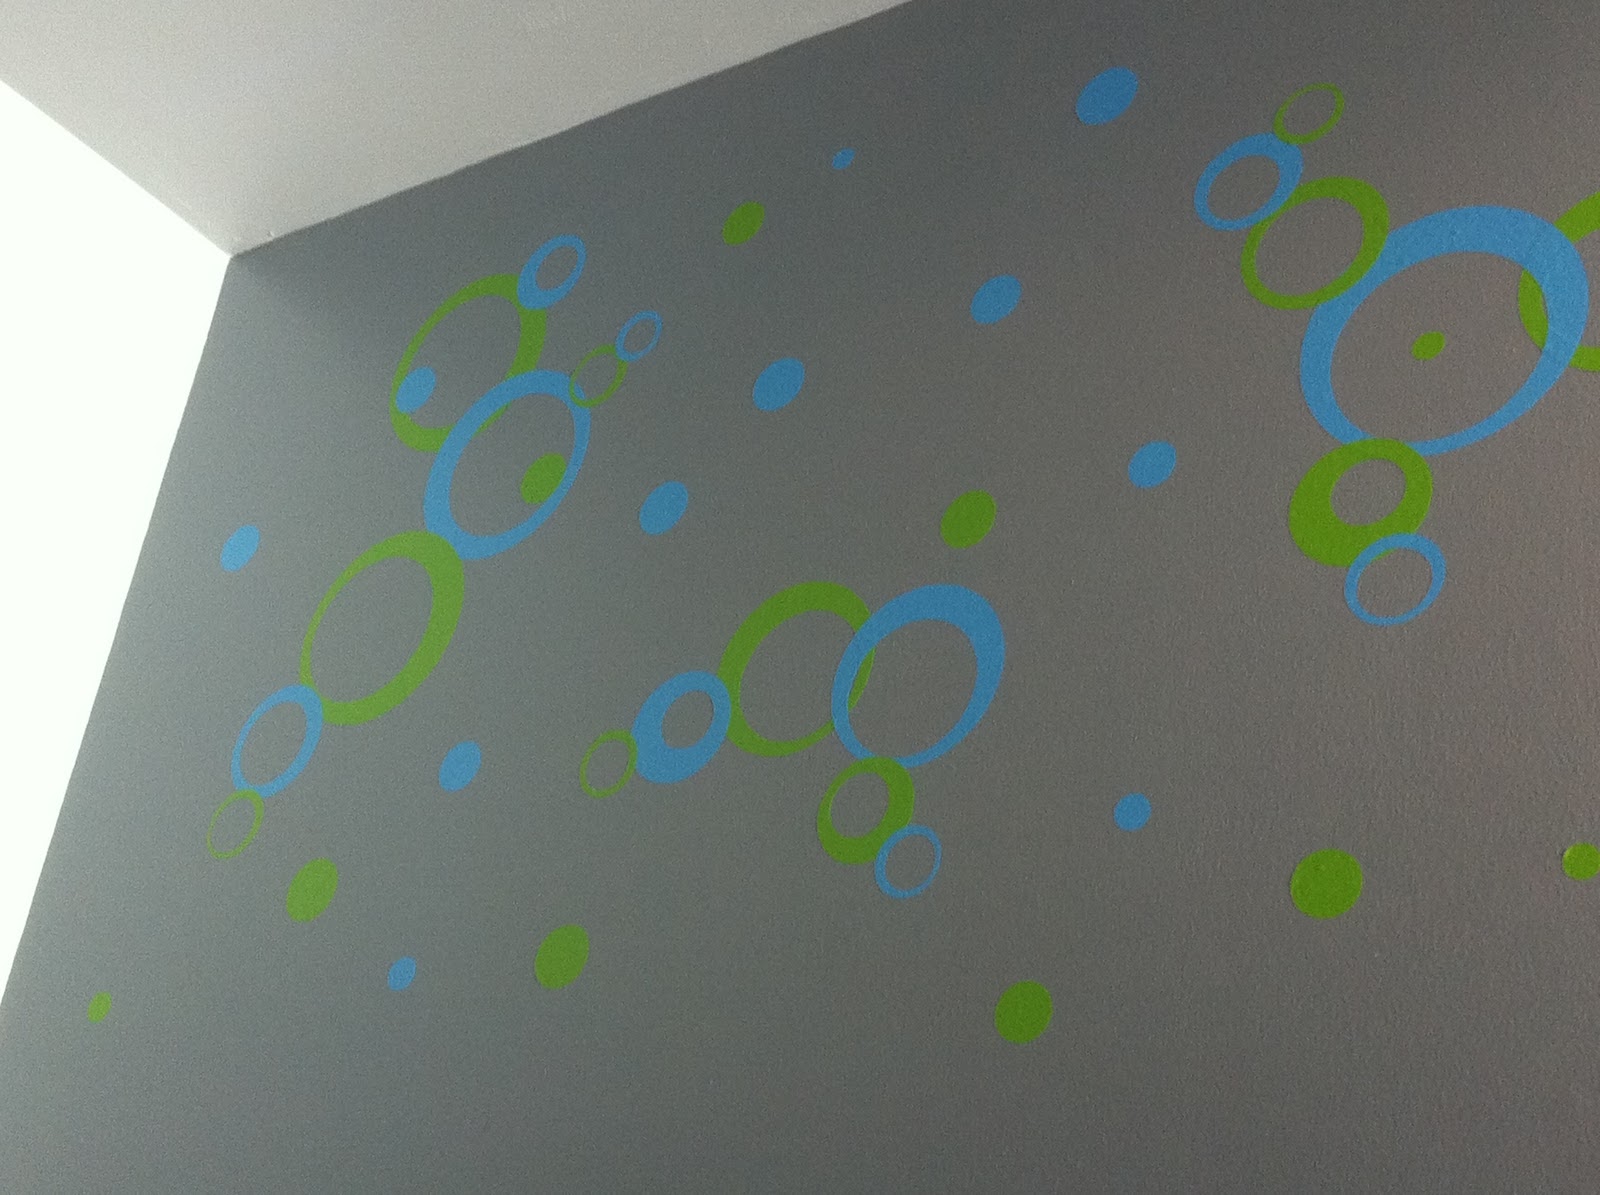
1) Calm Colors. The walls are a muted grey and on wall is a darker shade of grey with fun blue and green circle wall decals. Originally, I had wanted to paint a wall design on the dark grey wall, but once you see the frequent use of circles and bubbles in the space these circles just seemed perfect.

2) Lights. There were so many different types of lighting in the video to create a psychedelic vibe. I found a bubbling water lamp, a circle electric light, a night club type disco light, created a pillar of circle lanterns (stringing white Christmas lights in the middle) and I found a light bulb that changes colors for the new open overhead light.

Bubbling Light w/swimming fish
Disco Lighting - The instant I plugged this light into the wall he started dancing and laughing.
Paper Lanterns with Christmas lights inside

3) Cubby Hole. We left the bottom of his closet open. Sometimes he likes to sit in the bottom of his closet, so we created a fort with old cushions from his PB chairs. I still need to sew slipcovers for the cushions, but I put the cushions in place for now.


4) SWING!!!! Okay, this wasn't in the news report, but it is his favorite thing to do at school. I installed the swing today. I bought the supplies a couple of weeks ago, even bought an extra sturdy metal hook for rock climbers to attach the swing to the eye bolt. For some reason it took me a few weeks to work up the nerve to put the eye bolt into the beam. You don't know how relieved I was when the ceiling beam didn't crack in half and fall through the drywall when I personally tested it. Whew! The top picture shows my daughter taking it for a test drive.


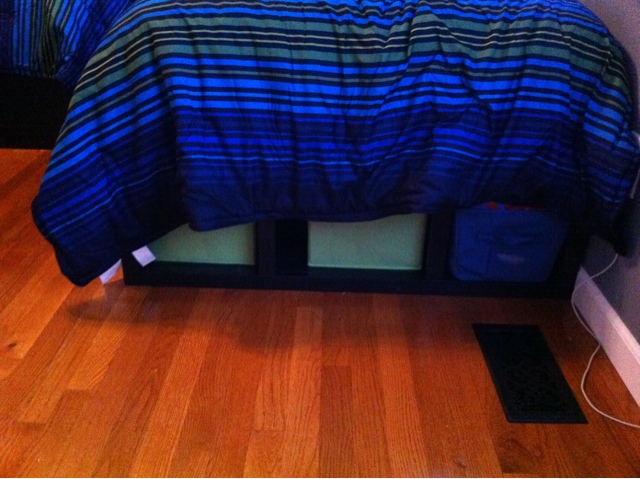
5) Sturdy Platform Bed. He has destroyed several beds and mattresses from jumping on them, but never sleeps in them. We also bought king size pillows to create a mattress topper for him by sewing together a sheet. I have some fur fabric I bought to use on his throw pillows too. The platform is the same size as a twin bed, so if or when he stops jumping on mattresses we can add one on top.


Stapled a mattress pad to the edge and to the top before covering with a sheet and stapling to create the platform. Still need to create the mattress topper using a king size sheet sectioned into 5 empty spaces for 5 king size pillows.

6) Trampolines. As I said, he loves to jump. And he loves his mini trampolines and uses them more than our furniture now.


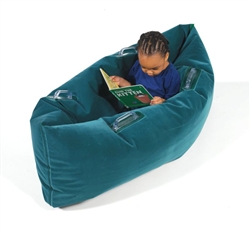
7) Pea Pod Snuggle Thingie. He loves to steal every single pillow in the house and lay under them to feel the weight. His teachers sent a weight blanket home for him to try, but he didn't like it as much as the cushions. The pea pod is to stimulate a calming feeling when he feels the pressure around his body.
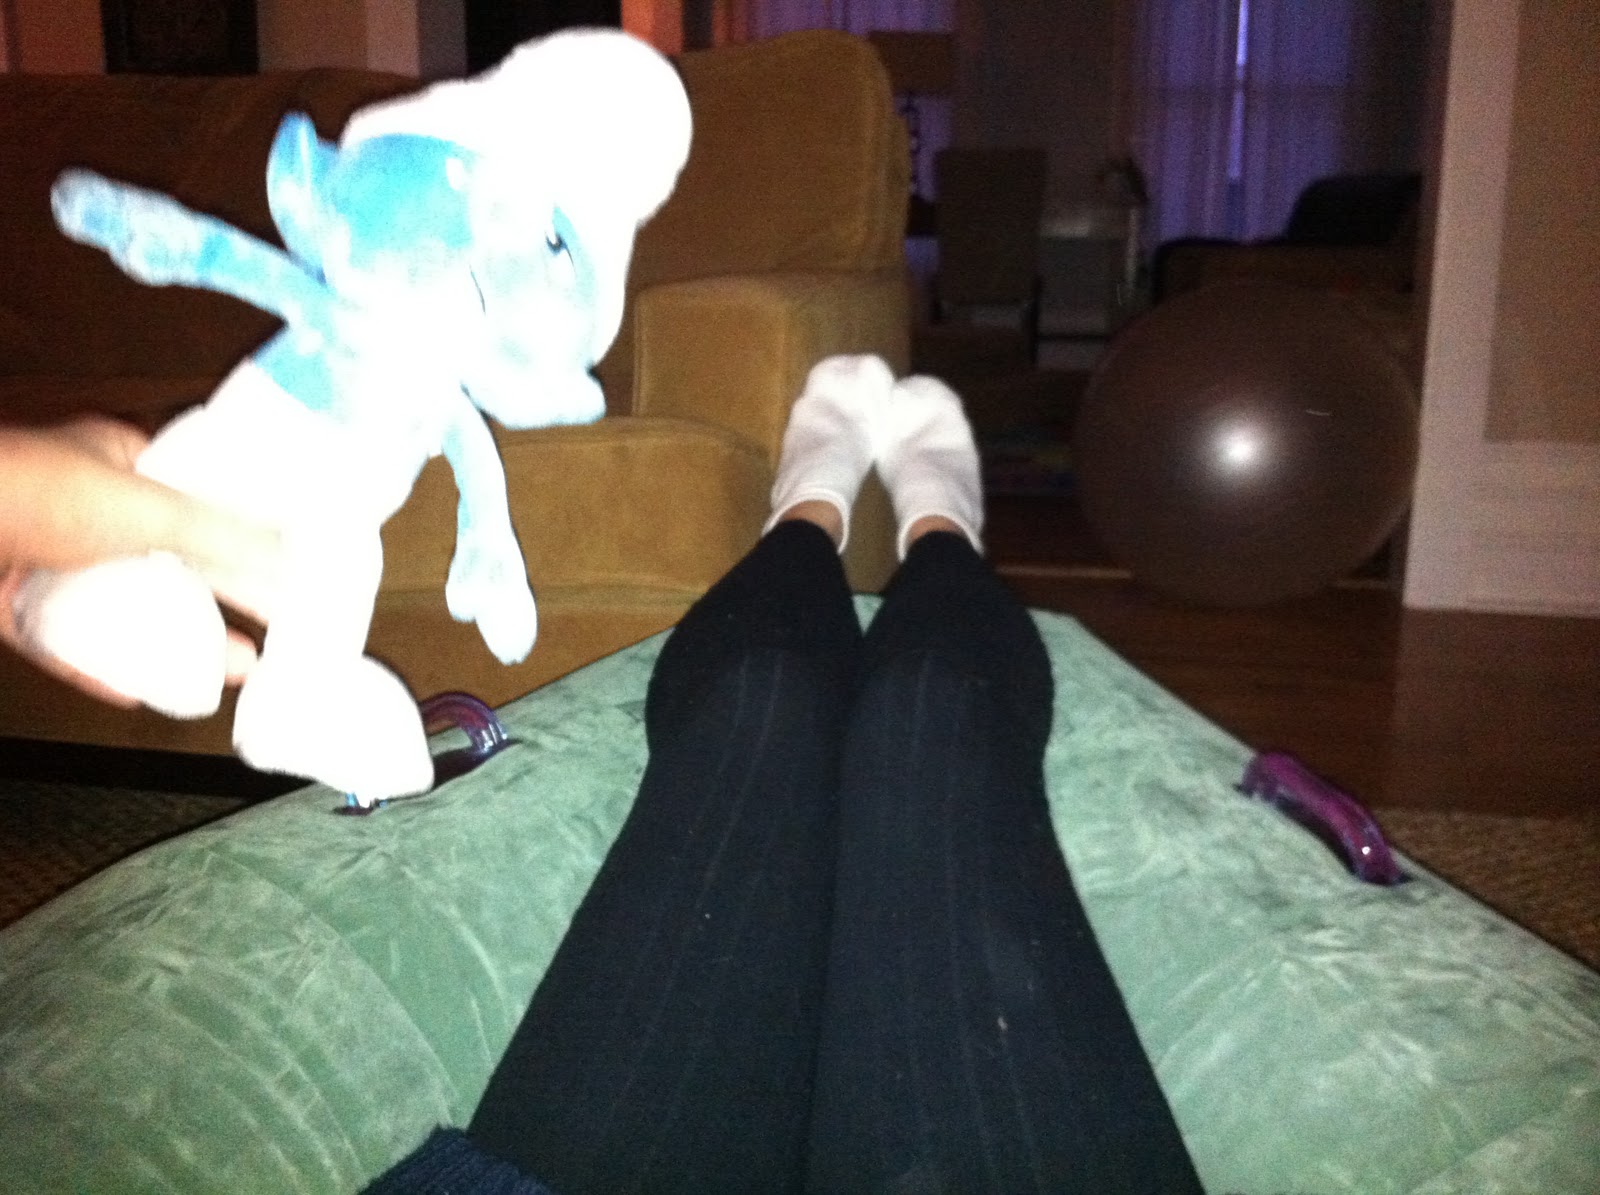
Me testing the Pea Pod. It is super comfy.

8) Peanut Exercise Inflatable. He loves to balance himself on my exercise ball, so he now has his own and loves it.


9) Rubber Mats. After we installed the wood floors, we thought those square rubber type mats would be nice under his bare feet when he is jumping around.


This is the summary list of all the components that are going into his space. Obviously, I still have about 8-10 hours of sewing left on making his mattress pad pillow cover and his cubby cushions and throw pillows.

I'll post a final reveal once I finish the little details. Stay tuned.

Tomorrow I'll be working on the upstairs hallway again. I hope to at least give you a peek of the colors and the new trim.

Thank you for stopping by my blog. Please follow on facebook or twitter to receive updates.

And a special thanks to those of you who sent emails asking when I'd be back. I promise you will be seeing me more and more.

Much love,
Karen

Linked to:

Ask Anna
The Shabby Creek Cottage

Happy Dance!!! All the flooring is complete.

Pin It
Let's look back at my list of things to do LAST weekend....seven days later, it still isn't finished.

Checklist - Phase 1:
Scrape all popcorn ceiling (3 rooms)
Install hardwood floors (only room #2 left to do this weekend)
Paint all rooms (only room #2 left to do this weekend)
Baseboards and trim for rooms #2 & #4
Install new closet door guides on floor
Reinstall closet doors
Build 2 Bed Frames for older boys
Prime and paint bed frames for older boys (need a second coat)

Although I wanted to have phase one finished last weekend, I'd run into a few other tasks around the house that needed my attention and I couldn't focus solely on my list. I should know nothing ever goes to MY plan. Especially since I have no real concept of time. I always think everything will take 5 minutes.  Those DIY shows can build an entire room in 30 minutes, I should be able to do a simple list over a weekend - RIGHT?

Anyway, I was thrilled to put the last piece of hardwood floor into place this weekend. I mentally did a happy dance.  I didn't have the energy to actually do it. :)

Good news - I already have the baseboards in my garage painted. So, that last item on the list is halfway there.

Here is what happened this weekend:
Final Closet - Complete and waiting for the baseboards.

Slight hour+ delay. 
There was a warped board in the second row to last row, so I had to pull up two rows and start over. 
As I was enjoying that little fun event, I found a wall full of drywall pieces where the builder must have had to do a repair.  Instead of throwing away the section of drywall he decided to add it into the wall.   
While I was over there, I marked the wall where the pipes and the metal plates were on the wall so I know where to nail the baseboards.
Shopped to find the little cubbies and bedding for the older boys.

All rooms had the closet doors (and new guides) reinstalled.
Even if I can't do everything I plan, I'm still pleased with myself for knocking things off the list.  Hmmm, I wonder now if I could have finished if I would have used my time to install the baseboards instead of baking two batches of cookies for the kiddos?  We will never know.

I'd love to install the baseboards in the evenings this week after work, but we will see how that goes.

I hope you had a fun weekend!  Stay tuned for more updates on the rooms and the final four simple wood projects I'm getting back to doing this month.

Karen :)

Prep Work for Fun Wall Accent

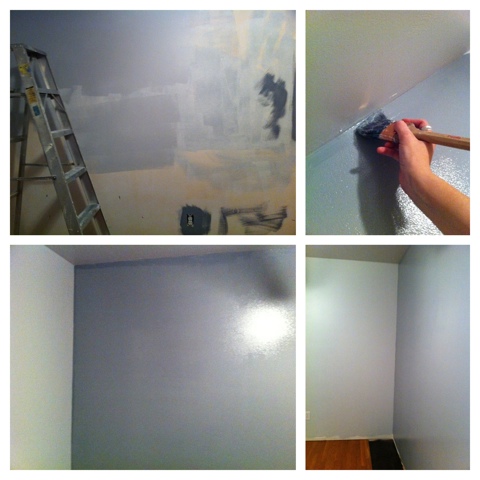
Pin It Tonight (while the last box of wood floor acclimates to the house) I prepped a fun accent wall in my son's room. I was going to paint stripes or circles, but I wanted to try something a bit different.


Do you like the before picture?  Obviously it takes many tries to find the right color.
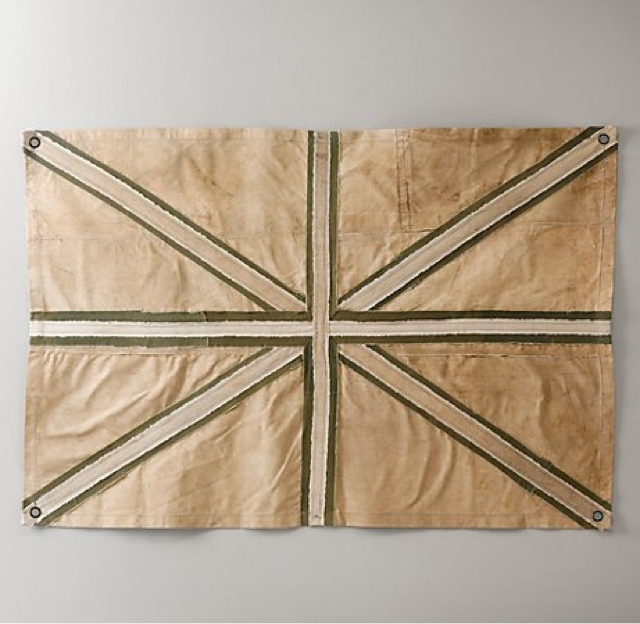
 While looking in the Restoration Hardware children catalog last week for new bedding, I found this cool drop cloth accent wall piece. I thought it would look amazing in my son's room. However, we have to think and rethink everything we do in his room due to his autism. If we hang something like this on his wall, chances are very likely he will have it ripped off in less than an hour. He has a funny little habit of collecting all the pillows, blankets and sometimes curtains from around our house.

Restoration Hardware Photo


Instead, I am going to design a wall accent like this with paint I already have on hand. Since it will be attached to the wall, he can't remove it.

Tonight (even though it is pitch black outside at dinnertime) I was able to drag myself from the warm couch and painted a square on the wall with the left over paint from the other boy room I just finished.

Tomorrow night I'll draw out the pattern and paint the first color. I have almost every color of the rainbow of paints, so the hardest part will be picking which colors to use.  Hmmmm, now that I'm looking at the inspiration photo...maybe I should have used the beige colors. 

Thoughts? Have you painted a fun accent wall? 

Hardwood Floors

Pin It
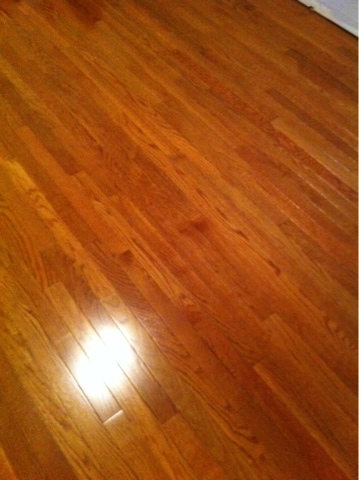
If you have ever installed your own flooring, you will know how completely exhausting it can be. 
Over the past few years, we have ripped out over 2,100 square foot of builder grade vinyl flooring and yards of beige carpet and pad....and billions of staples.  We installed travertine, ceramic and hardwood floors in the entire house.  Well, technically my husband does most of the demo and I do most of the installation - so I say we when it comes to flooring projects.

Not only is installing your own floors very rewarding and money saving, it is an excellent workout.  Twenty-four hours later I'm still sore, but it is a great feeling.

I know a few people think I'm crazy to not have carpet in the bedrooms, but I'm a fan of simple, classic looks and cozy area rugs (and a few dust bunnies).

The final room!

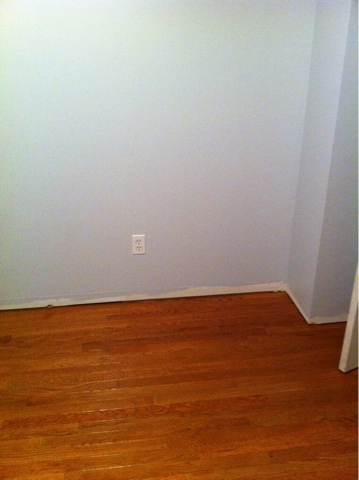
Here is after the carpet and pad was ripped out. 
Then the felt paper was installed.

And oh-so-close to finishing...until I ran out of wood!


But, look at the completed side.  It makes it worth the effort. 
(Note - Can't install the basebooards until the floor is finished)

So, what do you think?  Do you prefer carpet or hardwood?

The Great Bedroom Room Switch of 2011

Pin It
If you follow on facebook, you would know things are moving and shaking in the house right now. AND really, really messy as we are moving four kids in three different rooms. Everyone is getting a new room, new hardwood floors and a new paint color.

Shocking as it sounds, they all picked very neutral walls in the "grey color" family.  A big change from the cobalt blue rooms and pink/purple room. 

The oldest two boys share a room and were in room #2, but as you can see by the layout it isn't a great room for two beds if you need any other furniture. They are moving into room #3. There are three whole walls in that room for them to use.

And my daughter is moving from room #3 into room #4 which has a larger closet.

And that leaves room #2 for our youngest son.

Confused yet? Don't worry, I've added the floor plan below.


No project ever goes as smoothly as I think it will when I first start to plan it. I mean, how could it?

However, I wanted to have phase 1 completed this weekend so I could have two weekends to rebuild my pantry and laundry room before the family comes over on Thanksgiving. I don't think I'm going to finish!

Checklist - Phase 1:
Scrape all popcorn ceiling (3 rooms)
Install hardwood floors (only room #2 left to do this weekend)
Paint all rooms (only room #2 left to do this weekend)
Baseboards and trim for rooms #2 & #4
Install new closet door guides on floor
Reinstall closet doors
Build 2 Bed Frames for older boys
Prime and paint bed frames for older boys (need a second coat)

Phase 2 -
Build Bed Frame (platform) for youngest son
New ceiling fans/lighting for all three rooms
Build desk for older boys
New closet organizer for older boys
Decorate, Accessorize and figure out what else needs to be done

Here are a few before pics and progress pics:

This was the color of room #3 (before)
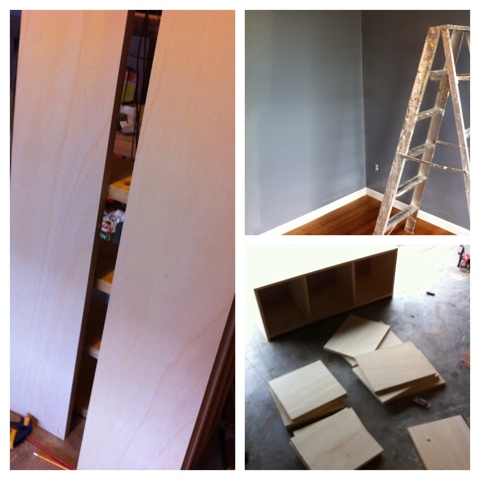
Built 2 bedframes, primed and one coat of paint (using room #2 as a painting room)
Original color of both boy rooms, see the ceiling has been scraped and the carpet removed
New color of room #3 and the during of the bedframe
I'm going to need to kick it into high gear if I'm going to finish this weekend.  Wish me luck!  :)

New Body Lumbar Pillow for the Bed! Homemade Pillow Cover

Pin It
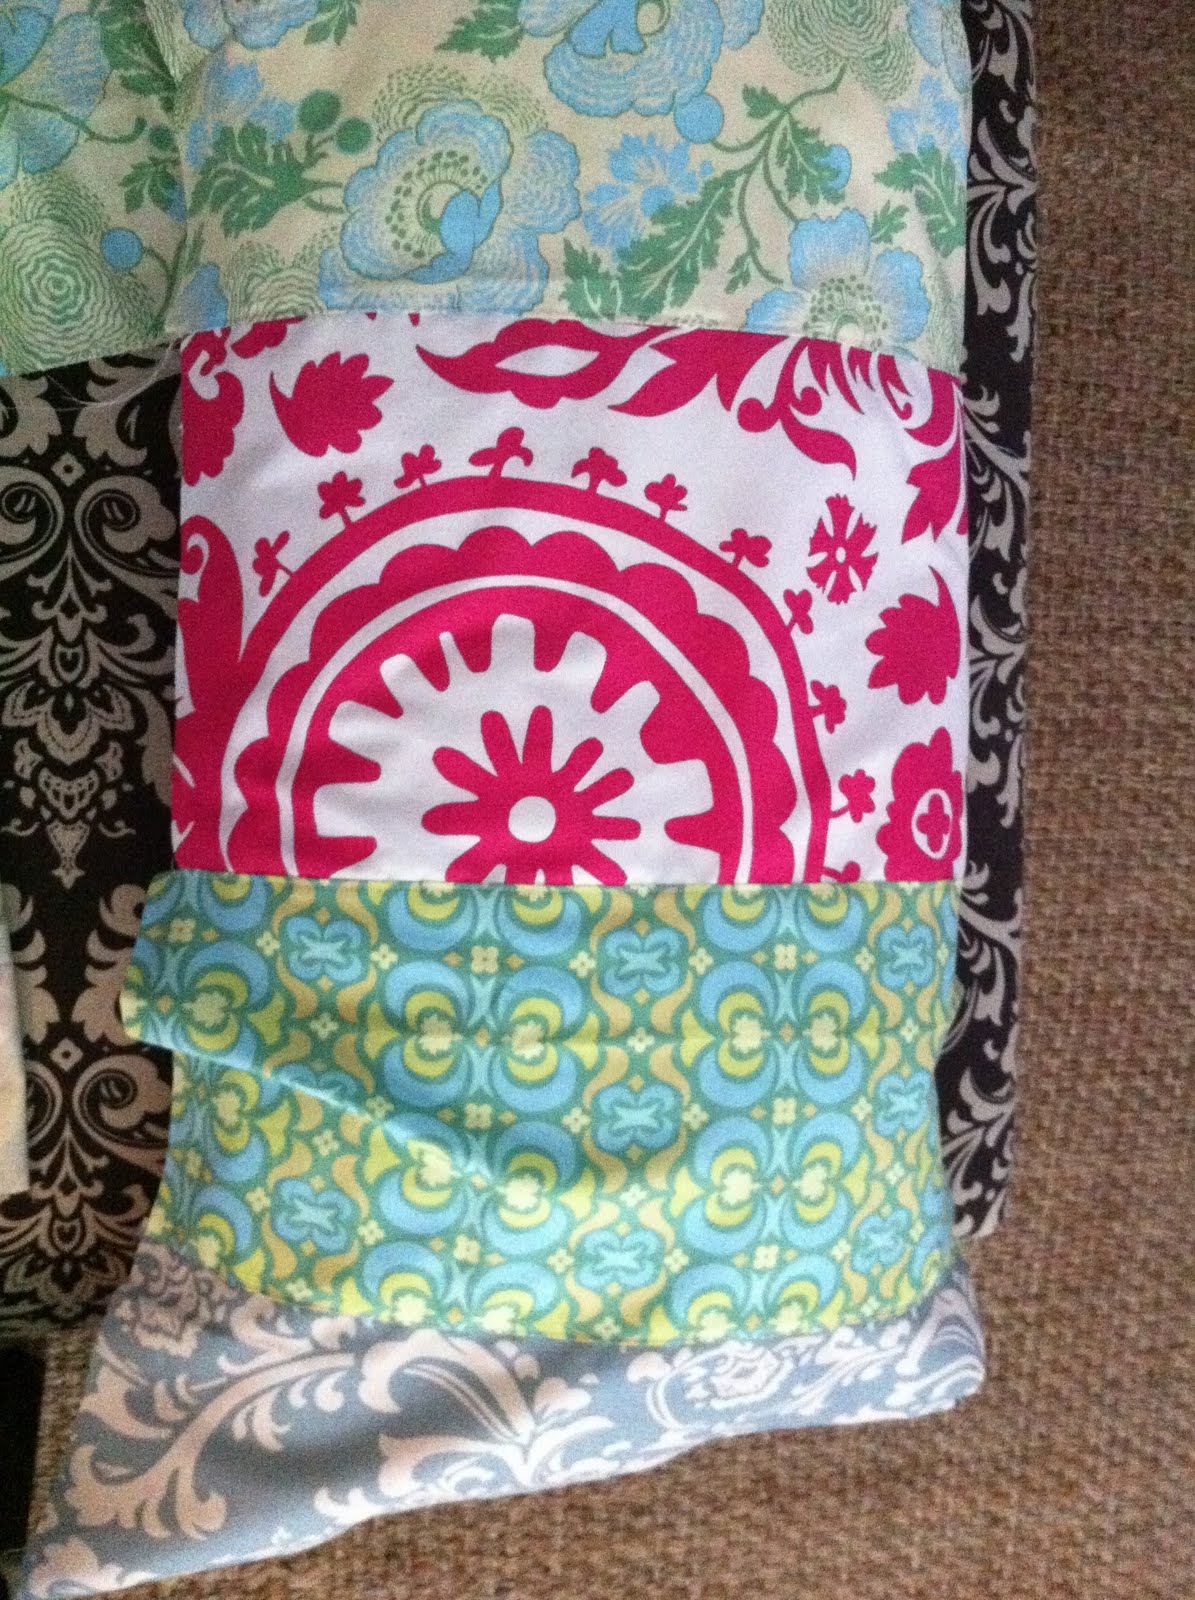
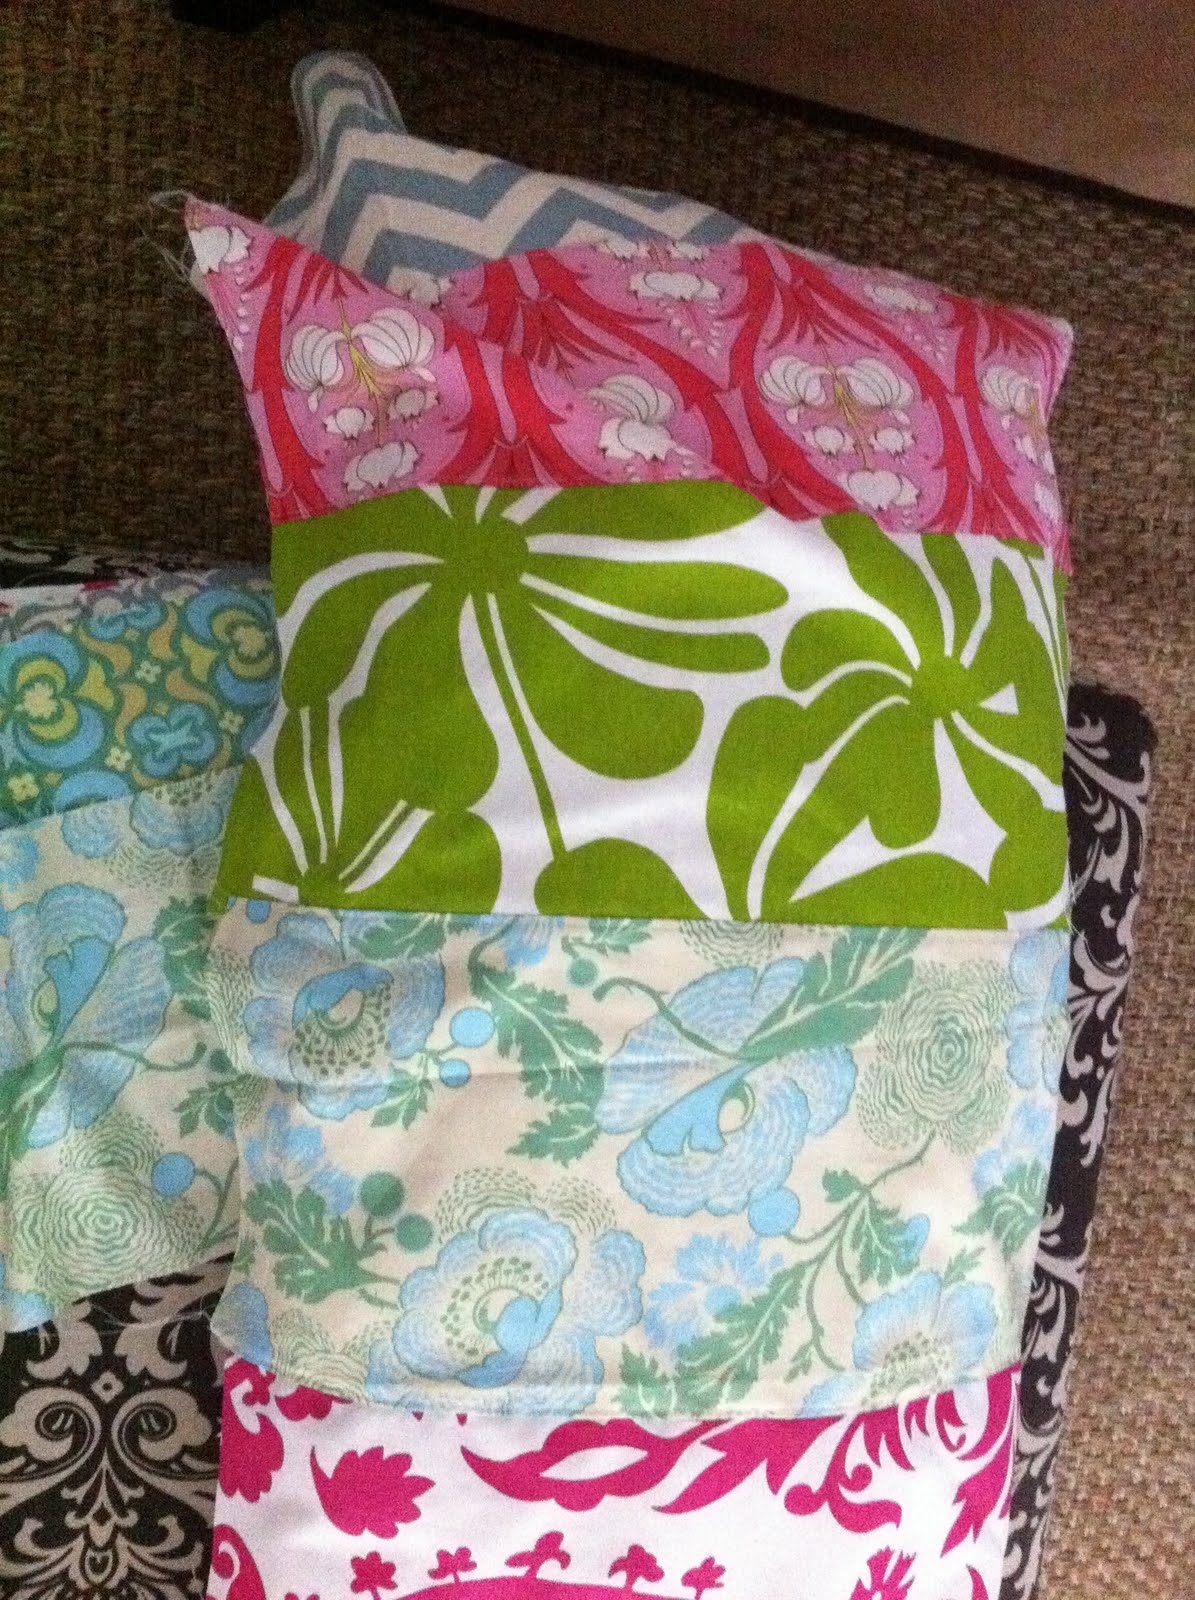
I found an awesome home decor blog featuring a homemade body or lumbar pillow case which became the focal point of the bed.  Not only did it look cozy and cheerful with the random color combinations, but it fun and easy to make.  And it was an awesome way to use beautiful pieces of left over fabric.

Here is my version.  Sorry about the dim lighting, but I finished it tonight.  I'll take better pics tomorrow with lighting.


I made mine a bit longer to conceal the ends.  I also made it a bit more casual by making it bigger around the pillow to allow for the pillow case to shrink a bit in the wash.

Below I laid out the fabrics to see how I wanted the colors to work together.


Then, after I stitched the pieces together, I added a top stitch to help reinforce the seam and it add a bit of detail.


I love how the vibrant pinks play against the calm blues & greens.


And here is where I was inspired.  Check out the awesome tutorial - http://www.thehandmadehome.net/2011/07/diy-a-patchwork-lumbar-pillow/
Thanks for stopping by, Karen :)

Linking to:
Tip Junkie handmade projectshomework Todays Creative Blog

http://homestoriesatoz.com

Master Bedroom - Mini Make Over

Pin It
It all started with the need for lighting...


Isn't that how all projects get started?  I just need new lights for my bedroom...  Have you ever read the book "If you give a pig a pancake"?  Yep, this is so that book.

Do you have that one room in your house where you have no idea on how you want it to look?  For me it is the master bedroom.  The room where I have no vision, no inspiration and no money to spend.  But, the room where I spend much of my time.

WARNING:  The photo you are about to see will shock you.  (And embarrass me)

I'm sharing this photo for two reasons - 1)  It can only get better from this starting point.  2)  As much as I like to think this room is my special place to retreat from the world, that little stuffed animal on the chair and the blanket on the floor proves children have been playing in here.  According to the messy blanket on the bed, jumping could have been involved.

This room needs to change.
List of things that needed to be changed/added:
- Lighting.  My lighting for the bedroom was seriously lacking.  I love to read in bed at night, but the only lighting we had (left) was my small lamp on my end table.  It is not adequate for some reason.  The lamp on my hubby's nightstand broke.  We have four kids and this is not a new thing to happen in our house.  :)
- End tables.  The end tables we have were purchased several years back at Crate and Barrel.  They were cute, but designed very poorly.  The cam system that held the panels together always came apart.  So then anytime I would go to adjust the position of the table...it fell apart.
- Must have seating or a low bench at the end of the bed.  Not really for seating, but for the little dog to make his way up onto the bed.  If he doesn't have access, I don't get sleep. 
- Laptop table.  I know it sounds weird, but I have never met a laptop that I can place on my lap.  They overheat when the fan is blocked with your leg or a couch or bedspread under them.  I don't ask for much, but I want to be able to write or surf the web from my bed when I have free time.
- New comforter and shams.
- Make a pillow sham for a large body pillow as the bed center piece.
- Possibly a rug at the end of the bed to add a cozy look to the room.  I had already installed hardwood flooring in the room a few years ago, but I love having area rugs on top of the hardwood.

Then I stumbled upon a blog called House of Turquoise.  I fell in love with this bedroom instantly.  It has a similar layout to my bedroom and it has a classic look that I love.  However, the furniture is all white and mine is dark.  :(

See the photos below.


Same vaulted ceiling with ceiling fan, door on the side wall (mine is a closet), bay window, wood floors... and this one had a footstool at the end of the bed.  I could totally see my room being just like this - in my head.  I'm pretty sure my hubby won't mind if I paint the walls (again).  I just don't see him letting me paint the new furniture from the espresso color to white.  I could make a white slipcover to pull over the dark "leather" headboard and footboard....what do I do?  I can just imagine how utterly cheerful and crisp my room can be like this beautiful picture.

As of today, one end table is finished & painted.  I decided to make mine a bit different from hubbys side.  On mine I will create a mini-bookcase to house some books and the laptop.  Boards and paint were finished on the lower half of the wall.  Lighting finished. 

Here is where the room is today...


It is slow progress....but it is progress.  Right?  Hopefully, next weekend the other end table will be finished.