Pin It
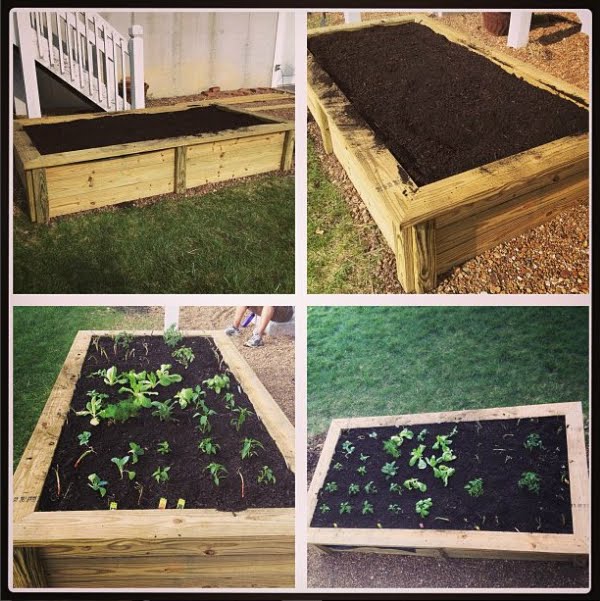
For the past three or four years, we have had a major exterior project at the house each summer. Last year, I swore would be our last project with the massive retaining wall on the south side of the house. Here are some of the photos from Instagram (since I haven't been blogging).

Fast forward to this spring...I was pricing new deck boards for the small upper 10 x 10 deck. The original cedar decking was sixteen years old and was not in good shape. Over the years, I'd painted, filled the boards with an epoxy filler to try to remedy the knots/holes, sanded and there was nothing left to do to try to bring new life to the old boards. Then, I added new railings to the plan, because the old ones would look horrible with the new boards.
You know how that goes, right?
Anyway, after sitting under the deck (on the lower deck) and staring up at the underside of the deck that was to receive the cosmetic face life with new boards and railings, I became worried. I didn't know what "Minimum Code" requirements were at the time, but I was doubting the existing deck would even meet those. The existing deck didn't have adequate lag screws in the ledger board (size or number), the railing posts were all toe-nailed to the joists (which explained why they wiggled), the joists were not blocked (which could explain why it felt like walking on a trampoline)...maybe it wasn't just the deck boards that made the deck terrifying, maybe it was the entire deck.
I dusted off Google Sketch Up and started designing a new deck. Then, I went to the national building codes website, my city building code website and watched tons of youtube videos on deck construction. Did this make me an expert? Nope. Did it give me the basic knowledge to build my own deck? Yes!
After drafting the deck so I had a visual of it, I had a pretty good game plan for building a new deck. Since I knew I couldn't do this project without help, I had to make sure my husband would be willing to do this with me. He resisted replacing the deck at first, but after I asked him to walk on the existing deck and he refused, I knew he would help.
The hard decision was how the handrails should look. The old existing deck was up pretty high and the railings blocked the view. We live in a subdivision, but we don't have any houses directly behind ours (good for view, bad for amount of wind we get). When we sat on the deck, all we could see were railings. I wanted to be able to see the yard and the trees, not spindles.
I found the cable wire line systems looked great and would allow the view, but the small dogs may be able to find their way through the cables. Back to the drawing board...There are some nice black metal spindles at Home Depot and Lowes, but when you add it all up they are pretty expensive and still blocked some of the view....fast forward...I found a sturdy cattle panel fencing (utility fencing) that would act like the cable system, but would have less than a 4" grid opening. Ding Ding Ding!!!
 |
| Cattle Panel/Utility Panel |
Nothing was in our HOA rules about using metal on the deck (fencing may be a different story). But, would the city allow the cattle panel? During my research, I read that some cities wouldn't allow cable lines or cattle panel due to the horizontal (climbing) bars for small children. I decided to stick with my decision on the cattle panel and had a back up plan to use 1/2" conduit bars if they wouldn't approve the panels. The city approved it. Yay!
Here is the beginning with the old deck and demo: (My husband is great at demo, so I let him run that show with minor help from me - lots of sledgehammer and reciprocating saw action)
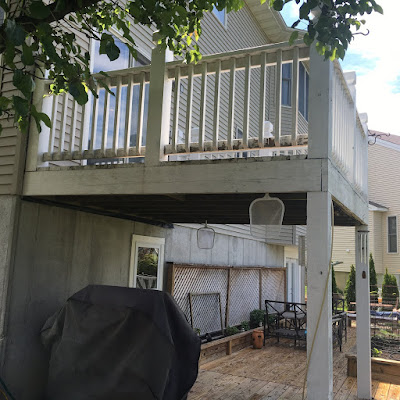 |
| Original Deck |
 |
| Original Joists |
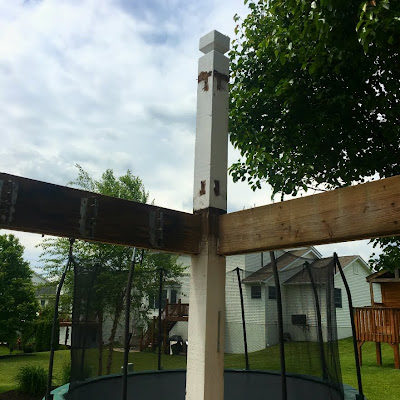 |
| Original Corner Posts |
 |
| Original Ledger Board |
We removed everything down to the two posts. The posts looked to be in great shape to use on new deck, but we waited until we removed everything and cut them down to the height we needed before making the final call. When we notched them out for the new cross beam to sit on, we found the posts to be in perfect condition.
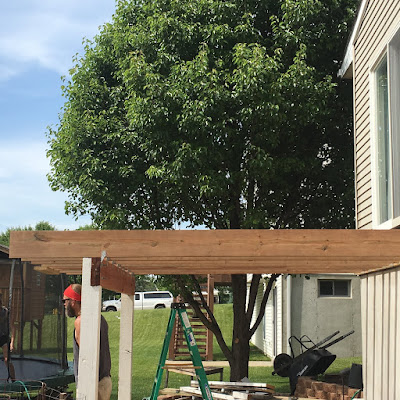
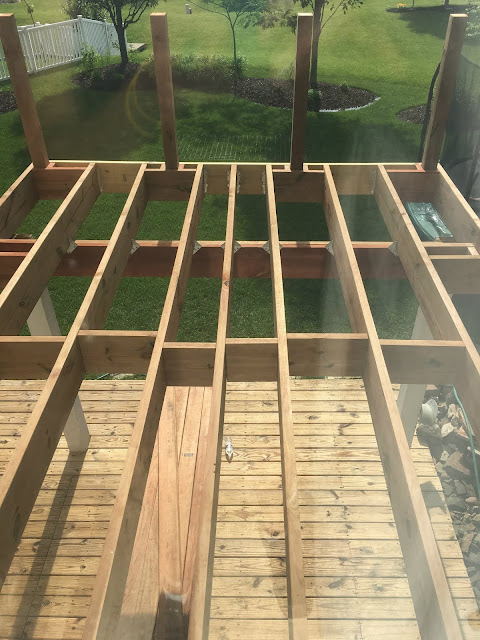
Here are some photos from the build:
 |
| New Joists and Center Beam |
 |
| New Deck Ledger Board |
 |
| New Deck Framing |
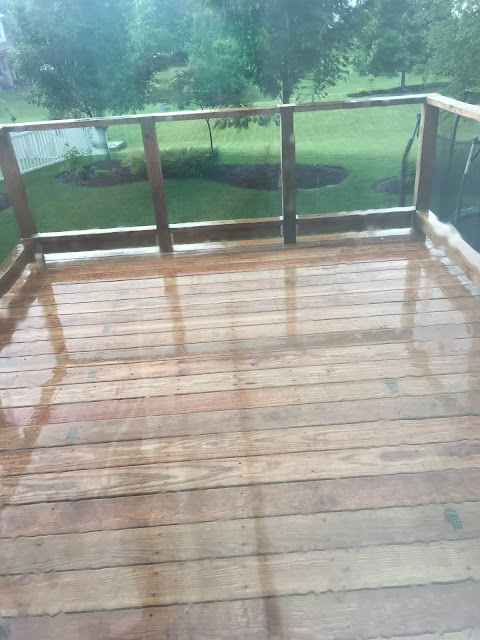
 |
| New Cedar Tone Pressure Treated Decking |
 |
| New Railing with Posts on Deck |
 |
| New Railings with Posts on Deck |
Here is the finished project:
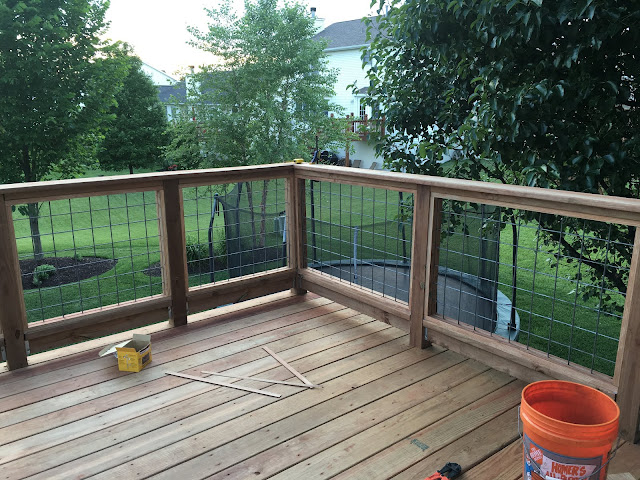 |
| New Cattle Panel Railing |
 |
| Cattle Panel Railing |
 |
| Utility Fence Railing |
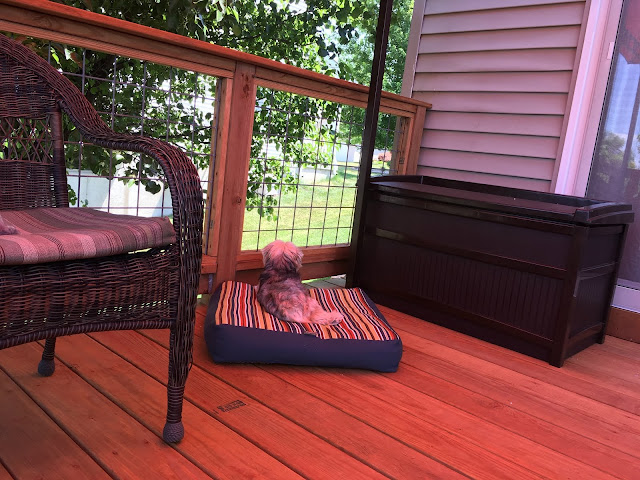
 |
| Finished Deck |
 |
| Underneath New Deck |
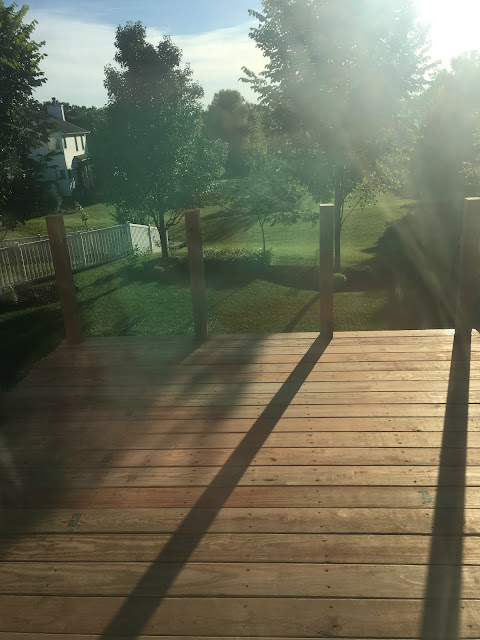
And from the deck:
 |
| New Deck View |
 |
| New Deck |
As I said, I'm not an expert. If I was, it wouldn't have taken three weekends. The final deck is 12 x 10 (2ft cantilevered over posts) and cost about $1500 (includes running electrical to deck, all hardware, decking and utility panel) using cedar stained pressure treated wood from Home Depot.
Three days after the fabric canopy was put on the deck (meaning I didn't have time to bolt it to the deck), a storm blew through the region. RIP Three Day Old Canopy, you will be missed. Did I mention the wind tunnel syndrome behind the house? Yep. In my defense, it hadn't rained in weeks. I thought I had time. Anyway, bought another pergola type shade structure this week, with a canopy that retracts. We will see how long that one holds against these winds.
Happy building!
Karen


